The last post mentioned I have big news. Ready? I am retiring!!!
Yep, that’s right. After going to work every day for 45 years it is time. Enough is enough. I could not be more excited. Effective Tuesday 31 March 2020 I will no longer be a working stiff. Each day will be mine to do with as I please. You know what that means. Model railroading as much as I want! Or as much as my wife will tolerate. 🙂
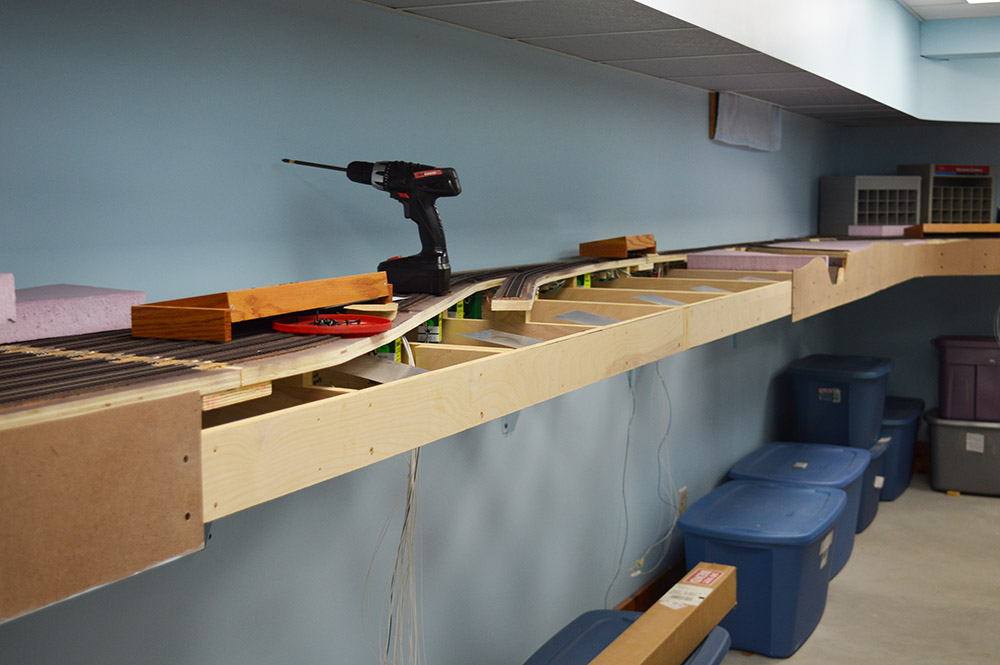
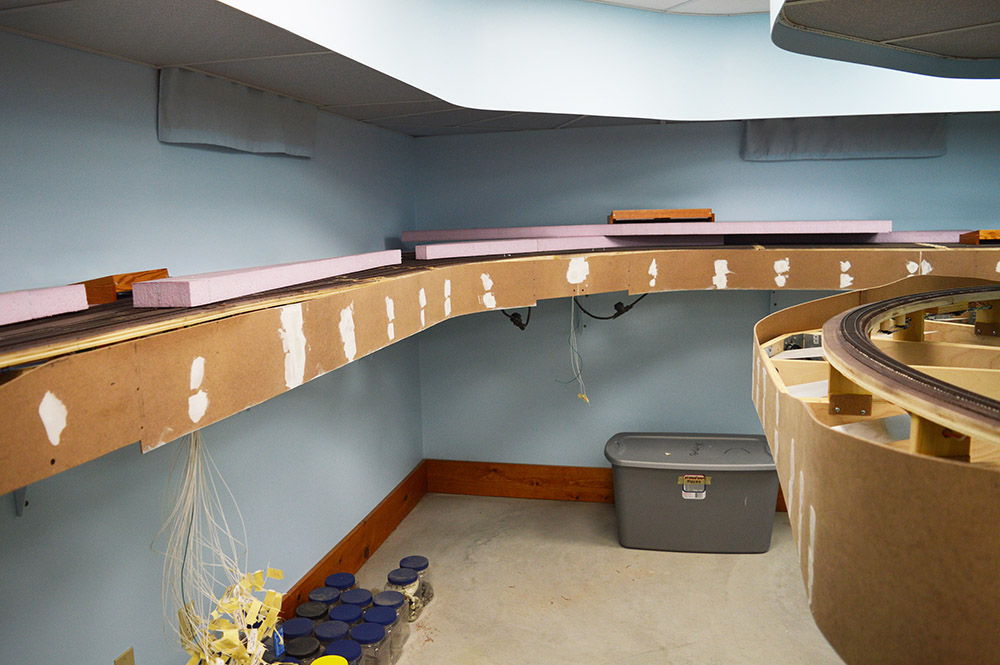
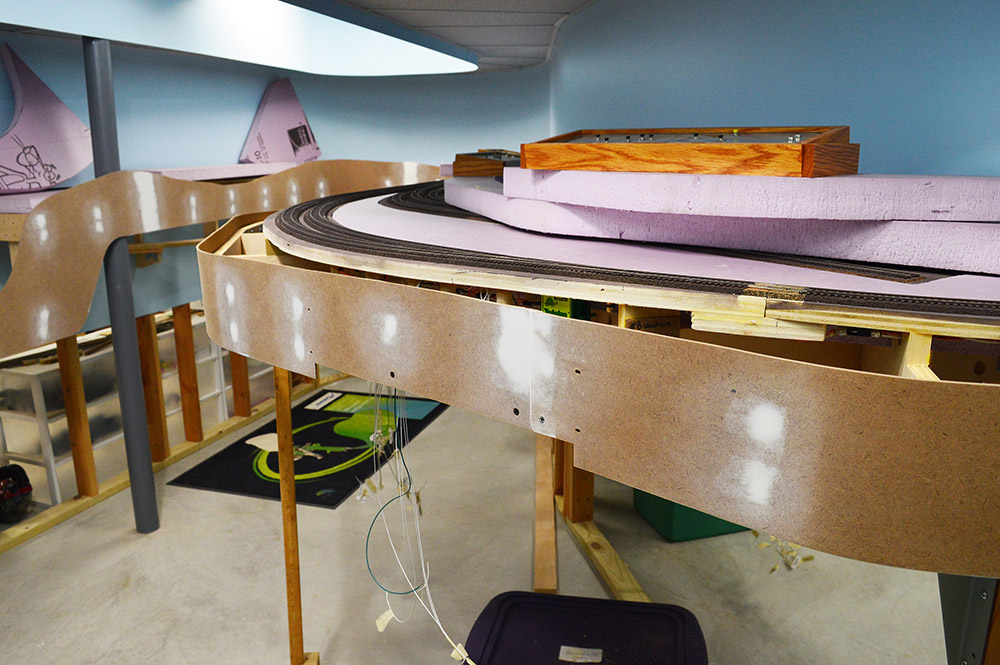
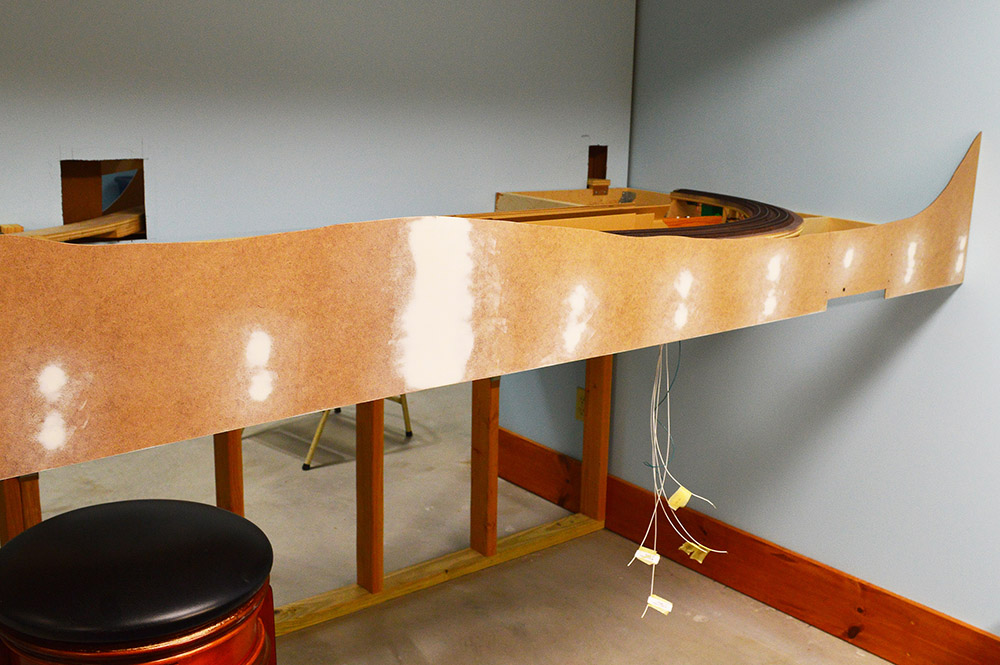
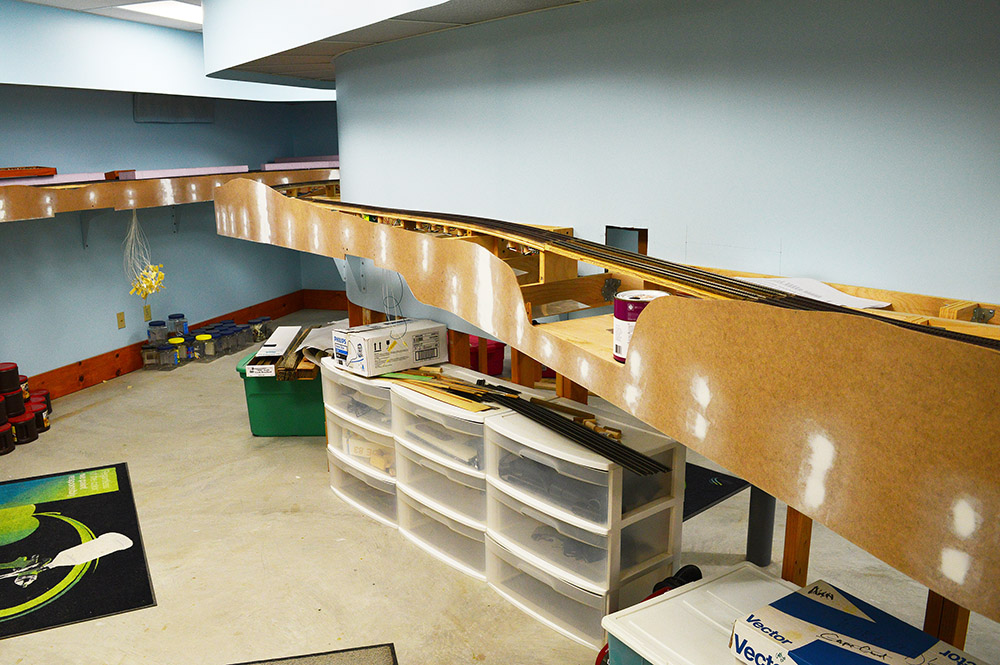
Speaking of model railroading, some work has been accomplished of late on the LK&O. Specifically, finishing the upper deck fascia and prepping it for paint. Here is what I have done so far.
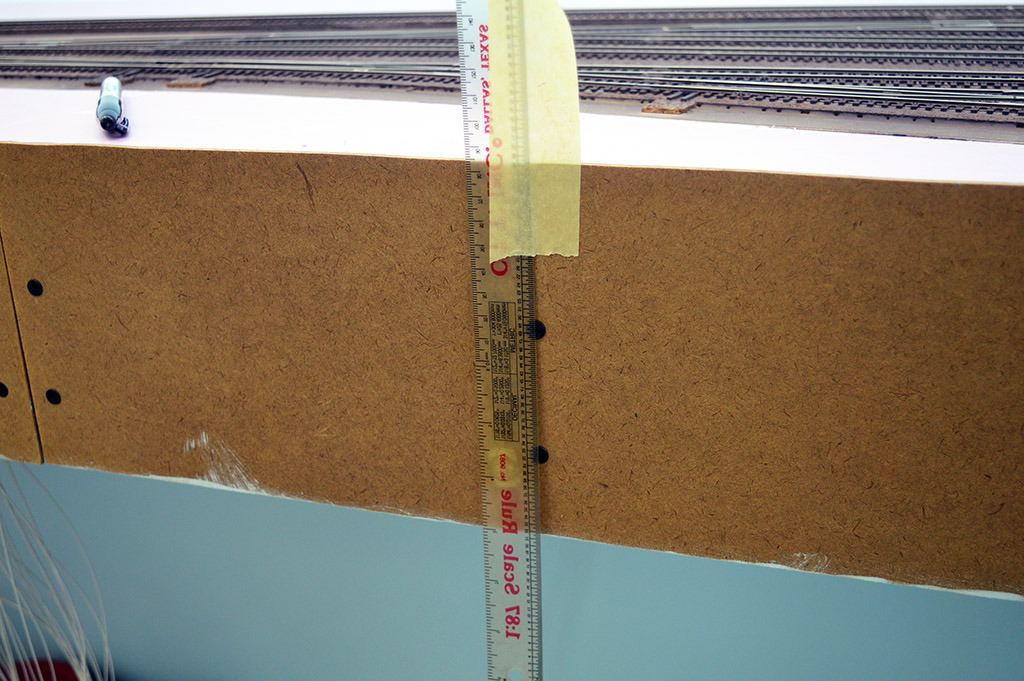
Marking fastener locations
A self-imposed requirement of mine for the entire layout is no visible fasteners. In many cases this means countersinking and covering with joint compound just as you would do with drywall. The obvious downside is locating the fasteners after-the-fact. Not a problem on the lighting valance and backdrops as they likely will never be modified in any significant way. The fascia is a different story. Future changes are more than a possibility, they are almost a certainty. With that in mind, my first task was to mark the fascia fastener locations on the backside of the underhang. Black lines denote the screw locations. If in the future I need to cut into the fascia at least I will know beforehand where the screws are located possibly saving an expensive saw blade.
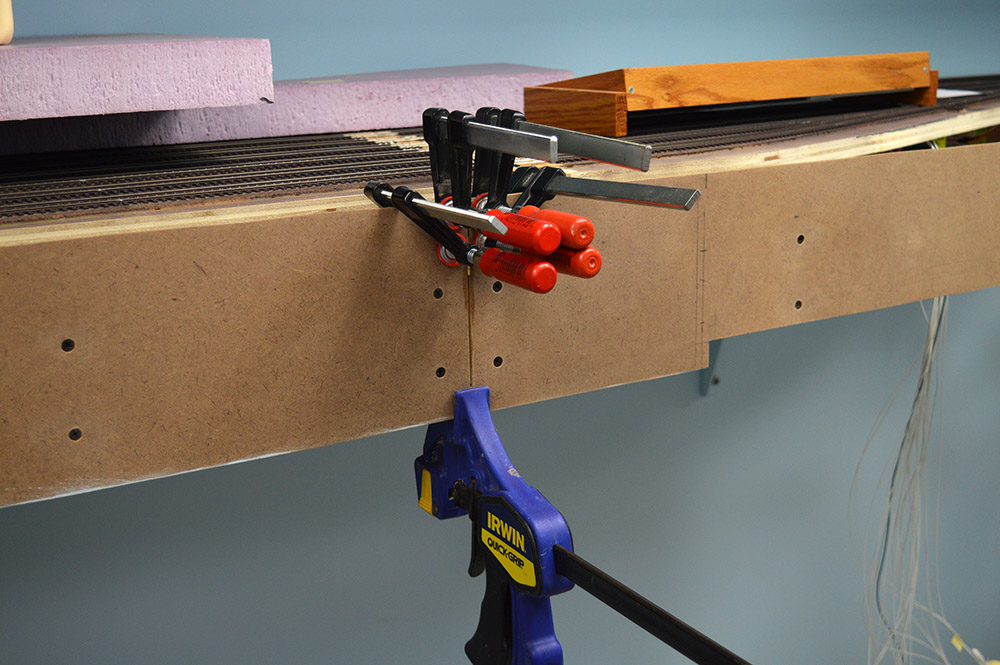
Locating the panels
While the general placement of the control panels was defined long ago, the exact location had to be found. The panels are mounted with screws from the backside so access was the concern. The pilot holes had to be drilled from the backside into the control panel side blocks thus ample drill access was needed. Avoiding wiring, nailing plates, Tortoise machines, sub-roadbed, fasteners, cross members, light sockets, and sundry turned out to be quite tricky in some places. Right angle drill territory for sure.
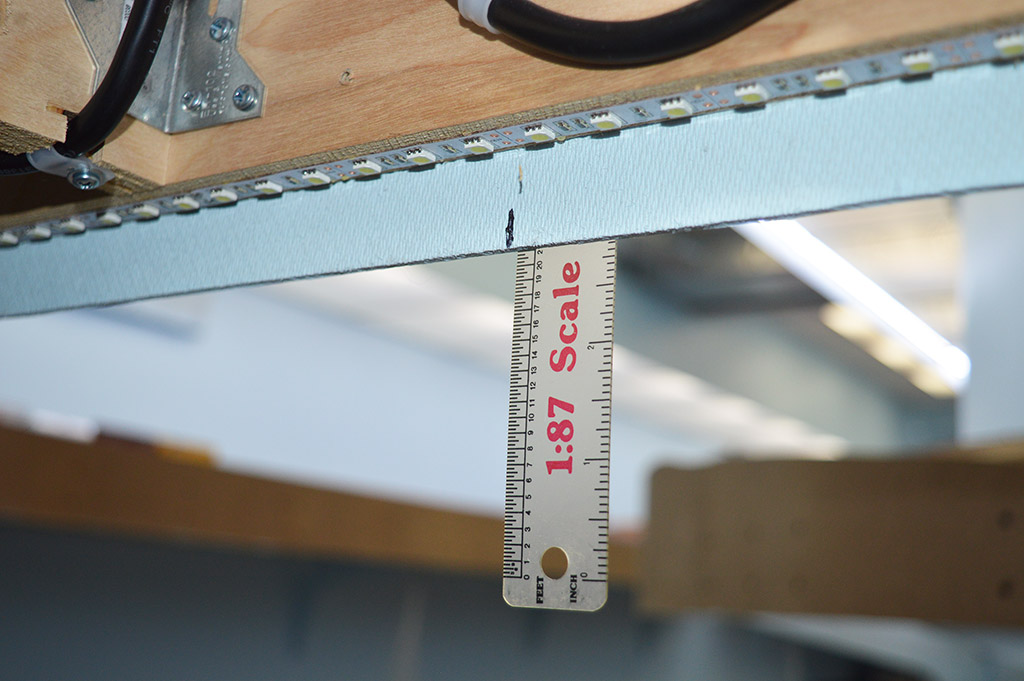
Once a panel was positioned, a pencil line was traced down the panel block edges followed by a second line 1/4″ in to locate block centers. Then drill marks were made to position screws 1/2″ from the edges of the underlying benchwork making the screws 2-1/2″ apart, the widest separation my side blocks allow. Finally, a cut line 7/8″ from the bottom (flush with LEDs) to permit connector access.

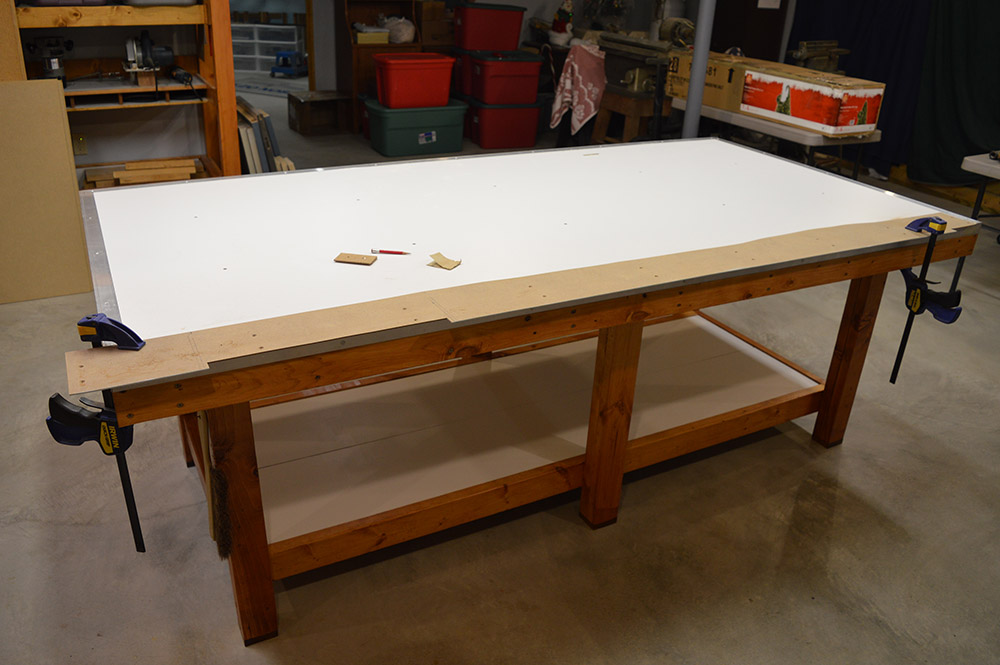
1/8″ pilot holes were then drilled. 1/8″ is a good pre-drill size for drywall screws into red oak. After all pre-drills were made, the fascia panels one at a time were removed, taken to the workbench (Yes! My new oh-so-nice-to-work-on workbench), reliefs were cut, edges sanded, and then reinstalled.

Panel block screw pilots
The most challenging part of this whole ordeal was holding the panels in place while screw pilot holes were drilled into the panel side blocks from behind through the already drilled pilot holes in the fascia. Initially, my wife was kind enough to hold them while I drilled but this proved challenging to hold the panel rock steady in position. She was doing a great job but there had to be a better way. Fortunately there was. I’m sorry I forgot to take pictures during this step but basically I used a bizarre combination of clamps, alignment tabs on the bottom edge and a whole lot of fussing to get it done. Eventually all panels were temporarily mounted successfully.
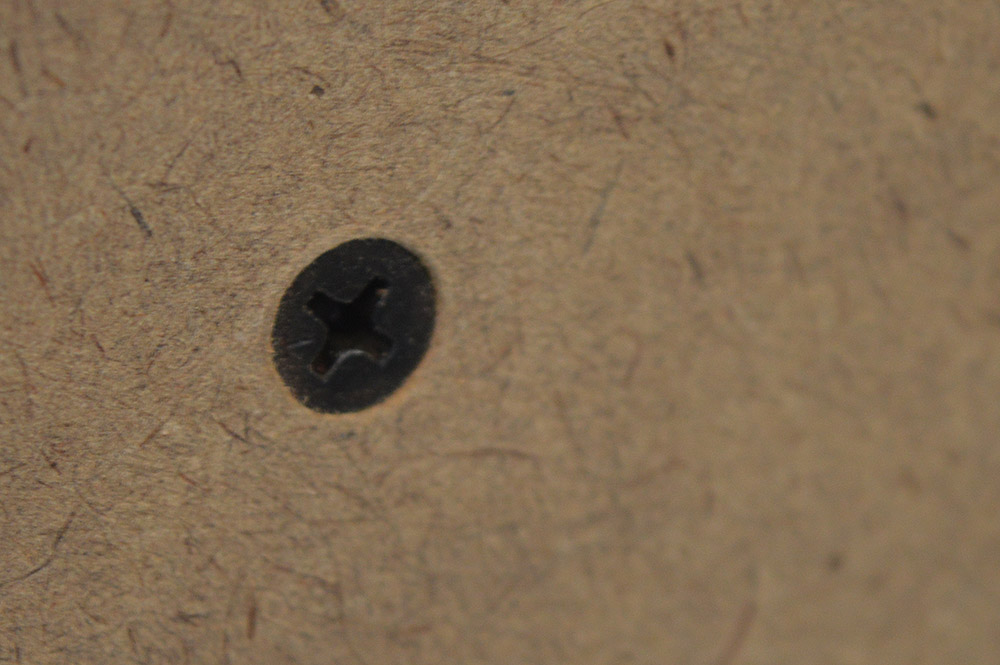
Fascia mounting screws
Next, countersink all of the attachment screws. This is more tricky than you might imagine. At least it is for me. The hardboard is only 3mm thick and essentially made of glued compressed layers of paper. Not a lot of thickness to work with and not an ideal material to machine. Too light of a touch with the countersink bit and you overheat the cutting edge rendering it dull as a butter knife. Too much pressure and the bit will zip right through the hardboard. The problem is further compounded by my use of drywall screws. Drywall screws have a bugle head while my sinking bits are made for taper heads (wood screws). In theory, bugle head is self countersinking. That’s the whole reason they exist. That and the fact they don’t tear the paper face on drywall. And while bugle head screws sink great in drywall and soft woods, they don’t self-sink well at all in hardboard. I suppose some esoteric tool company makes a bugle countersink bit but I don’t have one. The mismatch of head angles forces a slightly deeper sink depth than would normally be required. Getting a sense of why the 3mm thickness is such an issue? Nonetheless, with a deft touch on the drill and a piece of sandpaper to touch up, I slowly made my way around the layout setting screw after screw after screw after screw.
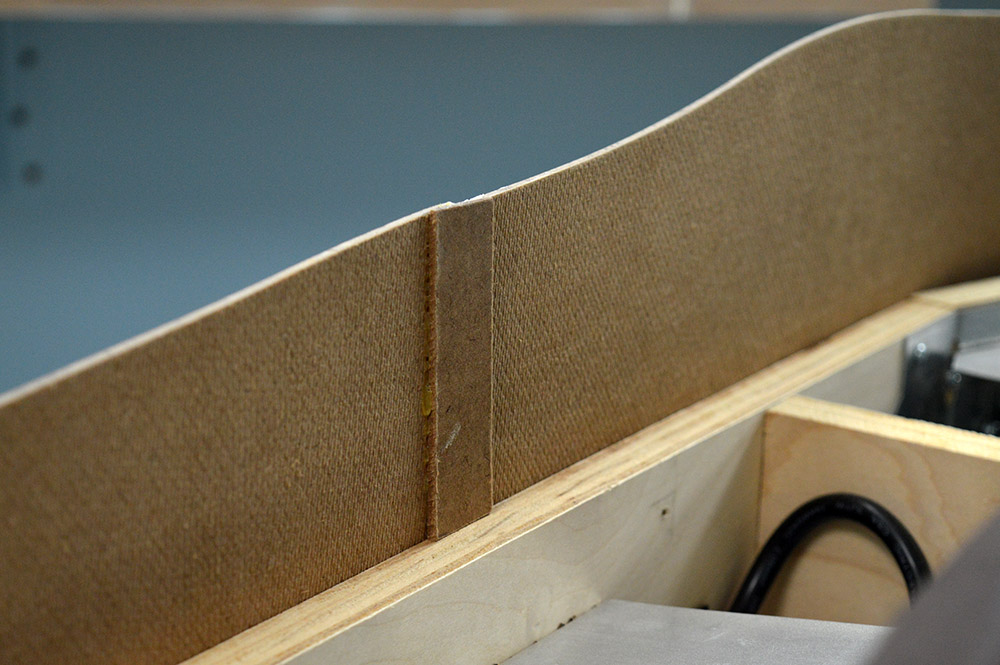
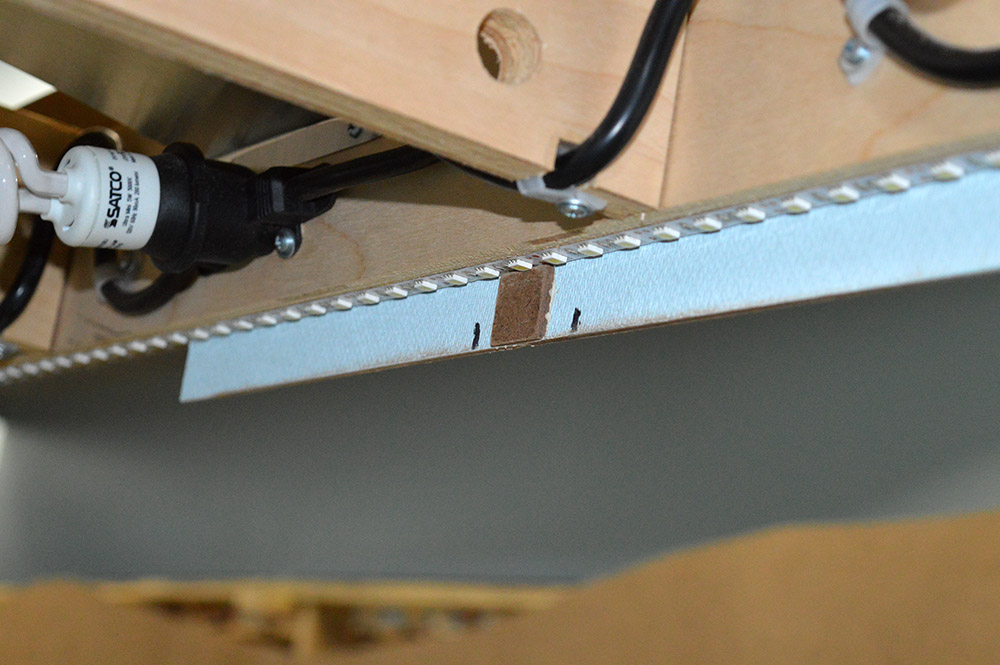
Join alignment
To tie the ends of each fascia panel to its neighbor I glued hardboard tabs on the backside of the fascia above and below the benchwork. The tabs were then ground to the fascia profile with a belt sander. When time to put the foam back in place I will make little notches to clear the fascia tabs.
Seam filling
Drywall (sheet rock) has a depression at the edge to hide paper tape. Hardboard has no such provision and I don’t want feathered out plaster tape humps at the joins. So my approach was to first fill them with PL375 adhesive which cures hard and bonds great to hardboard. It does shrink some during cure due to it being 70% solids so several passes stretched out over days were needed. Quick and painless application with the scrape of a razor blade. I have my fingers crossed the adhesive is sufficiently strong to hold the join during humidity changes thus eliminating the need to span the join with tape.

Joint Compound
Next came the fun part – spreading and sanding joint compound. I think back to when I first began building the train room and then the valance and backdrops. Who knew there is so much drywall joint compound work in building a model railroad!
I used three passes of compound with a sanding step inbetween each. I’ll call the applications bulk fill, feathering, and finally pinhole fill. Bulk fill was essentially to fill the screw heads and first pass on the joins. I used the short side of an expired credit card as a spreader. The Phillips slots in the screw heads can be quirky about holding air bubbles in them. I found that if I swipe inline with a slot then immediately swipe again at a 90 degree angle (inline with the other slot) then the air bubbles are much less troublesome.
The bulk fill was block sanded 150 grit to get it reasonably flat. I’m building a model railroad, not straightening a Corvette, so expectations set accordingly.
Interesting note, I held the shop vac nozzle just below wherever I was sanding to prevent plaster dust intrusion into the train room. Not much fun holding the shop vac with one hand while sanding with the other all the while listening to the constant vacuum noise. But let me tell you, what a clean way to sand. No dust anywhere. Although, plaster dust tends to quickly clog the vac filter so a few cleanings were needed.
After a brush vacuuming I applied the feathering coat. This was applied more like body filler on a car repair – a thin, smooth, continuous coat with minimal spreader ridges and feathered as best I could. Again as a spreader I used an old credit card except this time on the wide side. 220 grit, initially on a block and then followed by hand sand, did all the shaping and smoothing. A few spots required a second application. It was this step where most of the sanding time occurred. I spread it out over many evenings to reduce the monotony.
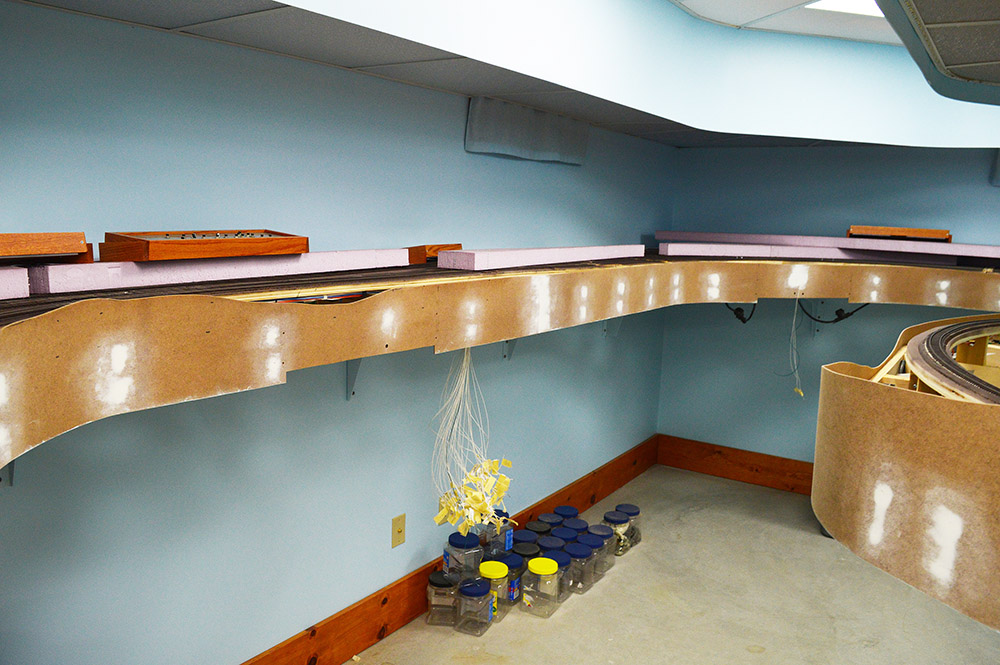
Once I was satisfied with the cosmetics it was time to fill any pinholes. After brush vacuuming I scraped compound across all worked areas with a single edge razor blade pressed tightly. Fills the pinholes and leaves nearly no-sand surfaces. All that was needed to complete the job was a quick 320 grit hand sand all the way round and a final vacuuming.

Next
Let me get some paint on this thing and the mount the panels. Back in the next post with pics of the final product.
37 days and counting!

Great that you are retiring and hopefully on your own terms. Some advice from someone who retired at 62 in 2014. Make time for yourself. You will not believe how others and not just the spouse will have recommendations on how to fill it. Congrats and glad to see your second posting.
TomO
Yes Tom, it is on my terms. My wife and I have been planning this for a long time. Time to ourselves is what this is all about.
Congrats on retiring now you can work on your layout all the time or until your wife tells you no more lol. I also wanted to let you know that I did not receive a email. About this post or the last one. I just happen to check in to see what’s going on. And I saw that you have posted something new.i look forward to seeing your post again
Billy,
That is odd. The report shows an email sent to you at 5:37pm EST. Maybe it is in your spam filter?
Perhaps try subscribing again with the same email address. You should get an automatic email telling you that you are already subscribed. At least that will verify you can receive messages from the LK&O website.
Hi Alan I find it in my spam folder that the first time that has happened and I would like to say thank you for starting this website, and I’m glad that I stumbled on it I have restarted my layout on YouTube channel name is bald8bil And this time I learned from you building your bench work. Now my benchwork It is a lot better and tougher. Then my old one. Please keep up the incredible work up.
Thank you for the compliments Billy. Happy to have helped.
Hi Alan
I would also like to wish you a happy and fun filled retirement.
Two other things:
#1 – Have you tried using a very good sponge for smoothing the drywall patching, it works very well and does not produce any dust like sanding. don’t get it to wet so it won’t effect the fascia material which looks to me like “Masonite”. I have used this method for doing 40 sheets of drywall in my layout room as well as all of my fascia and backdrops.
#2 – A while back I had asked if there was any chance that I could come over to see your layout (since we are located close to each other) and get first hand info on the Rail Pro system you are using. You had indicated that it would possible once you got it up and running. So is that offer still open?
Richard H.
Yes Richard, that offer is still open. The $64,000 question is when will I have it running. 🙂 My locos and RailPro equipment is packed away at the moment. I have over 1000 JST terminals on the control panels to install and troubleshoot before I can again switch on the layout power. After March things will begin moving along at a more brisk pace than in the past years so hopefully soon.
I am familiar with sponging drywall. Did some of that on the walls way back when. Mixed results. Definitely easier and less sanding but not as nice a result as block sanding. Sponge + block sanding not a good combination. Too many low spots.
CONGRATS, ALAN!!! BEAT YOU BY 12 YEARS!!! lol!!!
Many blessings upon your house, Alan.
Taz…
Finally retired! Congratulations and have many happy years ahead. Looking forward to light speed progress on the LK&O.