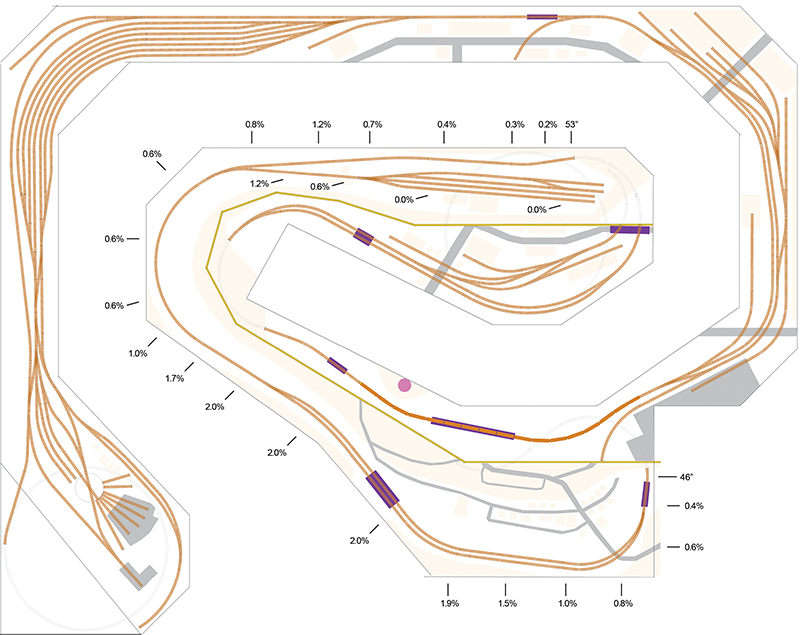
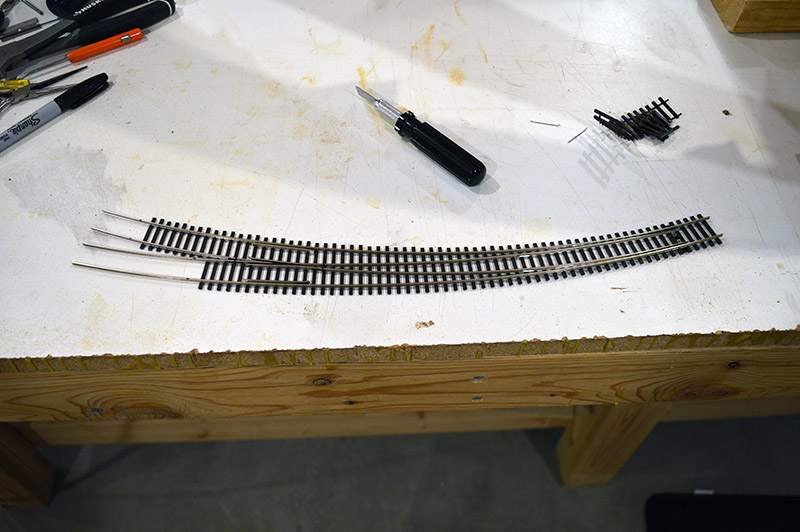
Another module complete. 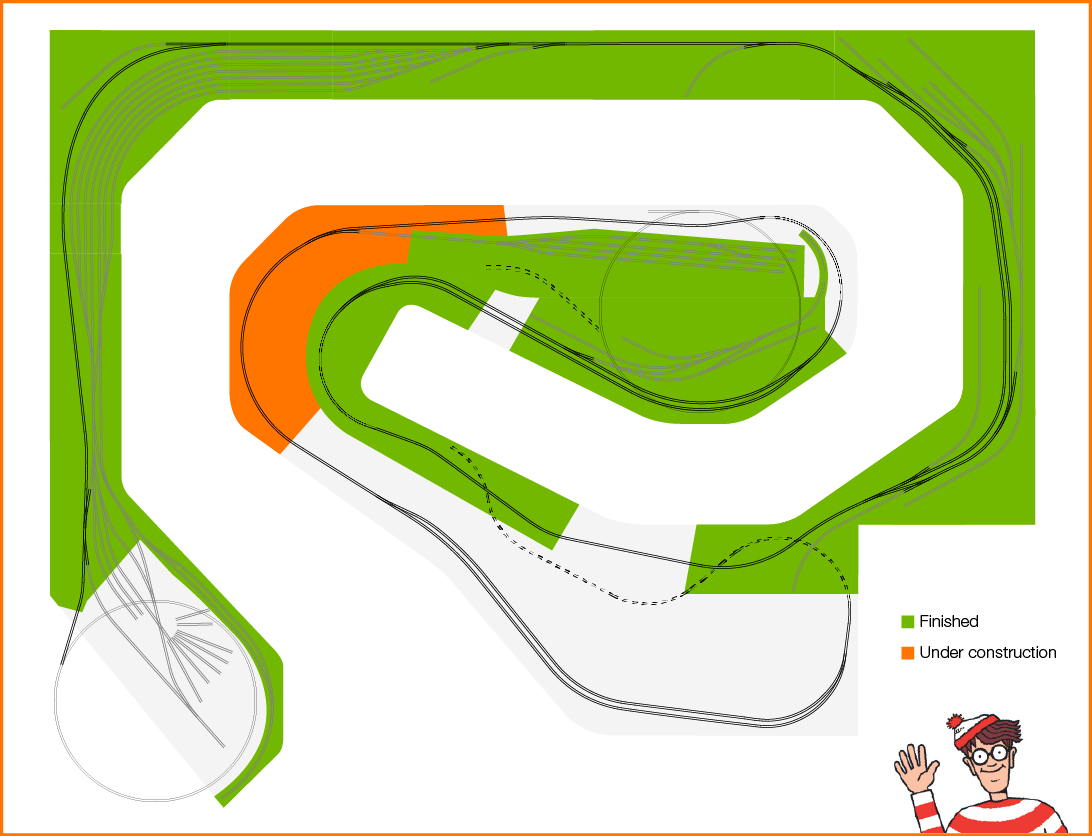 Slow but steady progress is being made. Module 11 is the big 40″ radius single track curve through the mountains as the descent down to the Potomac River begins. Speaking of descent, it is worth mentioning the grade down to the river is not one long constant grade. It varies considerably with sections of tangent track being steeper than sections of curved track. For example, the grade is as steep as 1.2% on the tangent track near the mine end of Module 11 while the grade is only 0.6% in the big curve. The grades have vertical easements to smooth out the transitions.
Here is a graphic from an earlier post that shows the various grades as the railroad makes its way to the river.
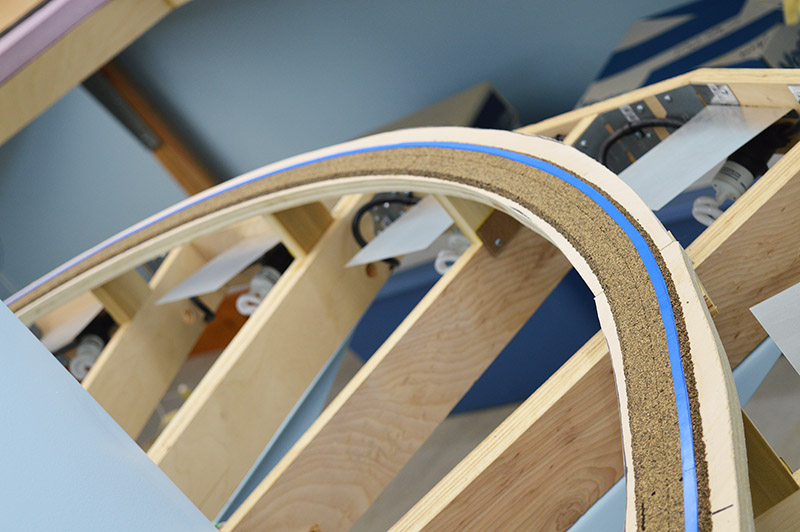
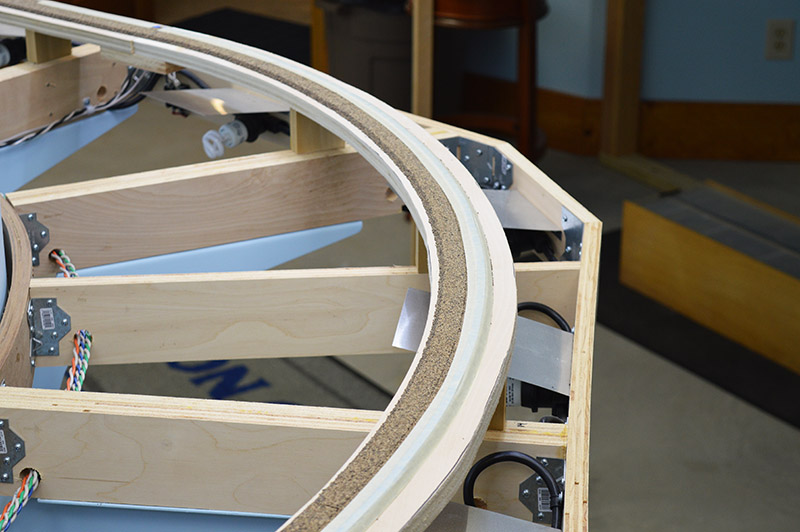
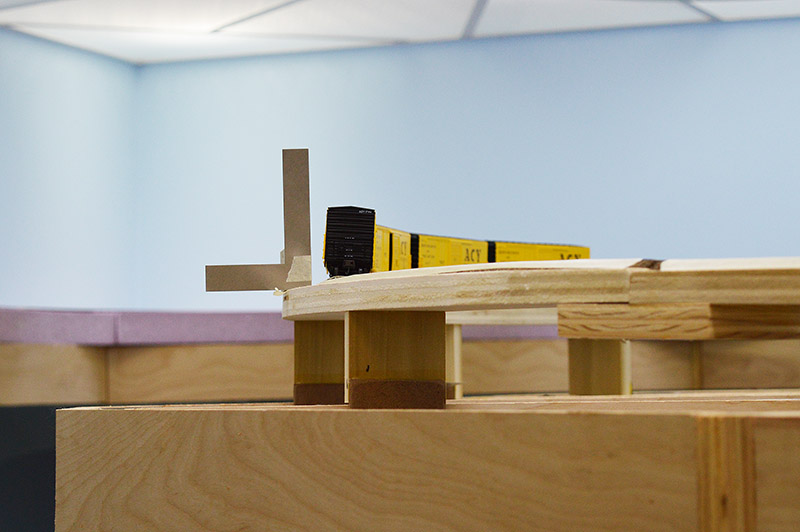
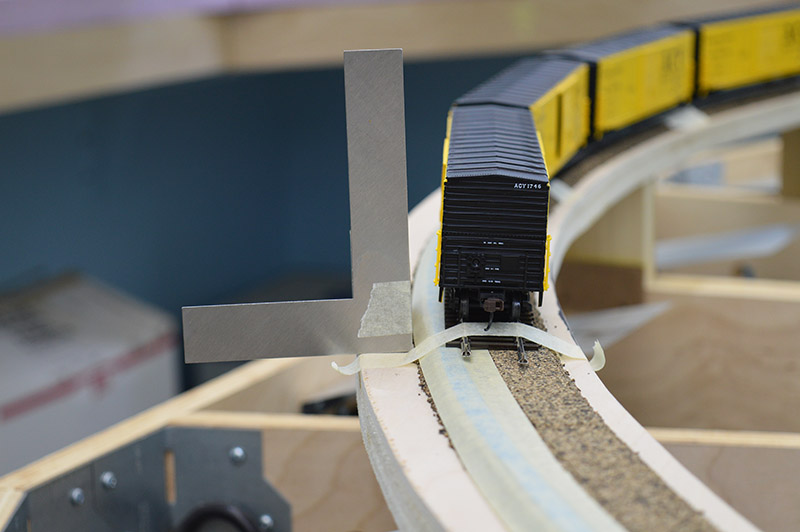
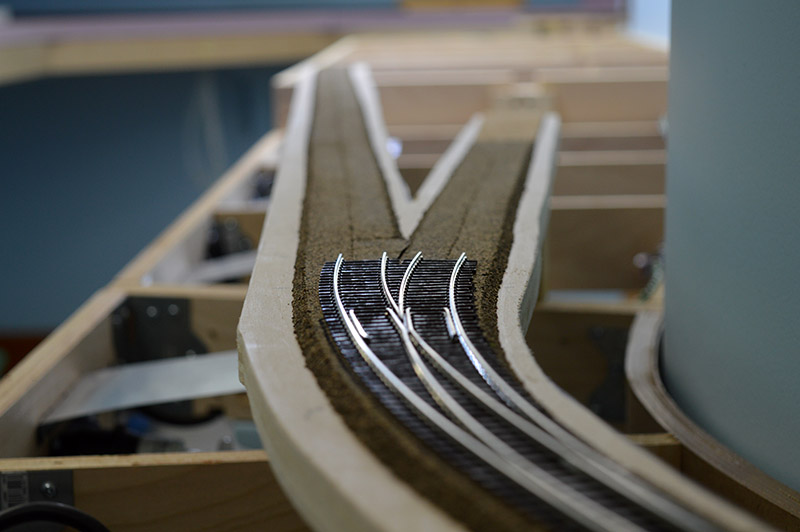
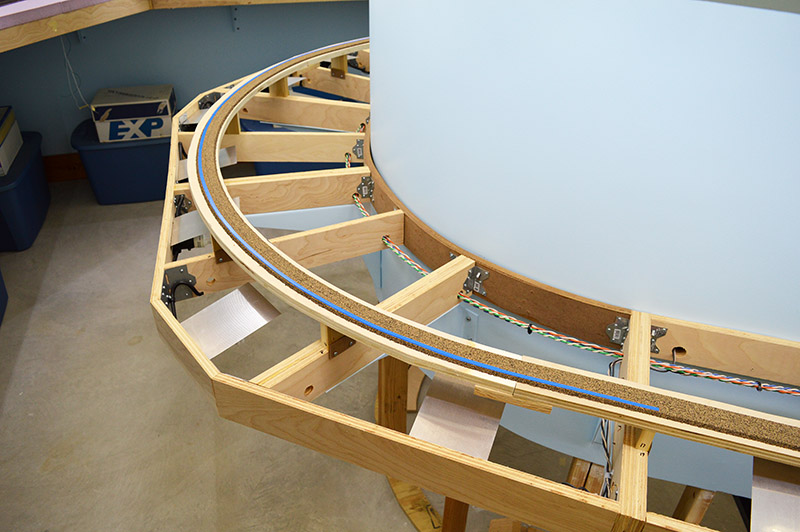
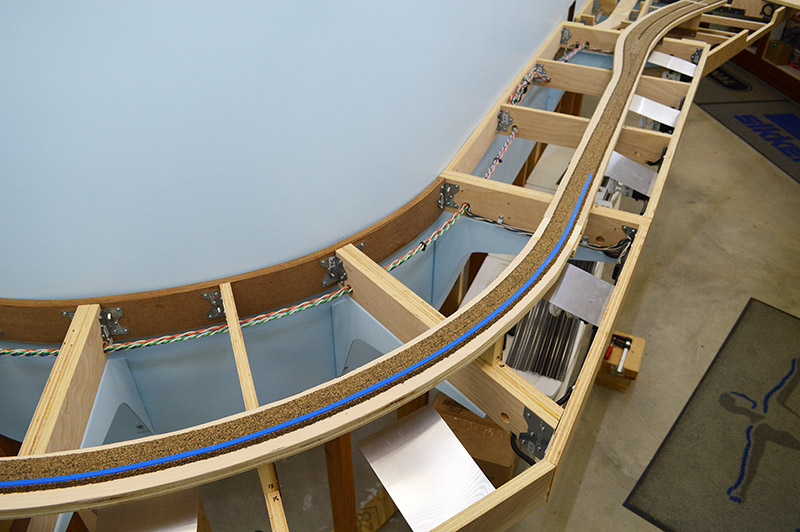
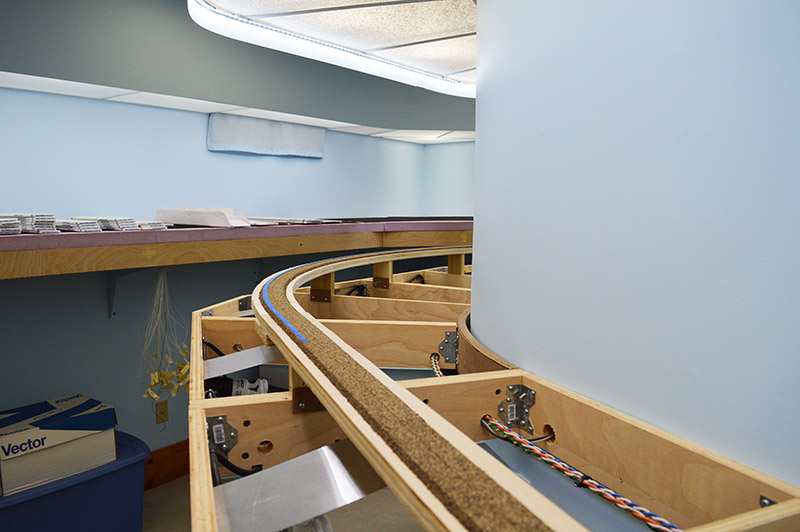
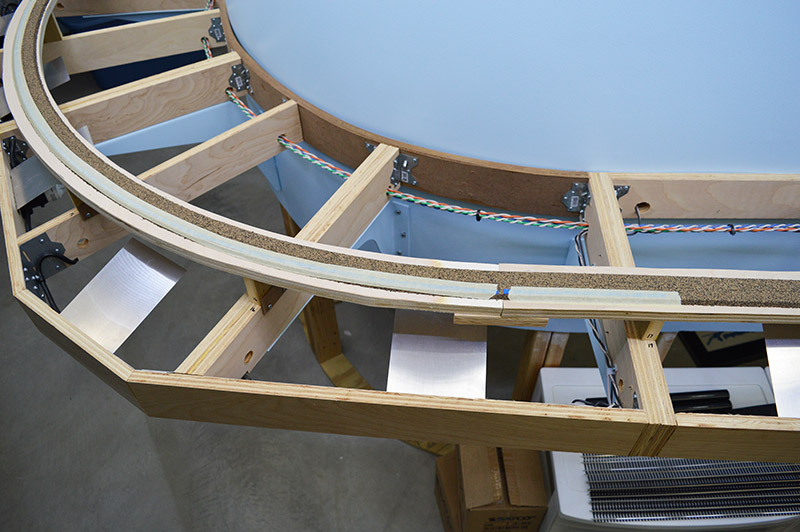
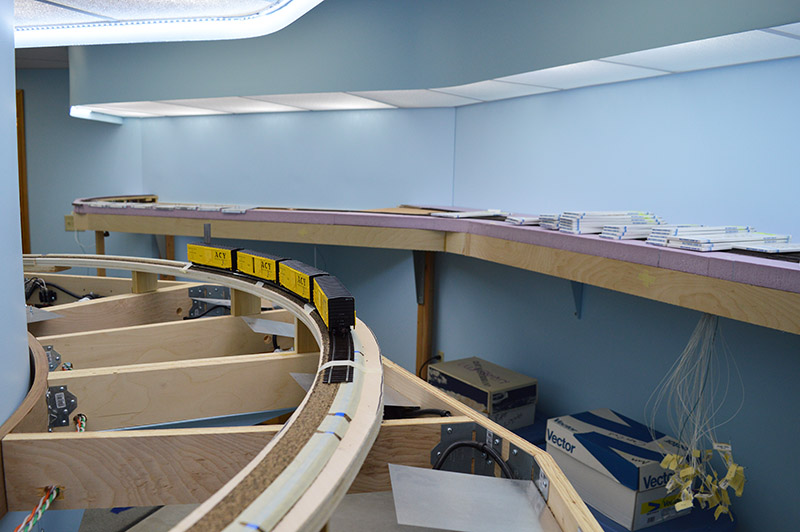
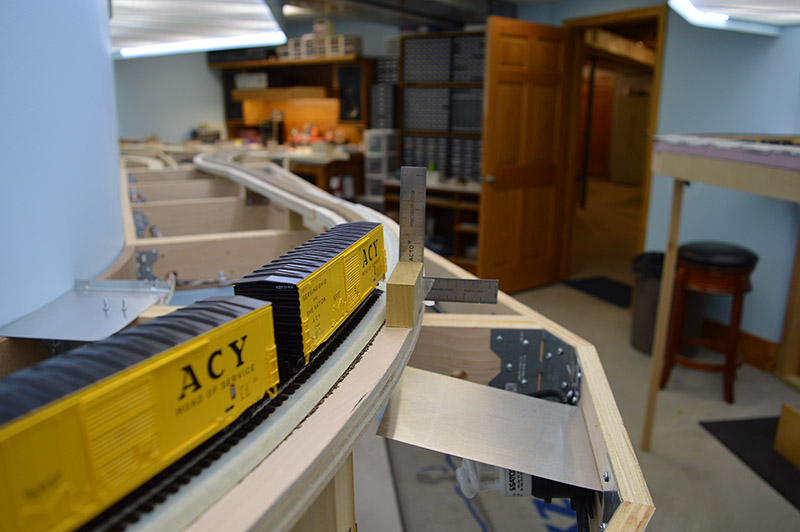
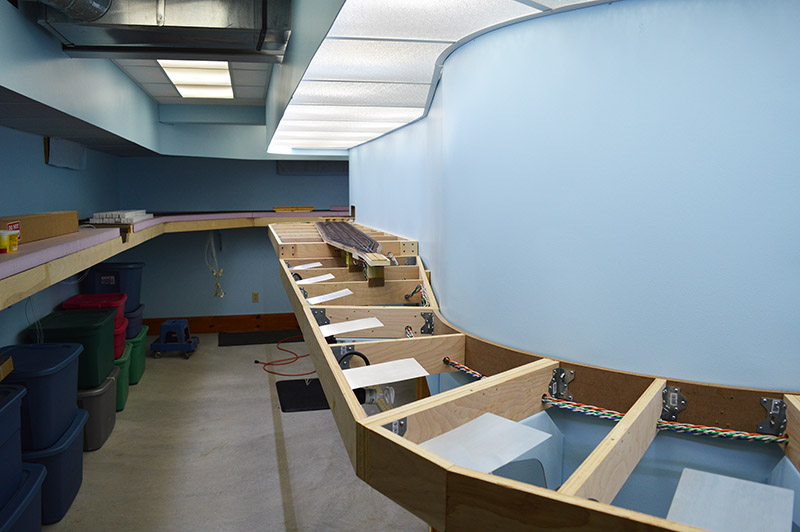
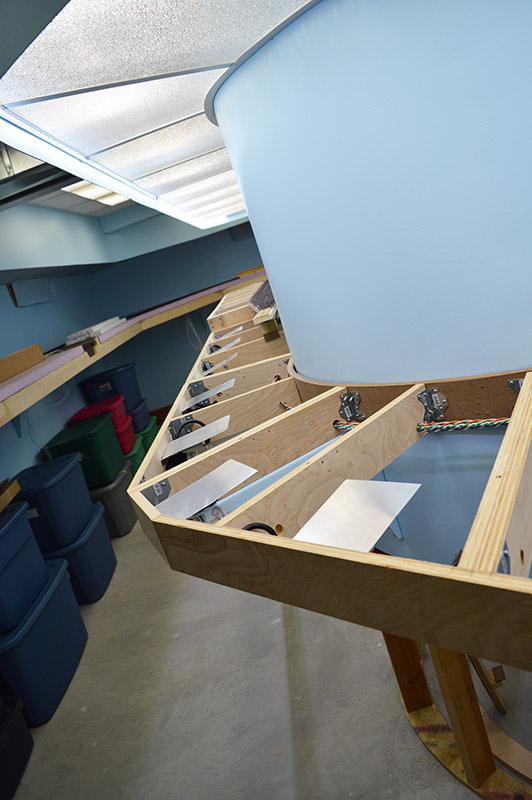
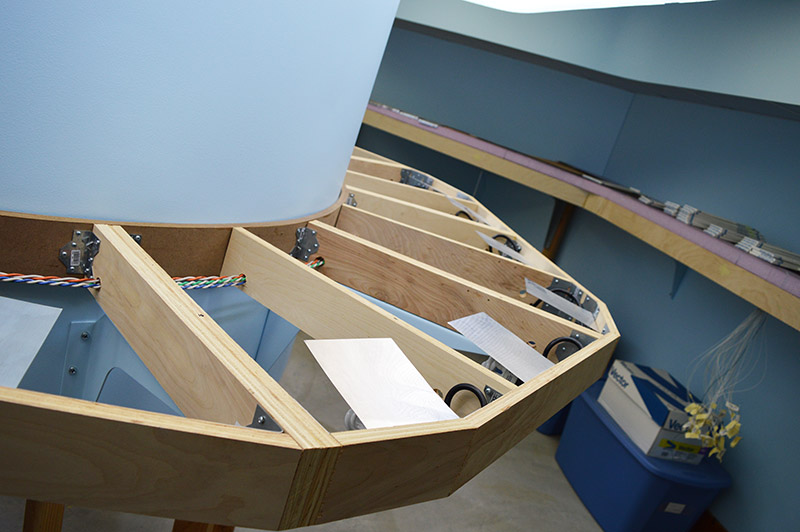
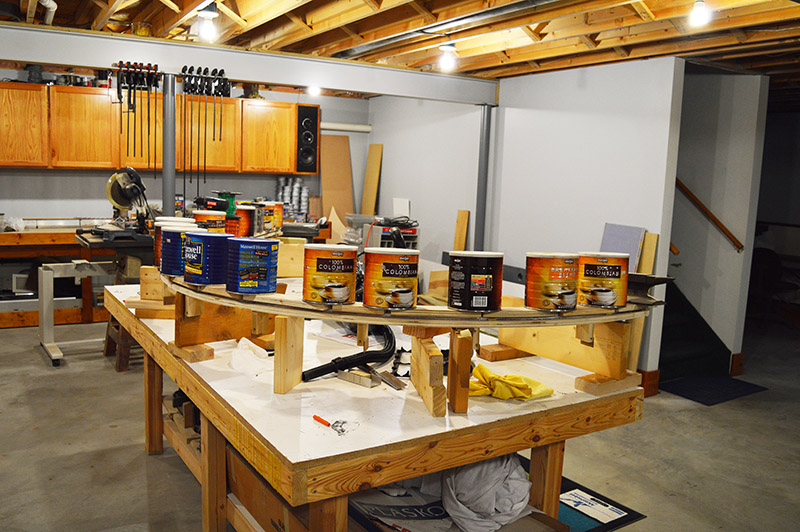
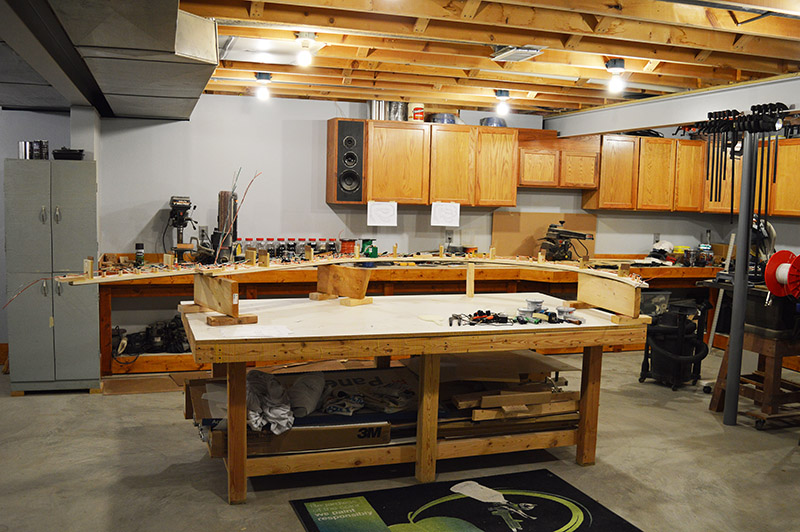
Because of the view block I can’t show you a single picture of Module 11. Here are views from each end.
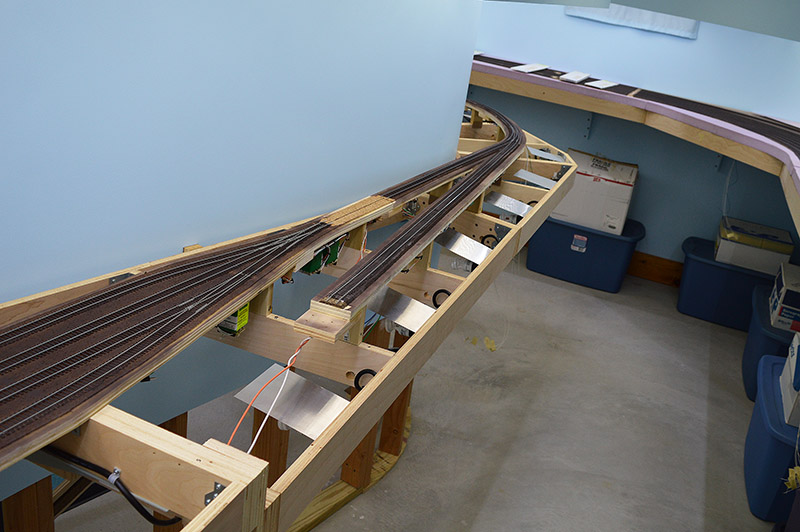
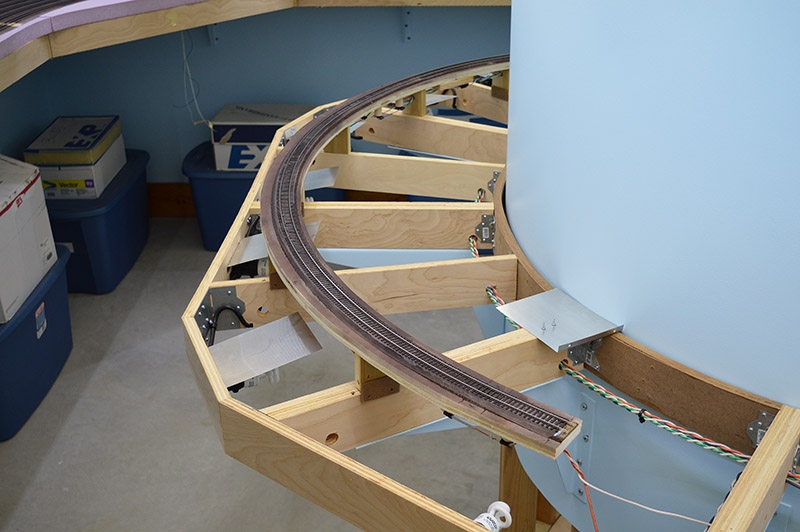
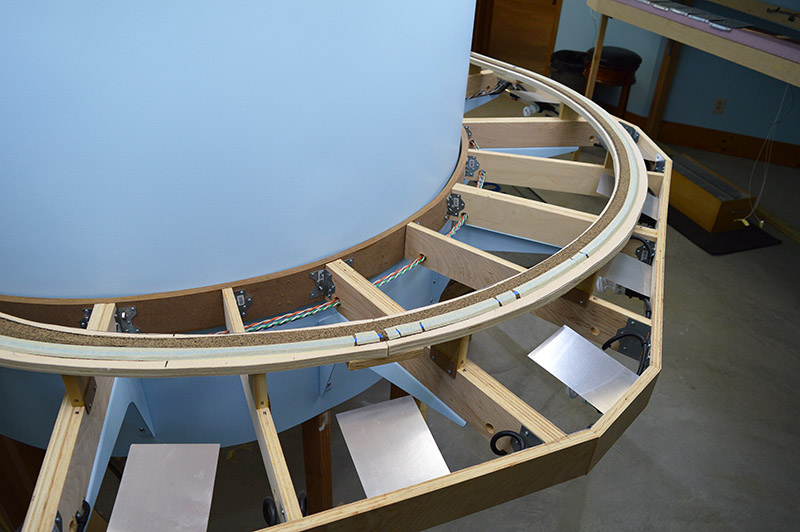
Perhaps you noticed in the pictures the module is not yet screwed into place or wired to the power distribution. There is a reason for that. I made an on-the-fly decision to combine Module 11 and Connector 9 into one unit to eliminate the need for a module connection in the middle of the big curve. During the construction of the sub-roadbed I placed a connector between Module 11 and Module 13 (yet to be built) to keep Module 11 from being a huge, curved, hard to handle, floppy piece of sub-roadbed. I was concerned a connector-less assembly could not be maneuvered out of the train room in one giant piece. So, I put a connector in the middle. Now two years and four months later when it came time to lay track I began dreading the fact there was going to be a module connection in the middle of the curve. I decided to see if it was possible to get the entire module/connector assembly off the layout and out of the train room. It worked! It was big. It was floppy. And it required thoughtful maneuvering but it did come out in one piece. Connection in a curve eliminated. However, doing so did mess up the whole module-connector-module sequencing. That is important because of the lap joint attaching method. Connectors sit on top of module laps meaning connectors are installed once modules on both ends are in place. By combining a module and a connector I essentially made a “modunnector”. Fortunately, the sequence error affects only one module – Module 13 the eastern approach to the bridge over the Potomac. The bridge breaks the module-connector sequence so I will only have to install backwards for one module. Hence Module 11 must be moved slightly to install Module 13 once it is built. That is why there are no mounting screws yet.
Whew! That was a long paragraph just to say I made an error in the design.
Superelevation
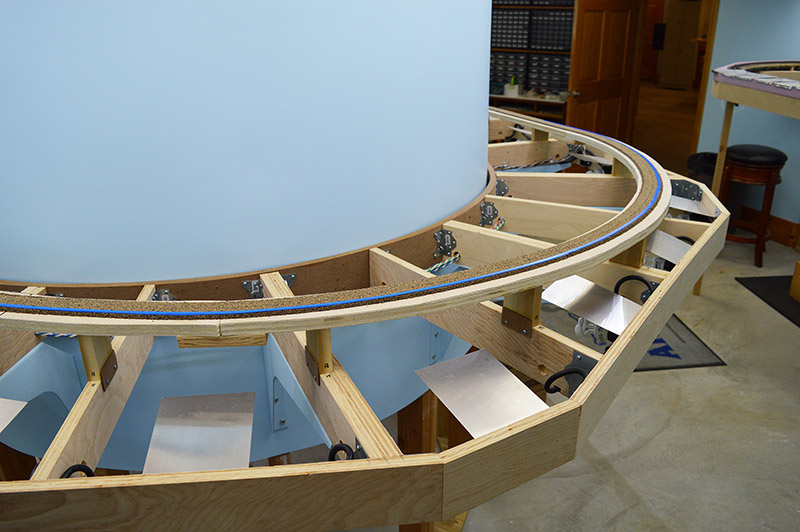
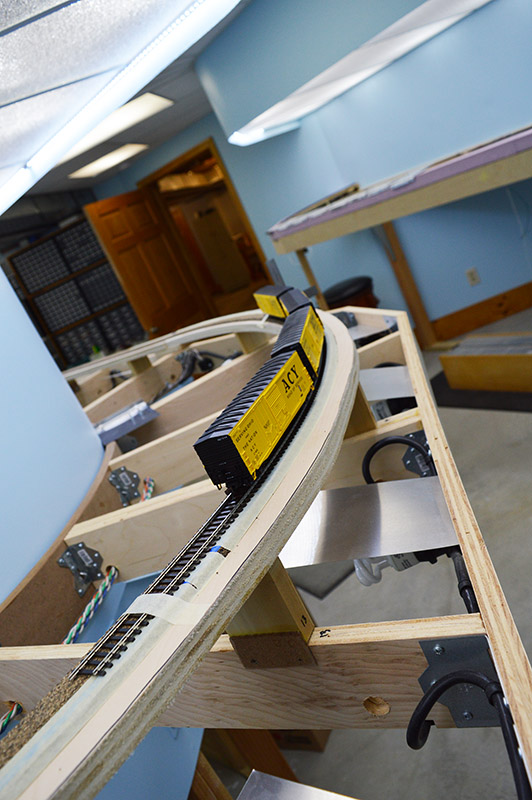
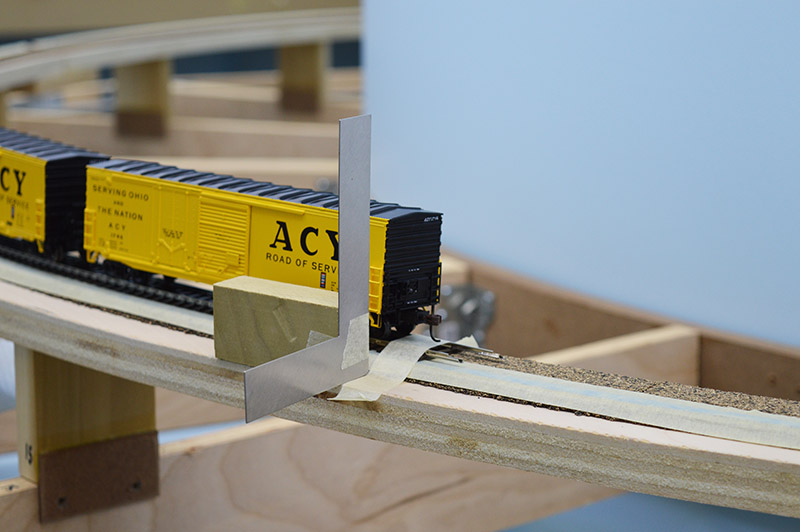
Module 11 is also the lone place on the layout where the track is canted, or superelevated in train terms. Basically, a banked turn for trains. Superelevation is functional on a real railroad. It helps minimize wheel flange to rail contact among other things. On a model railroad it is purely cosmetic. It simply makes trains look cool leaning into the curve when rounding the bend. 🙂
I used strips of tape to make the superelevation. There was an old roll of 3M blue fine line 1/4″ vinyl tape in my tapes cabinet. It must have gotten hot at one time because the roll was all distorted and twisted. 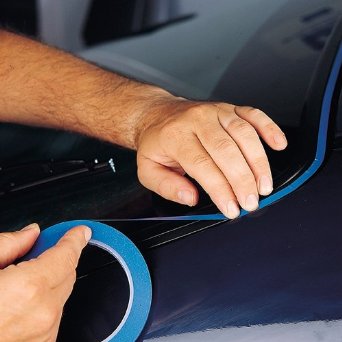 Certainly no longer useful for its intended purpose of two-tone striping during a car paint job but plenty useful for making a banked turn on my railroad.
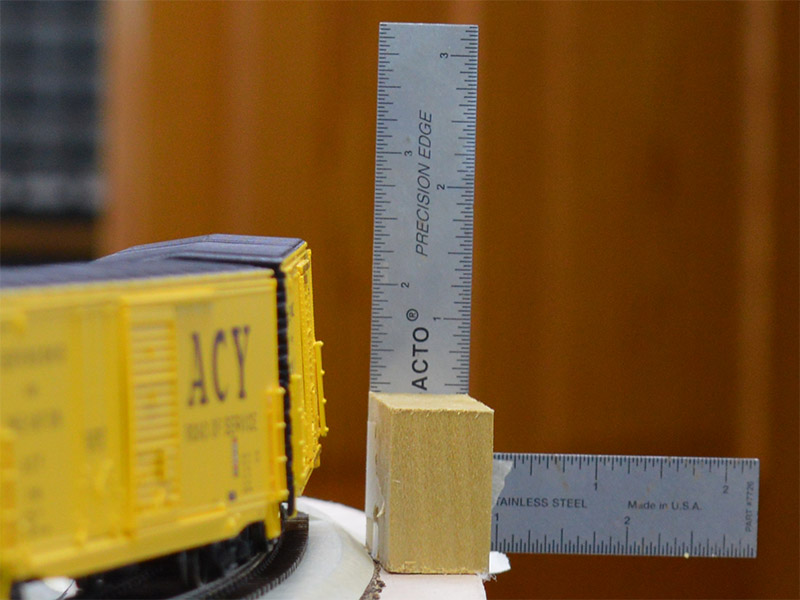
The tape was laid around the outer edge of the track surface beginning at the curve easement. Successive layers of tape were laid each starting and ending a couple inches from the end of the previous layer. A total of seven layers were used. 3M lists the tape as being 0.0052″ thickness. Seven layers = 0.0364″. Add a smidgen for the masking tape thickness and we get about 40 thousandths inch height. If my rusty geometry is correct, 0.040″ rise across 1-1/4″ track width, minus 1/8″ for tie/tape overlap, gives an elevation angle ≈ 2° or lateral slope ≈ 3.5%. I have no clue what slope real railroads use and I suspect they use a complex formula that considers more than just the angle of the ties. I used a very scientific method – keep adding tape until the boxcars look right. 😉
I discovered fine line vinyl tape doesn’t stick to cork worth a hoot. Masking tape does however. A layer of 3/4″ masking tape secured the fine line tape in place.
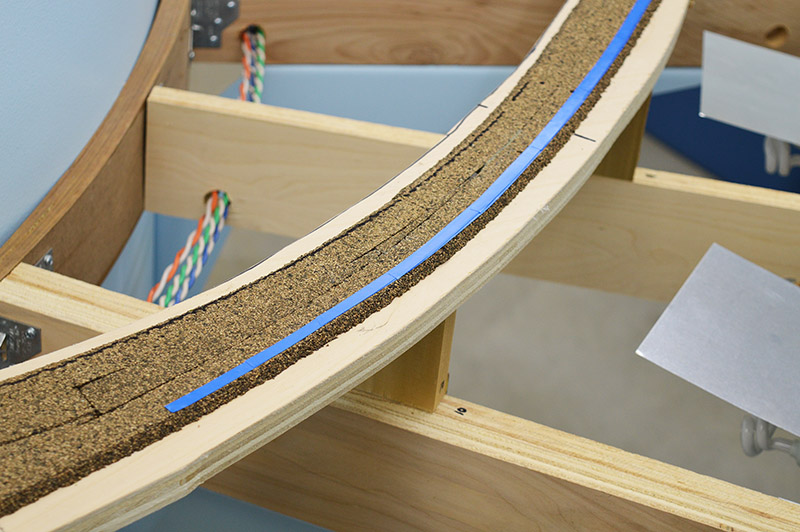
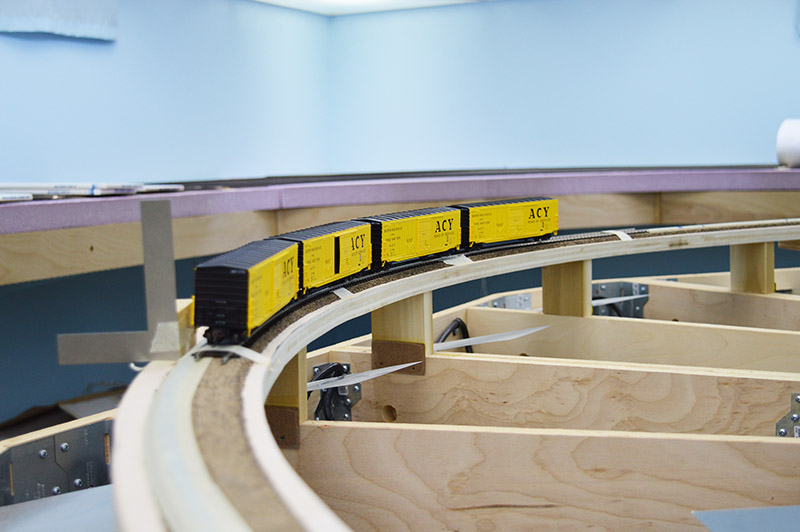
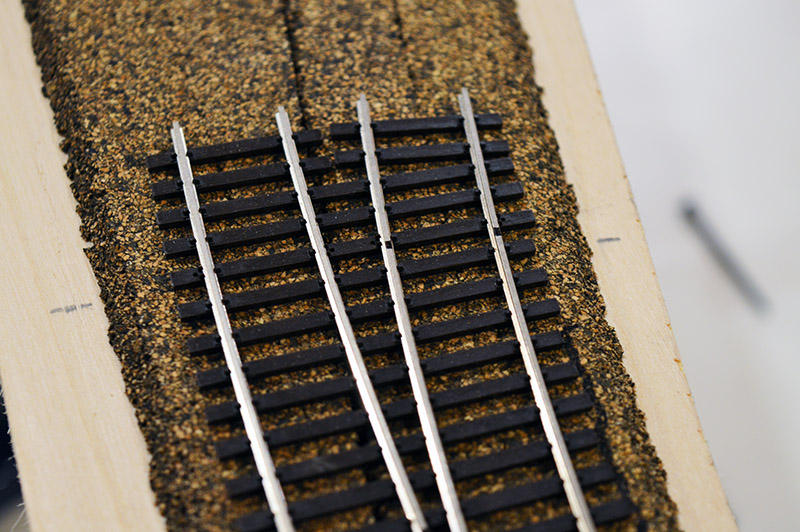
The final result:
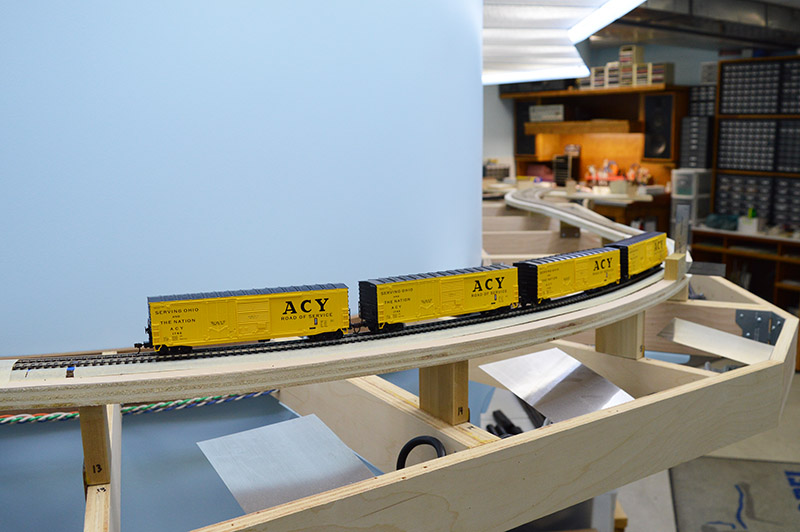
Copious amounts of caulk during track laying completed the angled roadbed. It required a bit of finesse to spread evenly and with the caulk’s short tooling time I had to work fast. It all worked out in the end.
Be careful what you design…
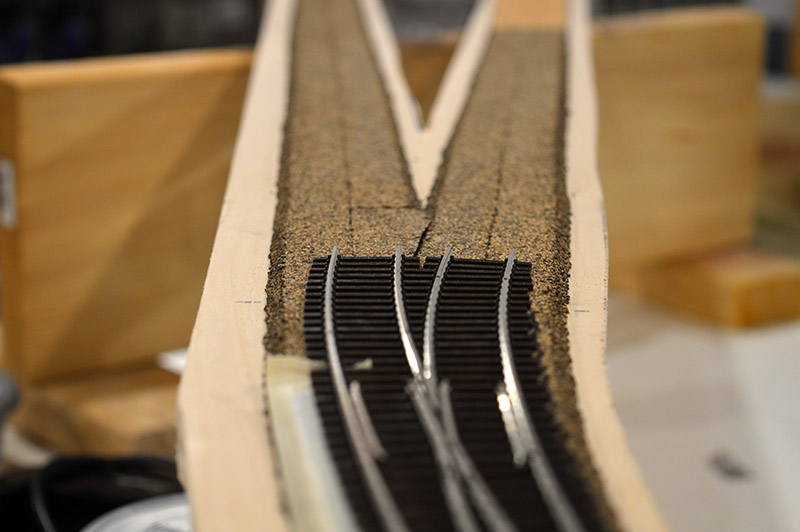
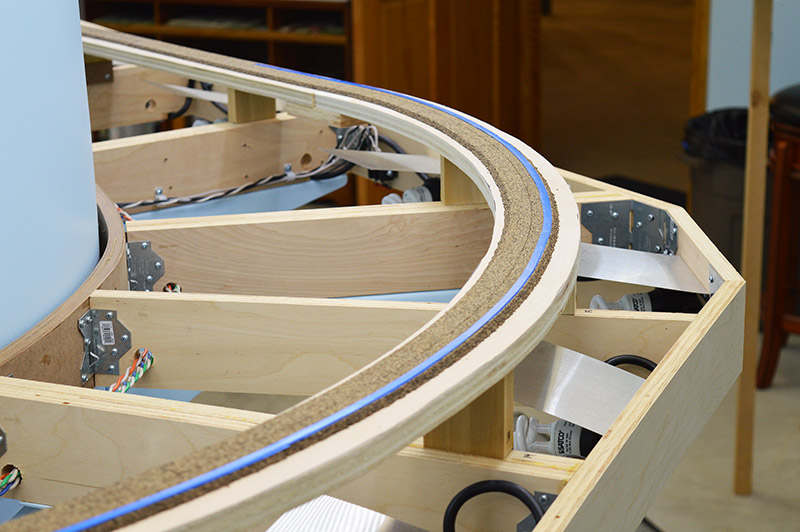
You will eventually have to build it. XTrkCAD is the software that was used to design the LK&O track plan. XTrkCAD allows you to modify commercial turn-out lengths. I put that functionality to use at the mine track turn-out from the main. A #8 Walthers curved turn-out makes a very nice gradual bend into the mine track. However, the turn-out is right at the spot where the curve easement begins. XTrkCAD allowed me to shorten the turn-out legs to fit. Easy on the computer screen, a bit more difficult in actual construction. To add to the complexity, the turn-out is part of the aforementioned superelevation. A curved turn-out that is part of a superelevated curve easement. Sounds like fun, huh?
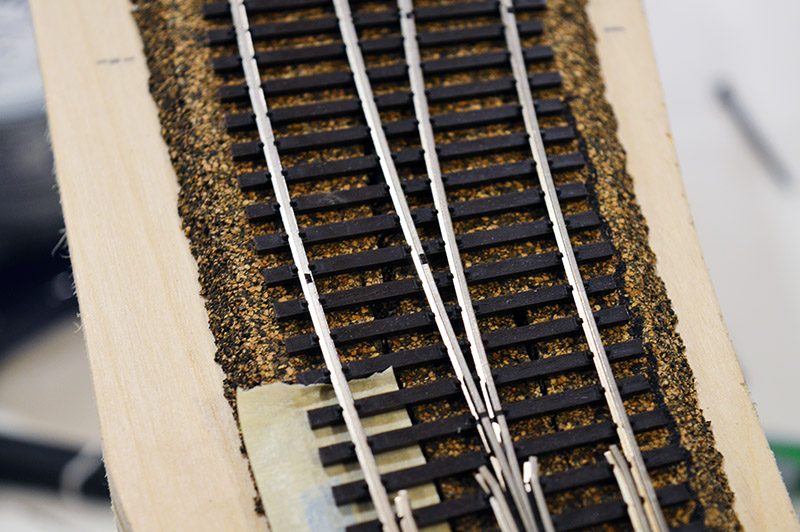
Here you see the stock turn-out in position and the overshoot of the curved legs:
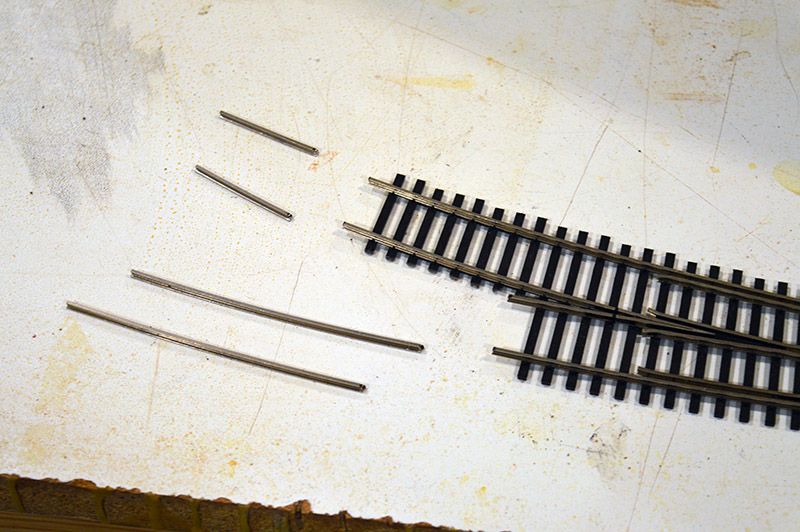
I sighted down the centerline and placed ink marker dots on the rails where they should be trimmed. You can just barely see the dots in the above picture. The turn-out was trimmed and ties removed to make space for rail joiners.
An ≈12″ length of mine spur cork roadbed starting at the turn-out diverging leg was sanded (by hand, by eye) to form a superelevation to level track transition. It didn’t take much sanding because the turn-out is right at the beginning of the superelevation (1-2 layers of tape). So little cork was removed I suspect I could have gotten by without doing any sanding.
I am happy with the final result – an easement leading into a superelevated curved turn-out:
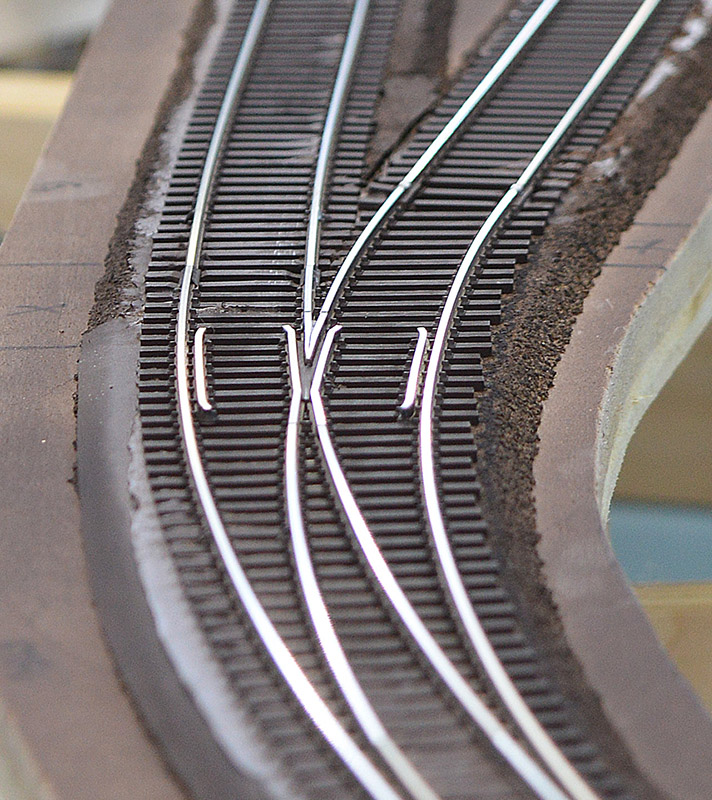
Pay no attention to the blobs on the mine spur rail connections. Those are insulated joint plastic that have yet to be filed to rail profile.
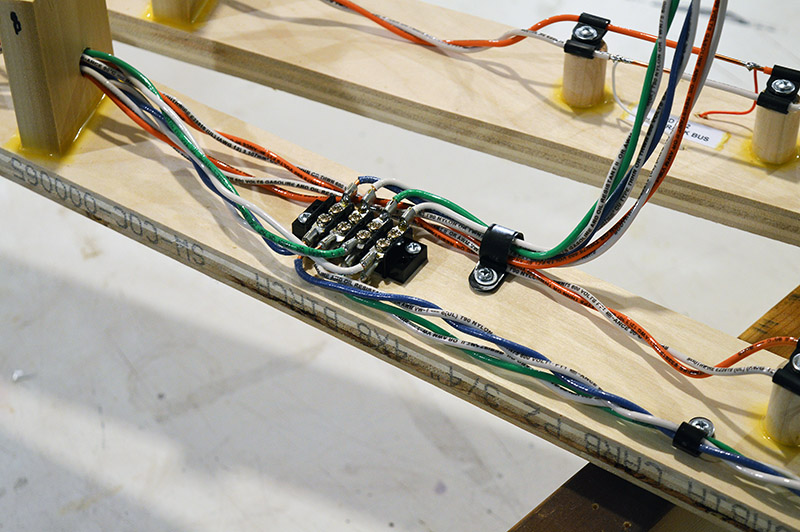
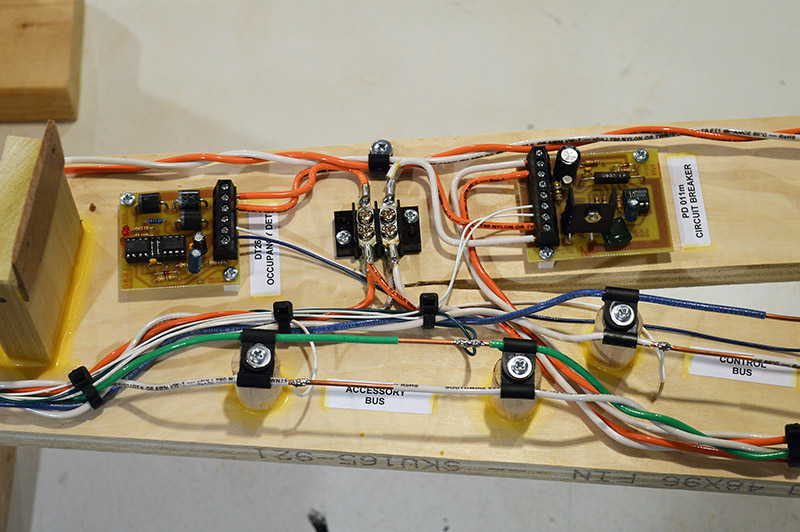
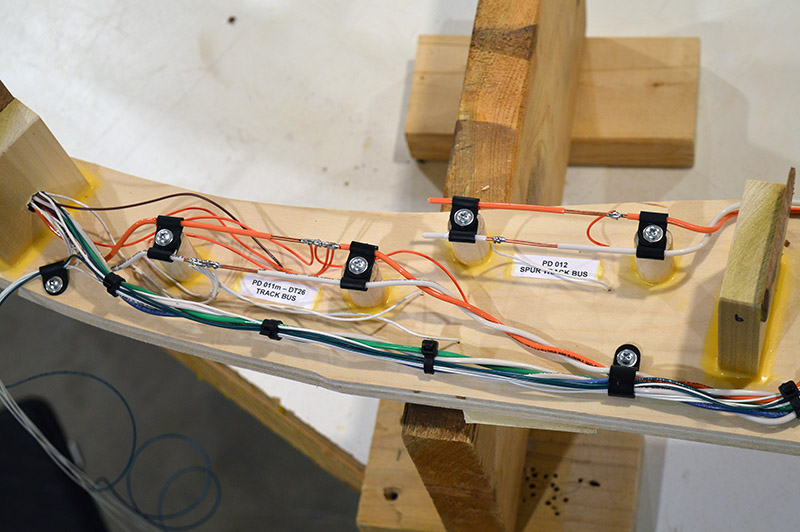
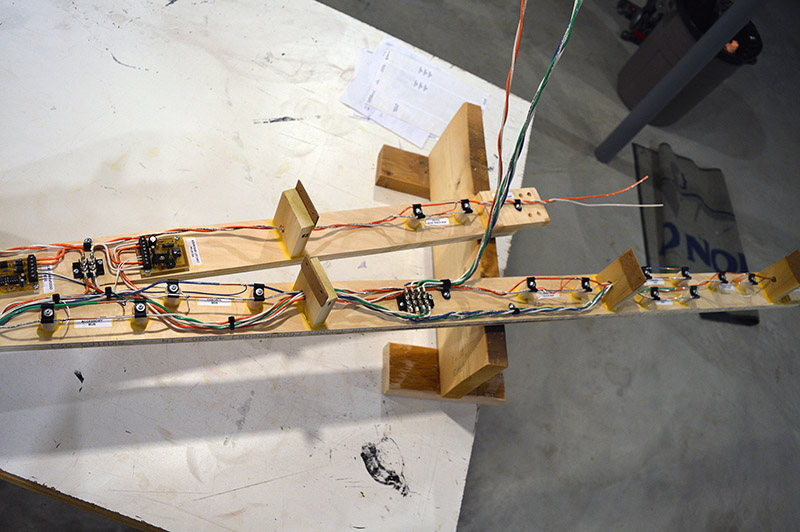
Other than the module-connector midstream change and the elevated curved turn-out engineering the module build was pretty much same ole, same ole. How about some miscellaneous build pics?


More superlative work, Alan. I really like the super elevation, looks great. Also notice you have ‘The Duke’ weatching over everthing! Nice touch.
Your experiences with line of sight techiques:
– “keep adding tape until the boxcars look right”
– “I sighted down the centerline and placed ink marker dots
on the rails”
– “sanded (by hand, by eye) to form a superelevation”
backs up what I have found over the years that careful planning is essential but “your eye” is the ultimate tool.
Looking superb…..
Great work Alan. One very impressive aspect is your attention to detail over the course of the project. You do not appear to have taken short cuts because of getting in a hurry to run the main line. This is going to be a super layout during every step of completion.Trains running around your big curve will look fantastic.
Rob C. – You know I am a huge fan of planning well however, planning eventually reaches a point of diminishing returns. Time to put down the pencil and just build. In my mind, small details such as superelevation angle and location of rail cuts are not worth the time spent to plan out although it would have been possible to do so. You are spot on – the eyes make the call just fine in these situations.
Thanks for the compliments guys. Rest assured I am having a very good time working on the railroad. The Duke is there to put a boot in my rear if I slough off!
Rob D. – Haste makes waste. True more often than not.
excellent work once again!