At long last I have reached a very major milestone on the LK&O build. Module 13, the last upper deck module, is complete. About time, right? It took me almost a year and a half to build the 13 modules required for one deck! I never laid claim to being speedy. 🙂
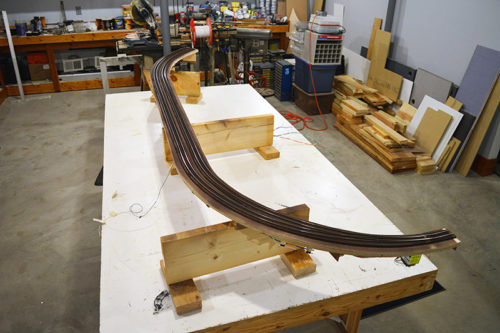
You may be thinking “Hey, what gives? Why no picture of the module installed on the benchwork like you have always done in the past?” There is a reason. Before module 13 is placed in its final position I am taking the opportunity to prepare the area for modeling the Potomac River. The work will be much easier with the module out of the way. Here is a quick snapshot of work in progress on the riverbed. More about it in a later post.
If you read the previous post you know I was delayed a bit on this module because I ran out of occupancy detector circuits. That won’t happen again. I set up the circuit board assembly line and made a big ole pile of them. Enough to get me through the two helices and the lower deck with spares left over.
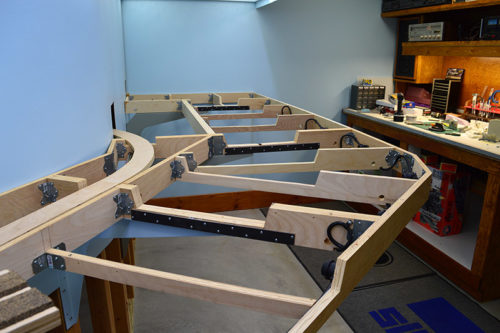
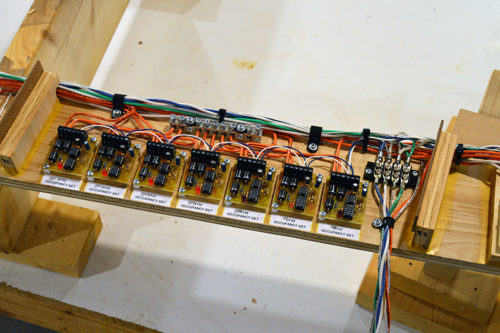
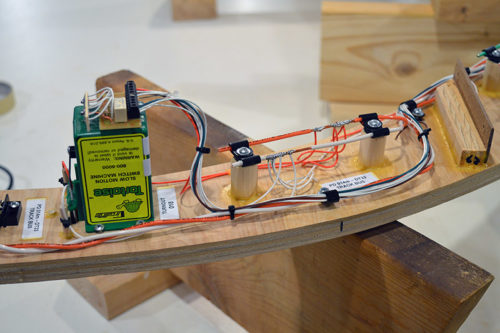
As you can see, module 13 consumed seven of them already.
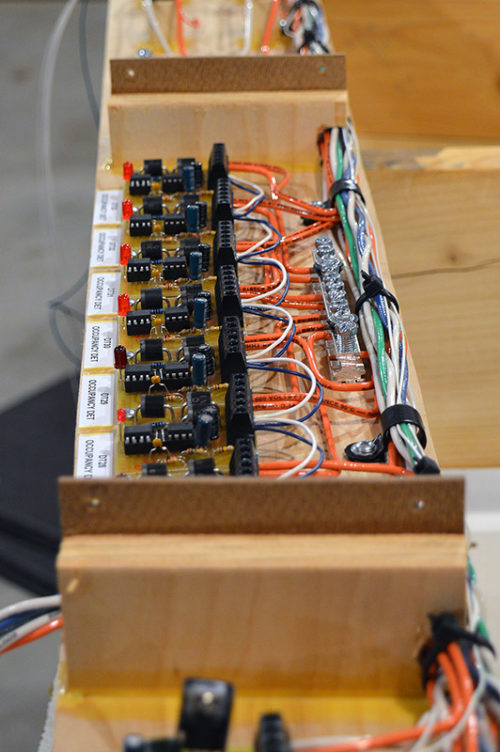
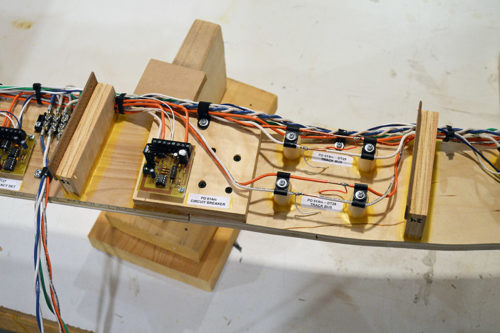
Here’s another view that looks kinda cool. Also illustrates how crowded it became as more and more wires were run. Even had to do a little after-the-fact notching of the risers for sufficient wire raceway space.
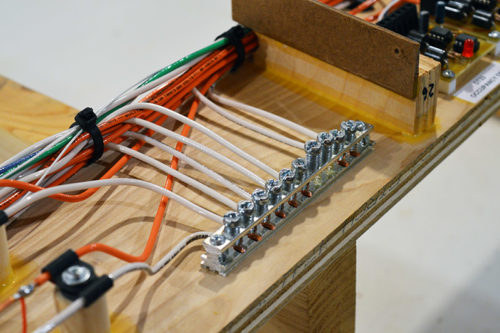
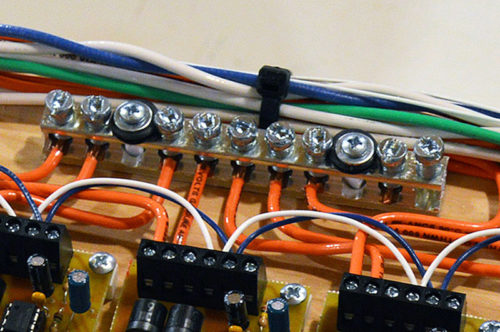
Check out the load center grounding bar used as a power point in the above photo. It is on the positive rail from the circuit breaker. Previously, I had used grounding bars only on the negative rail. The occupancy detectors are constructed to allow daisy chaining of the power supply leads but I wasn’t comfortable chaining seven of them in a row. That’s a lot of connections for power to go through by the time it makes it to the last detector. Hence the use of a grounding bar. It made for a lot less connections in the circuits. I did the same on the ground side.
Wood isn’t a bad insulator but it isn’t a great one either. If the humidity is high there could be a little current leakage across the two bars. To prevent that possibility I made the positive bar insulated from the wood. A piece of cellophane packing tape is on the bottom of the bar, square polystyrene tubing is around the mounting screw threads, and rubber grommets are under the screw heads. Presto! An insulated bar.
There is only one switch machine on module 13 so control wiring was easy.
Even though there are seven detection blocks, like the switch machine there is only one circuit breaker on module 13. Five wires and done.
Looking now at the picture I realize I messed up. That orange/white track bus wire pair for DT28 should have been routed through the nylon clamp with the rest of the wires. Oh well, I won’t lose sleep over it. It is solid 12 gauge wire so it’s not like it is going to fall down. 😉
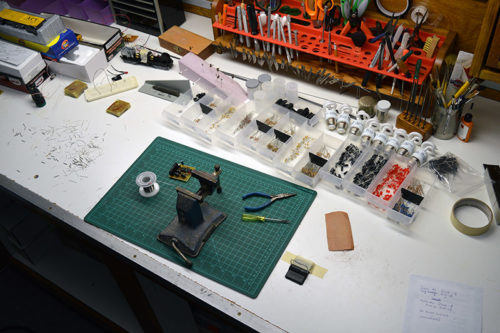
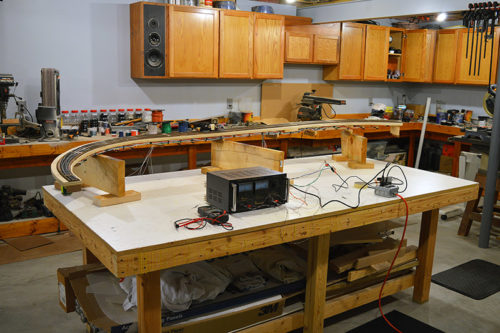
Here is a photo of final testing. Notice the bench is clean? That’s a sign I am done building modules for a while.
Once the riverbed work is finished and module 13 fixed in place, I begin fascia and control panel construction. That will be a nice change of pace.
I have to tell you I am excited. With the completion of just a little more work I will be able to run my first train all the way from the yard at Brittain to the tunnel at Kitzmiller. That will be a fun day.

OK, Alan…you have finally proved that you are human (DT28)! I was beginning to wonder…heh heh… seriously, that is some of the finest wiring I have ever seen and as a former electronics tech, I’ve seen plenty. Congrats on the milestone. How ’bout a vid of a train going the whole route? Can’t wait for the next installment!
You betcha. The first train over the line is certainly video worthy. Consider it done. Thanks for the compliment. As Red Green says “If the women don’t find you handsome they should at least find you handy!”
Excellent work Alan. Thanks for sharing…
Anyone who quote The Red Green Show is alright in my book! 😉
Great job!
Congratulations on this truly awesome milestone Alan, it is a great feeling to get everything ready for the first complete run of a train, and have all of your trackwork installed.
What’s inspiring and just amazing is the amount of work you have achieved in a year and a half, whilst you say “about time” I simple look at the wiring alone, coupled with the engineering and master level build quality and say “how did you do it, in a year and half”!!
Again congratulations, run that inaugural train, and I look forward to the next build stage!
Jas..
Phillip Moore says:
May 23, 2016 at 6:24 am
Hi Alan, Congratulations on your milestone. I neglected to answer your reply to my lighting system way back, that I am using similar to yours. I was using 28 watt and 42 watt energy saving halogen globes running through 10 amp circuit breakers. I have now converted to 5 watt dimmable led corn bulbs that give off tremendous brighter light, no heat and will use little power all for $3.50 each here in Australia. Congratulations on your milestone with module 13.