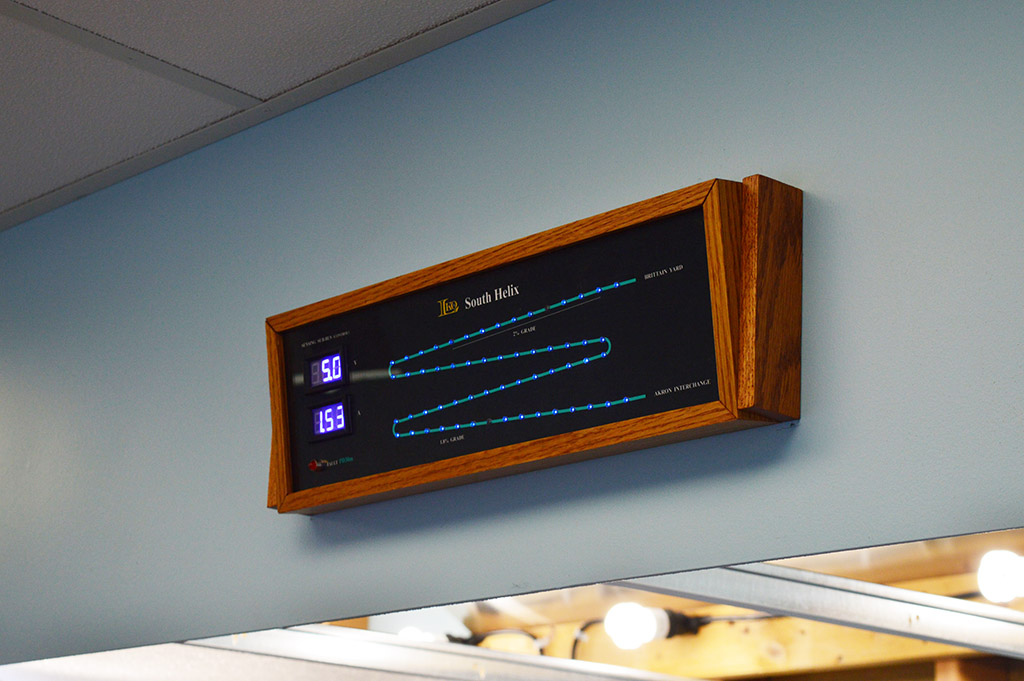
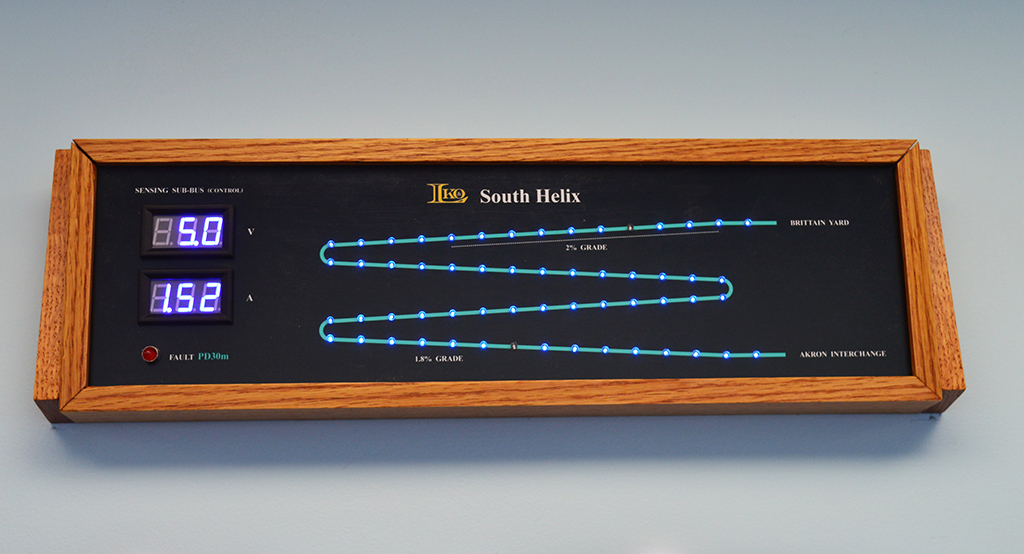
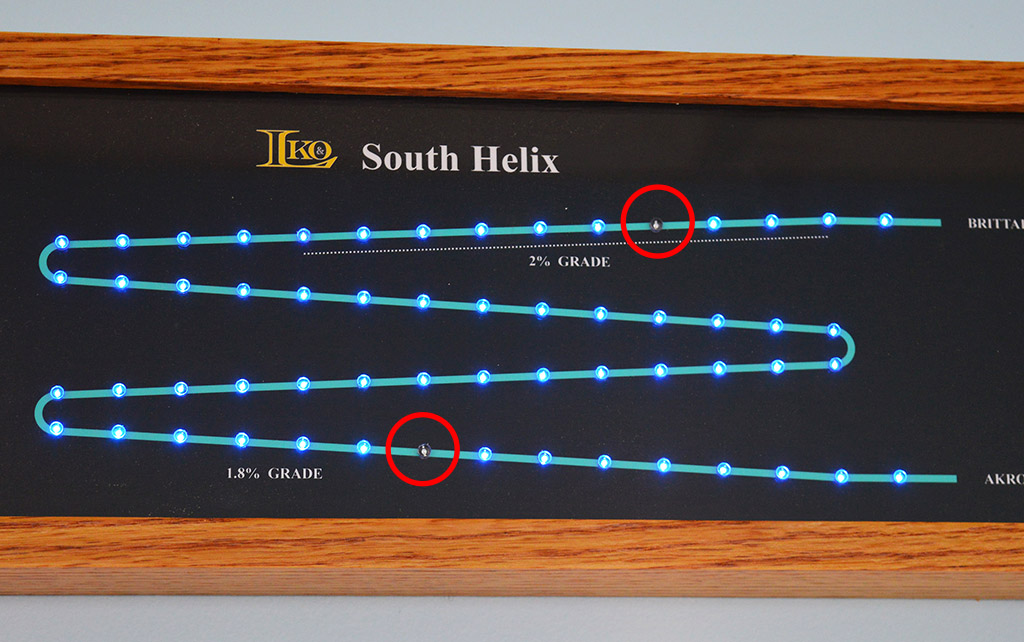
I mounted and wired the south helix valance panel (as detailed below), threw the switch, and marveled at the glorious display of little blue lights. Strings of railcars were pushed up and down the helix while I gleefully watched their progress on the panel. Alas, the joy was not to last. 15 minutes in LED number 5 begins to flicker and then extinguishes for good. ghay’cha’ Three days later LED number 50 does the same thing – flicker and die. ghuy’cha’
I suppose it is my fault. I failed to burn in the LEDs for an hour or two to separate the good from the bad. My penchant for buying cheapo overseas electrical components from eBay and AliExpress came home to bite me on this project. So instead of celebrating the completion of the helix project, I find myself reworking the panel. That is, after a new set of LEDs spend some serious time running at full brightness.
Mounting the panel
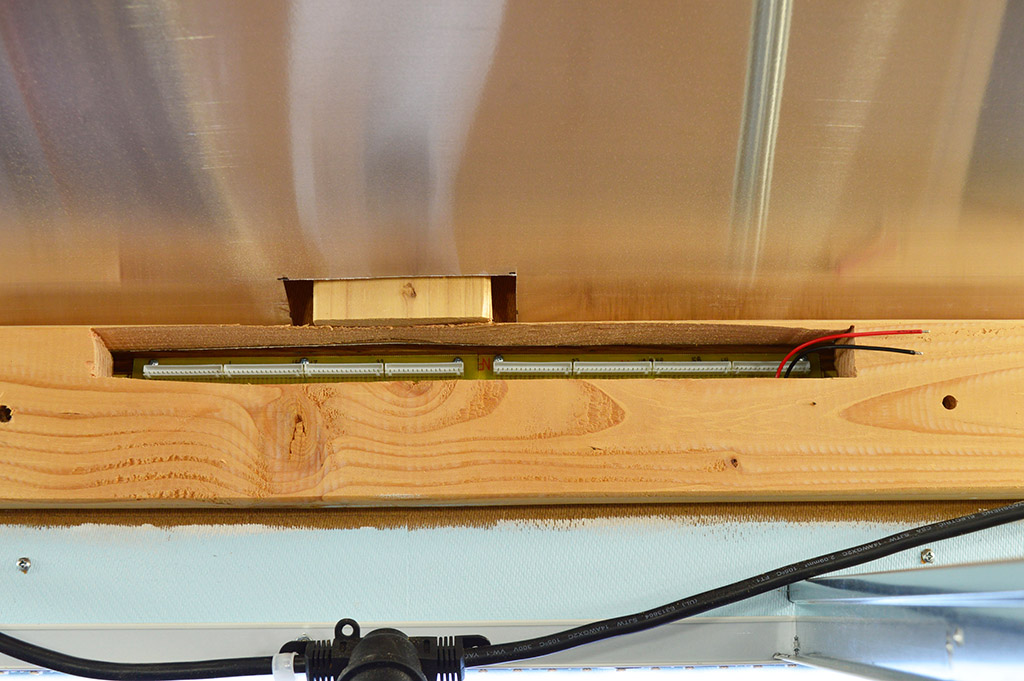
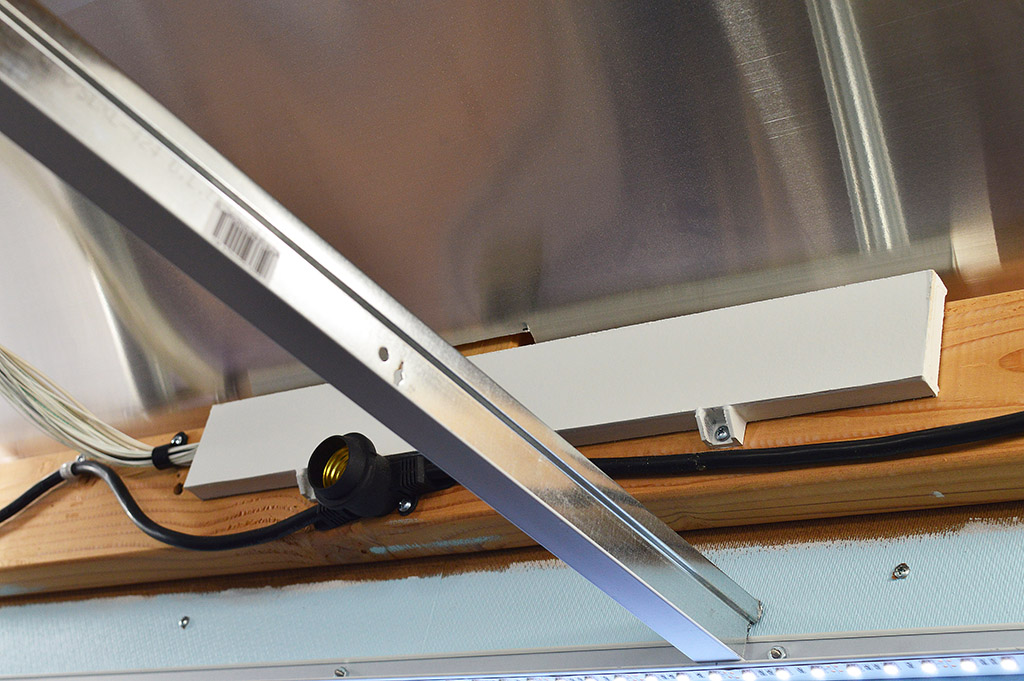
A rectangular slot was cut in the lighting valance for access to the panel’s backside connectors. As luck would have it, the slot was in front of the 2×4 support for the valance. Not ideal for access to the connectors but it is workable. Panel was secured in place with #8 screws from the rear.
Wiring harness
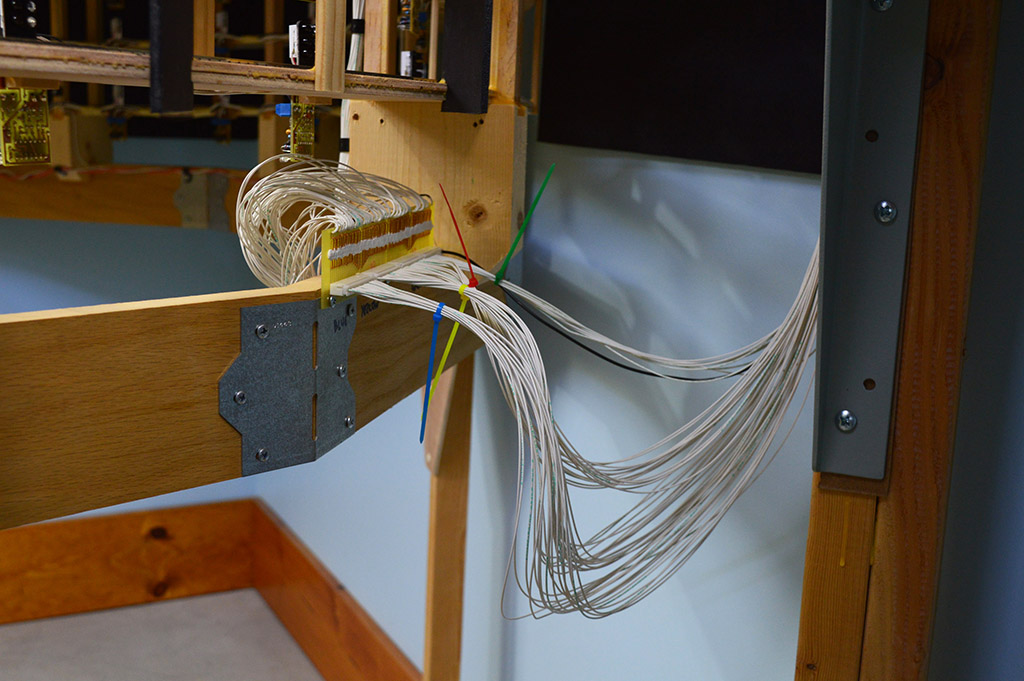
The wire run from panel to helix is 11 feet. I cut 58 pieces of #22 stranded wire to length. Terminals were soldered on each end and inserted into connector plugs. As an aside, I emptied yet another spool of wire. That means there is 4,600 feet of #22 wire in the layout somewhere!!! Wonder how long it will take to consume the latest 2000 ft roll.

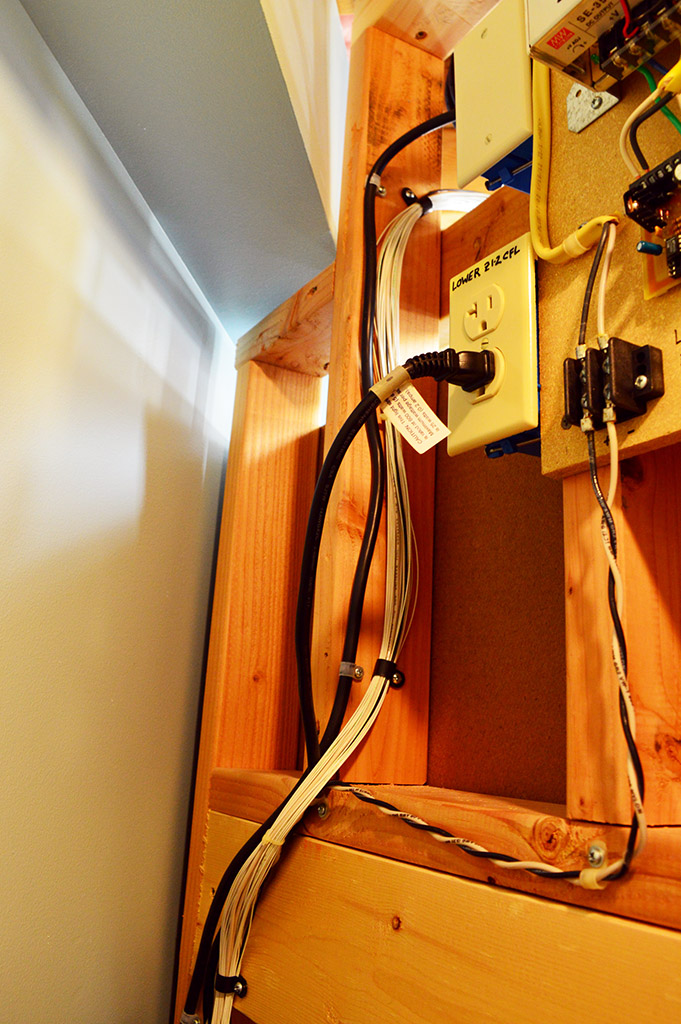
A pair of #14 wires connected via a barrier strip provided connection between power supply and ammeter. Two additional #22 wires run between the district circuit breaker and the fault indicator LED on the panel. Lastly, a #18 wire provides 5V for the common anode connections to the LEDs and the meters. The plugs were color coded with wire ties.


The wiring harness is suspended on a hook to keep everything above the lights so no shadows are cast.
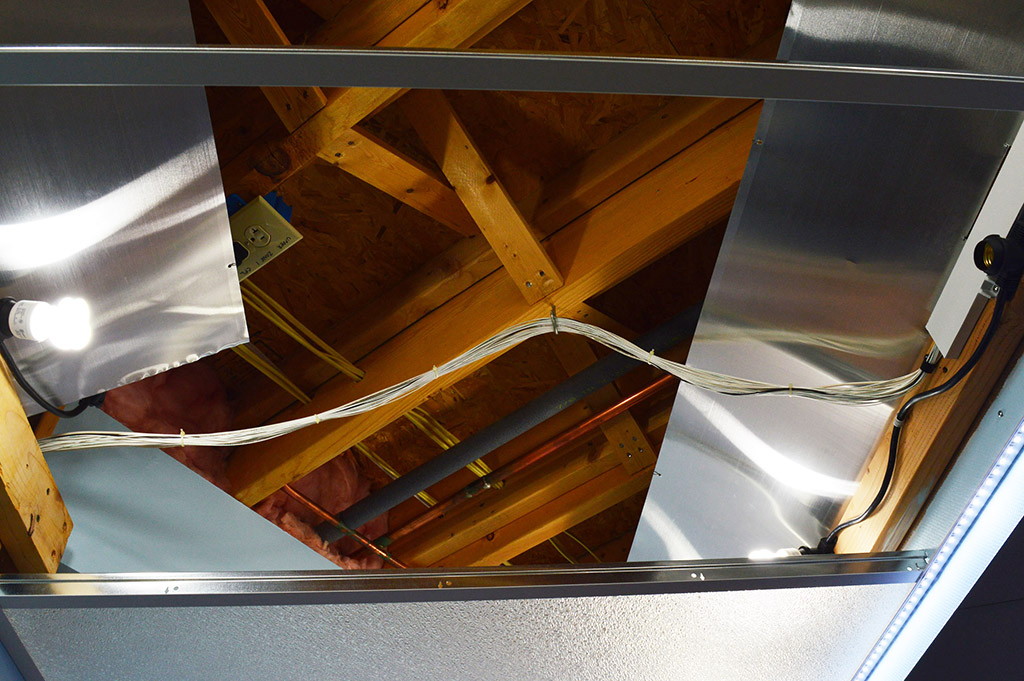
The harness snakes its way down the rear of the backdrop to where it meets the helix. I added a little extra length at the helix connector in case the wiring needs moved for some unknown future addition.
Cover plate
To prevent light spillage from behind the panel I glued together a cover plate from 3mm hardboard and painted it white. Hardboard and wood glue are a match made in heaven.
Now if you will excuse me, I have a panel to overhaul before the holiday activities get into full swing. Hmm, I wonder if the Christmas tree would fit inside the helix.
Merry Christmas everyone!

I attempted a helix on my very first railroad, it was a dismal failure! I’ve avoided them like the plague since, but if I ever decide I must have one I know where to go for the inspiration and guidance to get it done right!!
Love your work.
More exemplary work! Love the visual representation of the Helix spiral.
Alan: Your prowess of all things electrical astounds me. I have zero aptitude for this aspect of the hobby – all the connectors and boards and gadgets and thingamabobs and gizmos make my head hurt. Your work is “exemplary” – to quote Mr. David.