I got sidetracked… again.
I’m using #8×1/2″ sheet metal screws on the nylon clamps holding the control panel wiring to the benchwork. My screws were stored in myriad containers from bags and boxes to soup cans to butter dishes. All jammed and stacked haphazardly in a cabinet. There was an inordinate number of ‘miscellaneous’ containers containing a hodge-podge of sizes and styles. It was a nightmare trying to find any quantity of a specific screw. While searching for more #8s to use on wiring clamps I said enough is enough. I’m going to cleanup this mess.
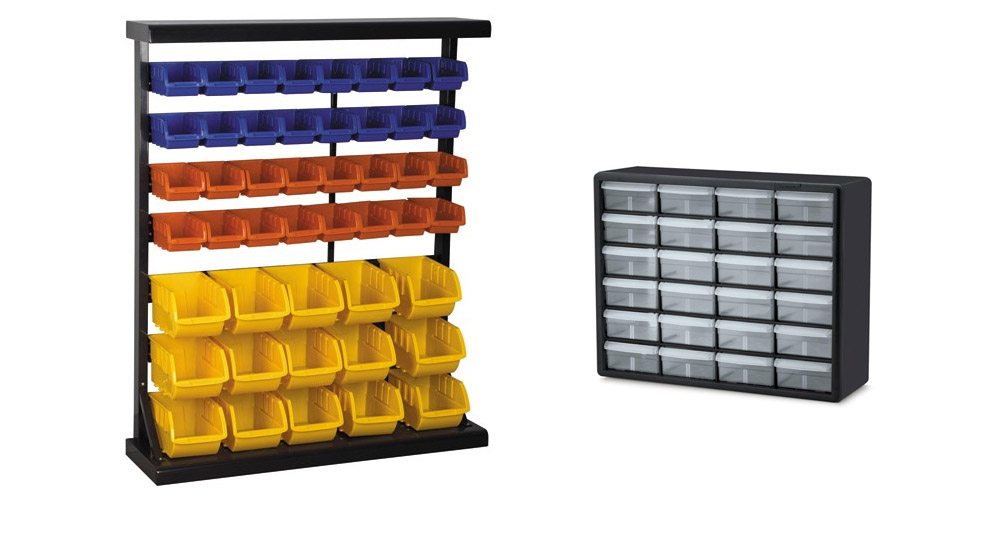
My original thought was to buy some sort of organizers.
But what fun is that? I bet I can make something from stuff I already have. And since I am building to suit I’ll make something sized specifically for the wall space I have available. Time to raid the wood rack for my favorite sheeting – hardboard. Found a sheet and a half of 3mm. Off to the races!
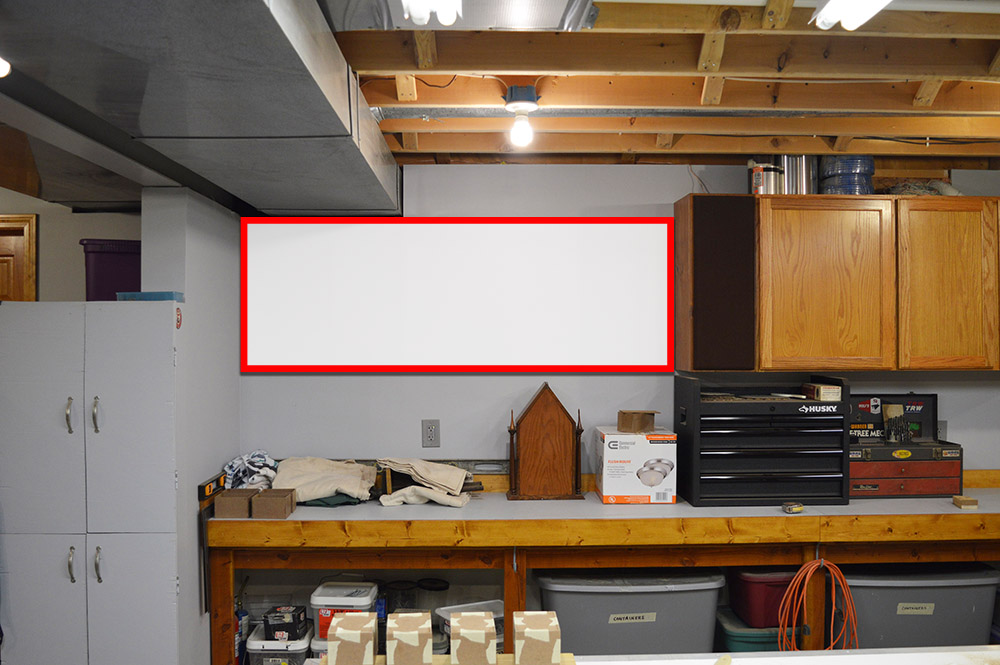
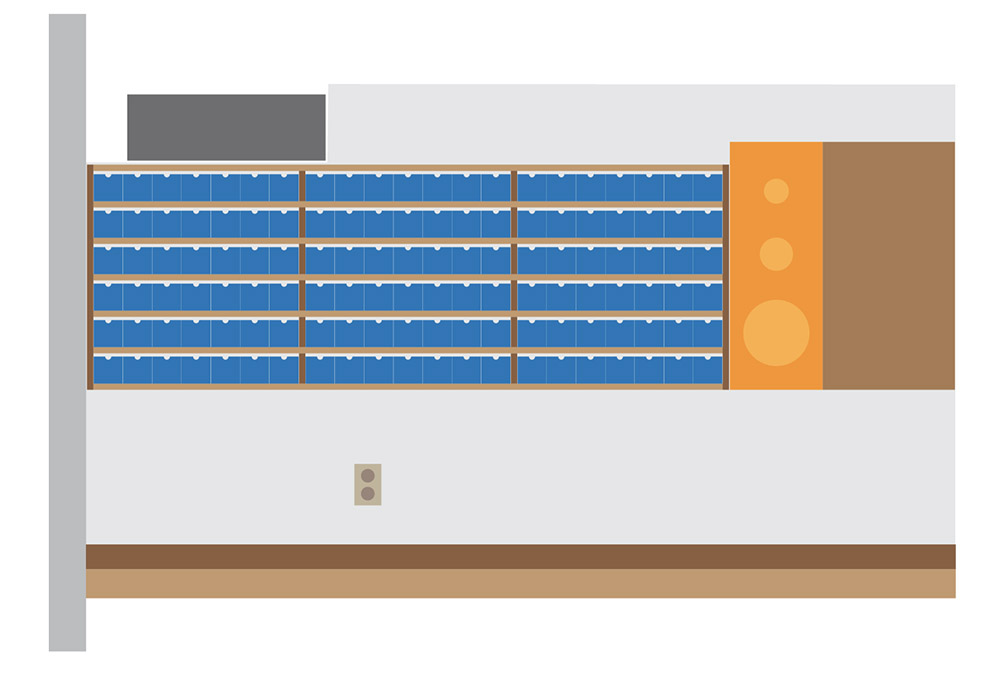
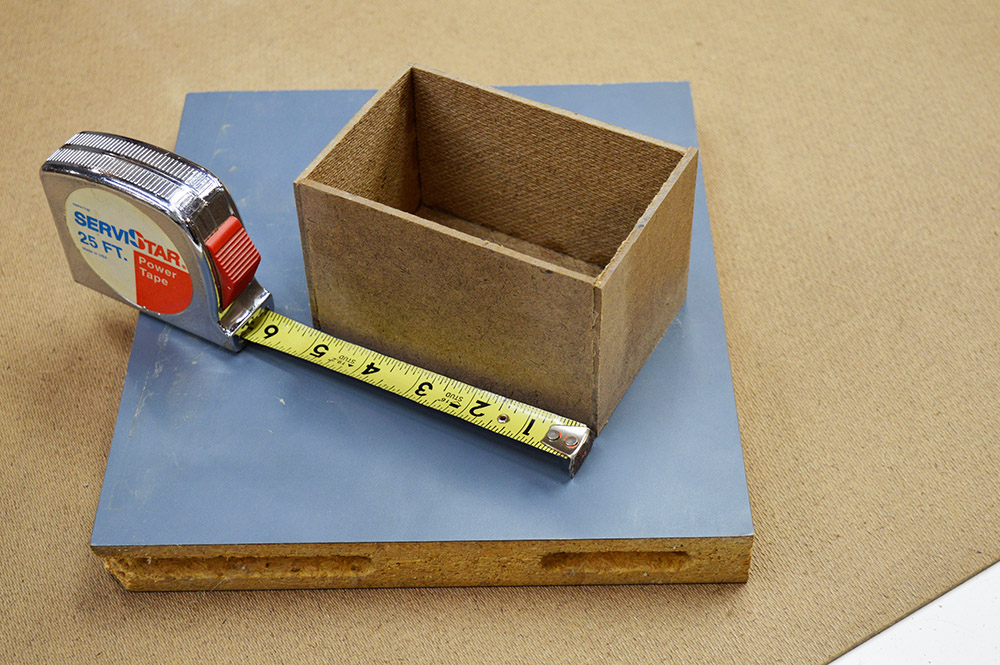
I made a scale drawing of the space and then tried various combinations of drawer widths and shelf count until I settled on a design that would provide 126 compartments each 3-1/4″H x 3-1/4″W x 5-1/4″D supported on 1×6 shelves.
First up was slicing strips of hardboard from the 4×8 sheet and then cutting them down to the panel sizes of the boxes. 4×8 sheets of floppy hardboard are less than fun to put across the table saw by yourself so instead I used a straightedge and the circular saw on the workbench. A couple spacers made repetitive cutting of same width strips easy.
The stack of strips was then cut in masse to box sizes on the miter saw resulting in a supply of box making panels.
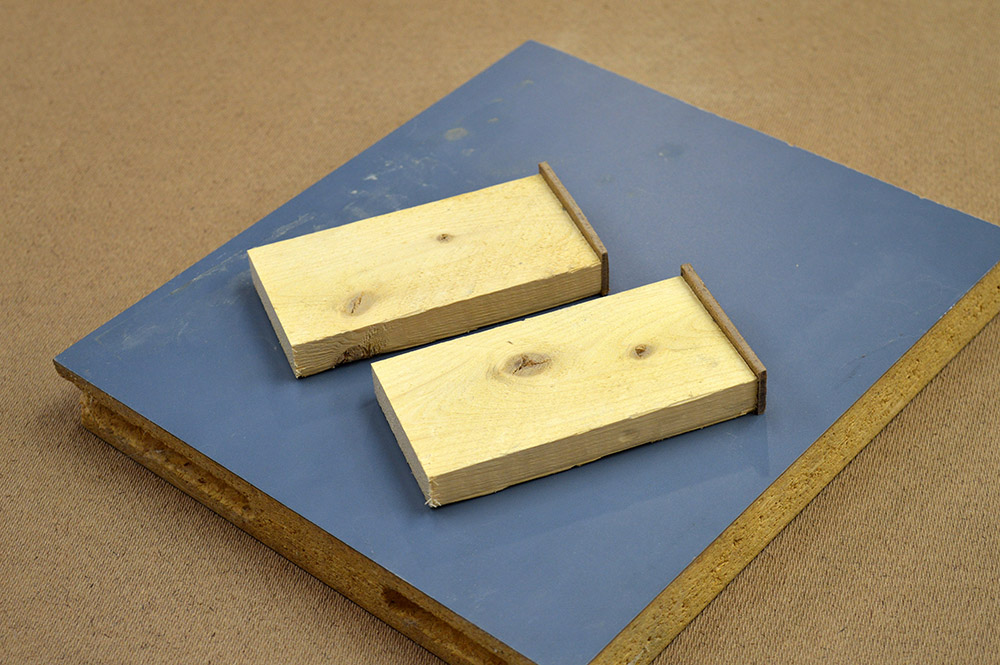
To glue up 126 uniform boxes that are square and straight, a jig was called for. This arrangement allowed me to assemble boxes upside down guaranteeing the top surface was uniform around the box. Any height discrepancies would be on the bottom of the box. Chamfer on the jig keeps oozing glue from getting on the jig. I placed a bottom panel on the top of the jig, spread glue on the edges of each side panel and then fit them against the jig and bottom panel. Once secured with masking tape a box could be lifted off the jig.

With the process in place it was time to setup an assembly line. Once the initial glue joints set I then added glue fillets on all the inside seams. This required an hour setting time between each box rotation and subsequent seam fillet application.
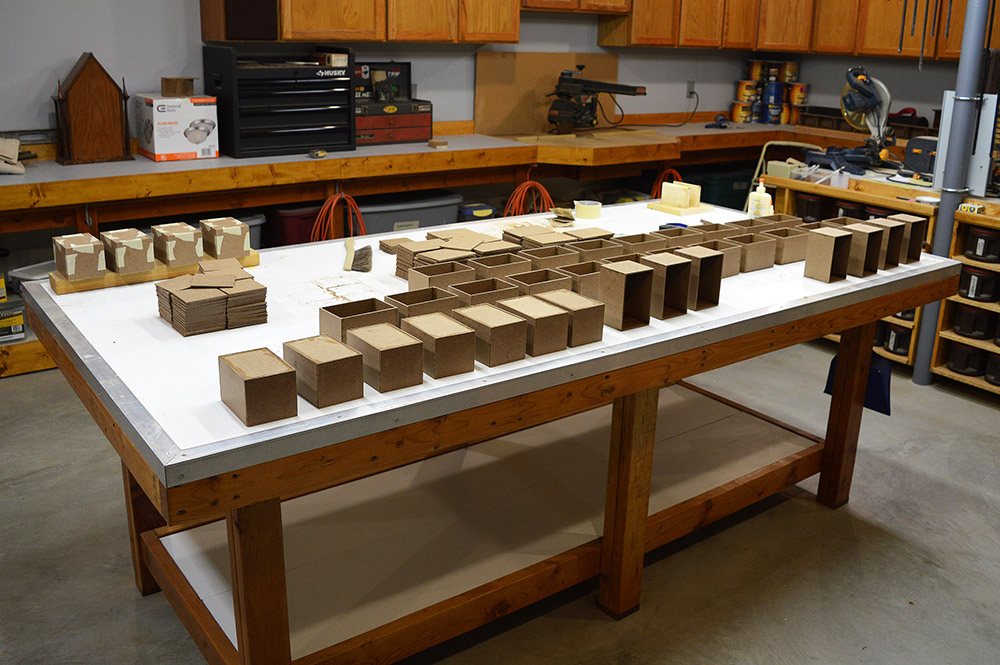
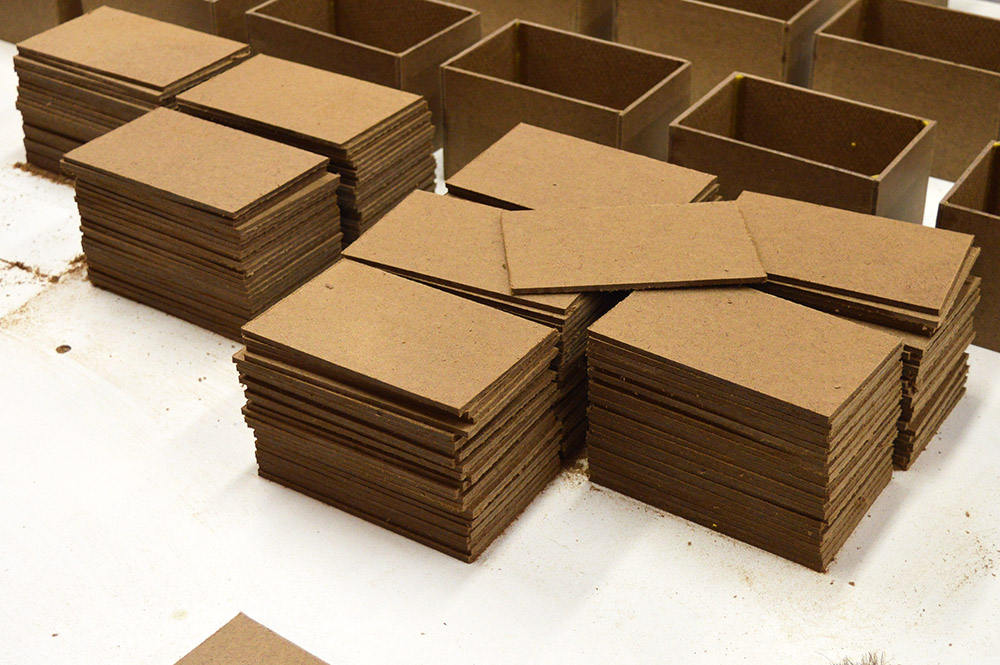
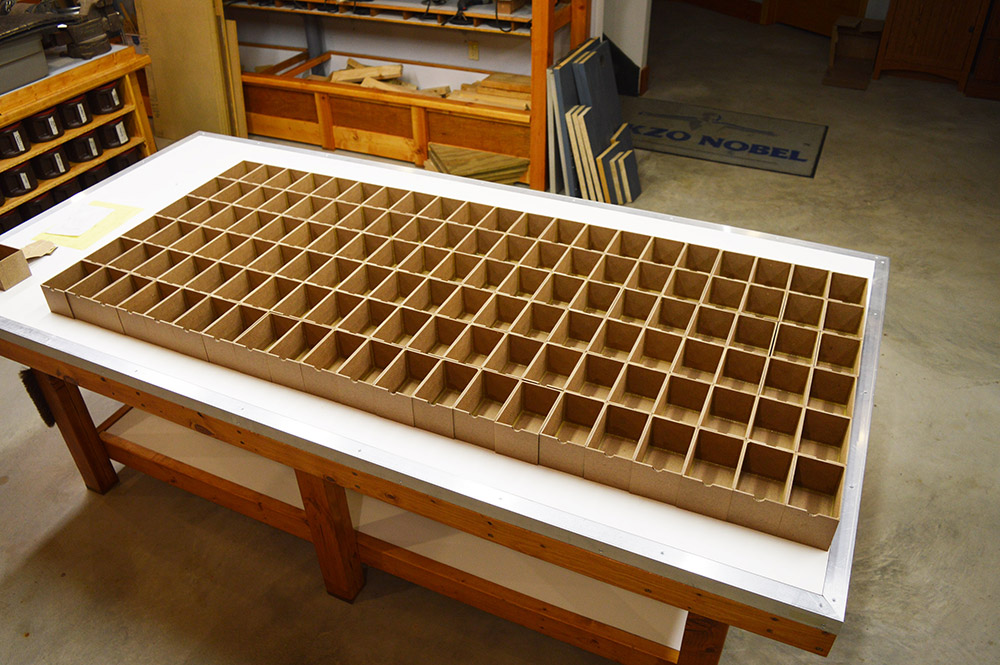
In the picture above you can see the jig in the upper right, boxes that have just been assembled in the upper left, and boxes getting glue fillets all down the near side of the workbench. All and all, I went through almost a gallon of wood glue. But boy does it make for strong little boxes. Hardboard and wood glue are a match made in heaven. On multiple occasions I accidentally dropped boxes to the concrete floor. Not a single one broke. The final sizing step was to lay the bottom of the box on the belt sander until the side/end panel heights were flush with the bottom. Not much sanding needed as all I was doing is sanding off the slight inaccuracies from the original strip cutting operation.
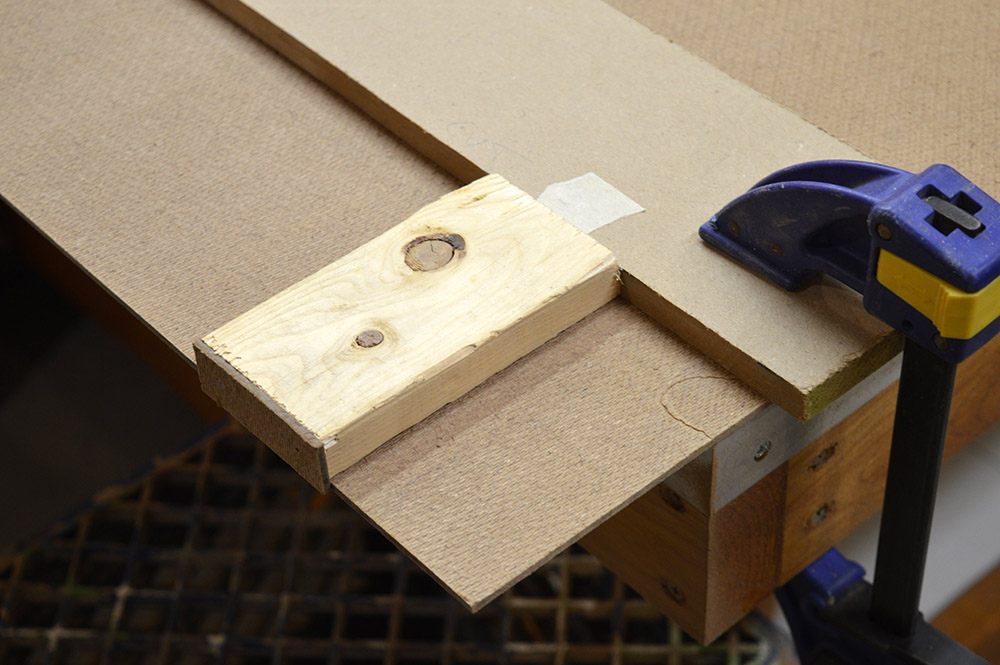
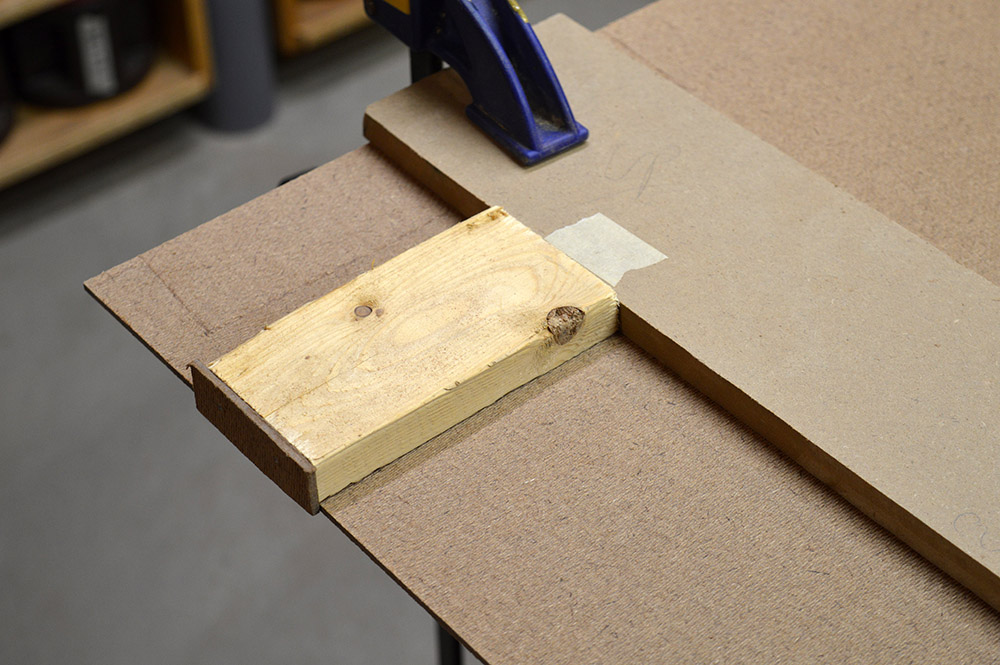
A finger notch was cut into the end of each box using a 1″ straight cut bit on the router table. I clamped a temporary jig (two side rails and a fence stop) so I could rapidly feed boxes to the router and get a uniform depth, centered finger notch. A little touch up sanding made a box complete. Repeat 126 times.
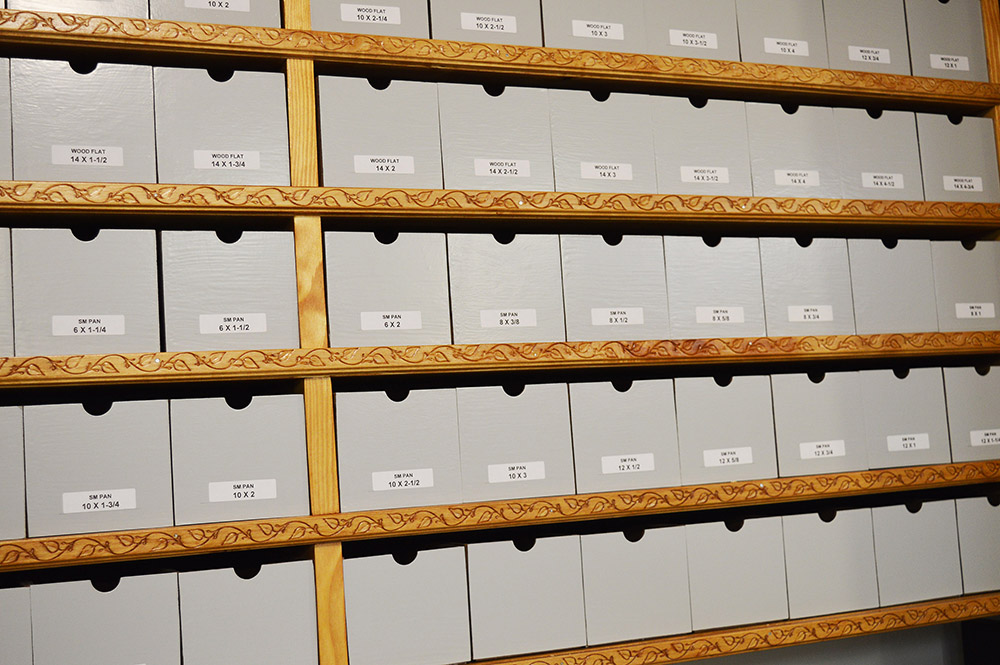
When all boxes were done I then applied a couple coats of shop gray paint to the face panels and left them to dry while I made the frame. The frame is very simple. It is nothing more than a few 1x6s screwed together with a strip of decorative trim across the front to knock down the homemade look. The back is 1/2″ MDF and is screwed to the wall studs with quite a few big ole #14 wood screws. Some stain and varnish completed the frame so up on the wall it went. Labels on the boxes completed the project. All finished we have this:
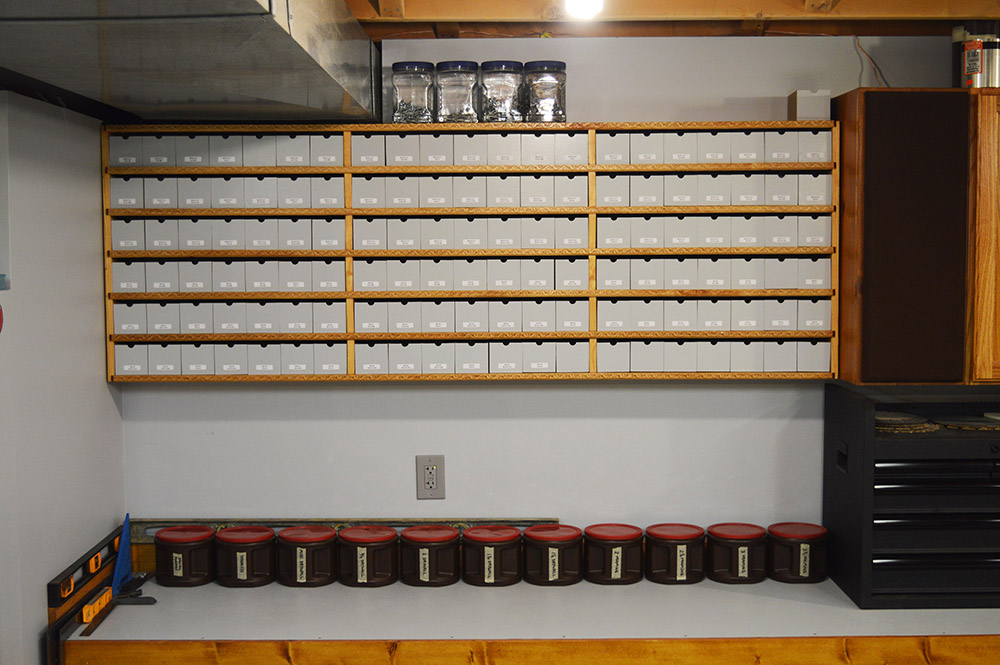
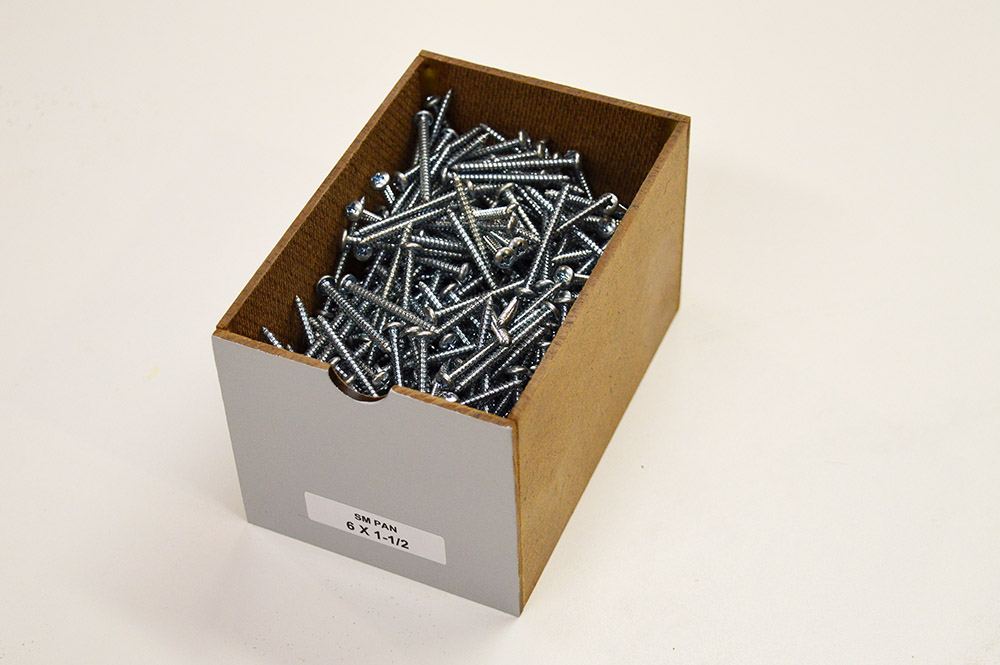
The screw organizer top half is wood screws, the bottom half is sheet metal screws both in sizes #4 to #14 in all standard lengths. Where I have more screws of a single size than will fit in a box, let’s call it overstock, I put them in peanut jars and set them on top. Below the organizer in coffee cans on the bench are drywall and framing screws. There are so few sizes of those screws that no fancy cabinet is required.
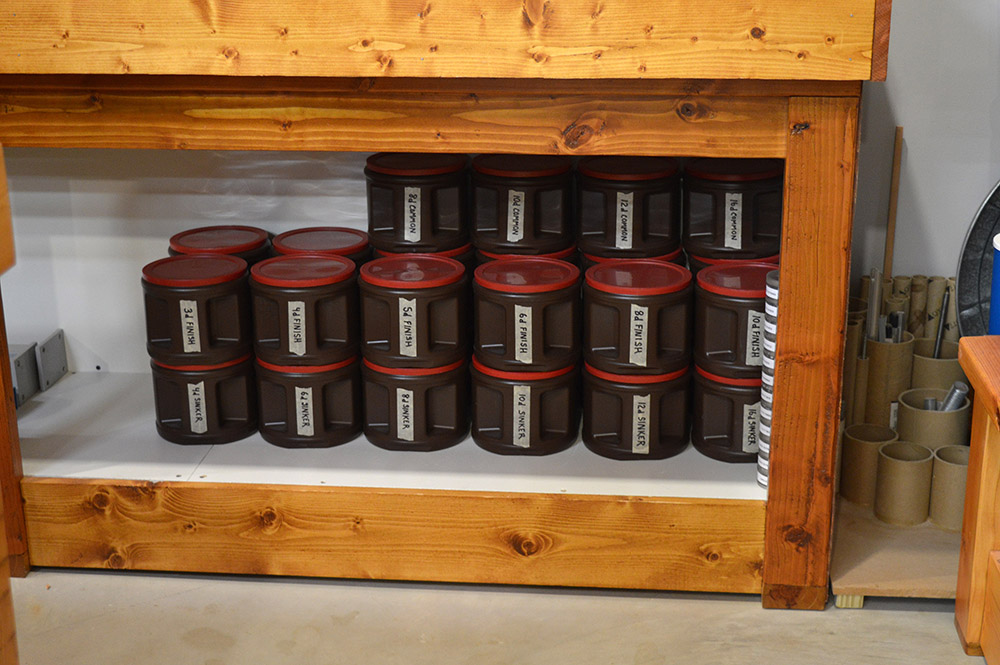
I was on such a fastener organizing kick I decided to do nails as well. I’m not a carpenter or framer so nail use is rather infrequent for me. Stacked up coffee cans suffice. At least the nails are sorted.
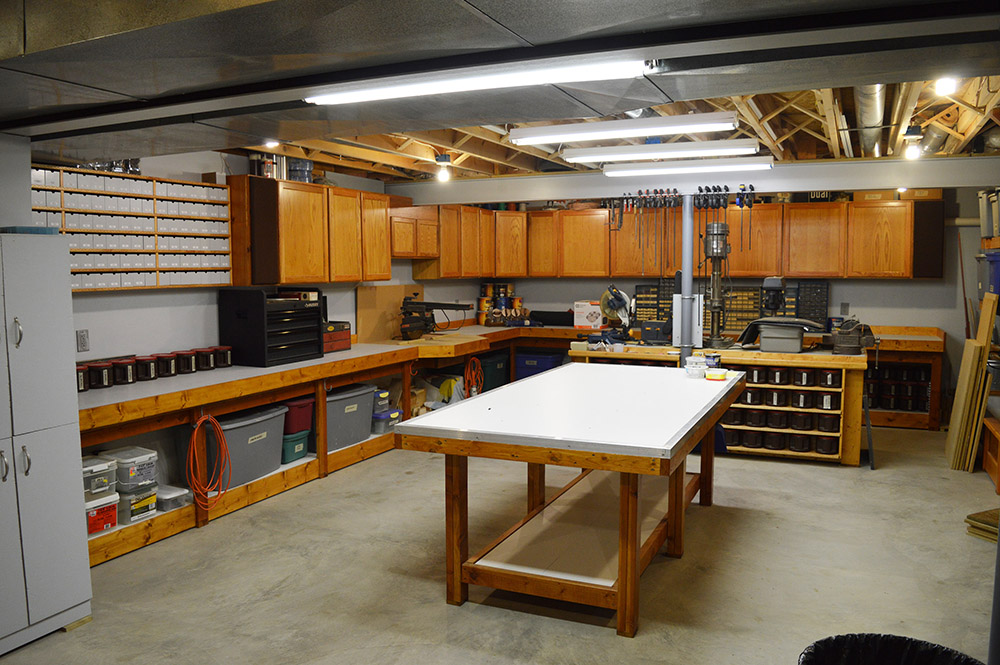
The screw organizer officially brings to an end any more wall mounted storage in the workshop. I’m have no more empty wall space!
My frustration with finding a handful of screws turned into a multi-day project but at least I’ll never have to search for screws again. Now, with a handful of #8×1/2″ screws it is back to panel wiring, what I was doing before getting sidetracked… again.

Looks better than Lowes or Home Depot. Sure must be nifty to have a basement but those are rare or scarse here in Yuma Arid-Zona HOT
If only my garage workspace was so neat and clean and .. organized! I’m using the ‘screw the peanut butter jar lid(s) to a 1×3, nailed to the rafter (temporarily) organizational technique.
Just think ….. once you’re finished benchwork construction and you don’t need a myriad of screws you can recycle the boxes to hold parts for locomotive and rolling stock kitbatching, and when THAT’S over you can use the boxes for storing structure parts, little people, and layout detail!
Stan
P.S. Love the blog and the construction articles … I’ve used your party light system and am planning to follow your excellent wiring concept on my layout.
Thanks Darryl. A basement and a model railroad do make a nice pair.
Stan, Long ago I too used jars on the rafters. I am so fumble fingered that I would occasionally drop one. Not fun. Glad to hear the blog is useful to you.
Wish I had that workshop space, another 16 sqm would do perfectly.
Your organisation skills are again out of this world…
Jas.