Making some progress. Finished stripping the old finish off of the existing workbench and the sewing table. The workbench pieces were relatively easy. They were coated with Minwax stain and Minwax Polyurethane. It sanded nicely. All it took were a few hours hanging on the DA sander and they were clean.
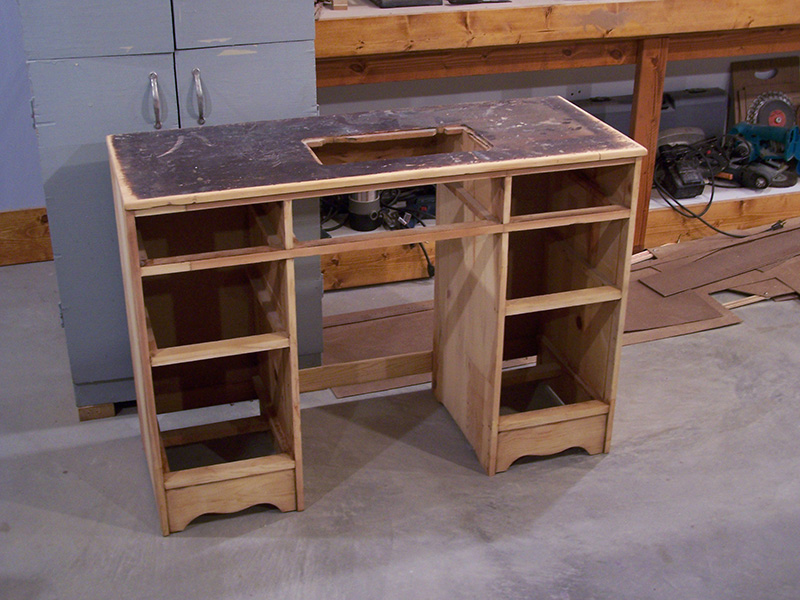
The sewing table was a different matter entirely. I don’t know what was used to finish the table but I suspect it was some sort of old fashioned varnish. The stuff could not be sanded. Instead, it melted and rolled into blobs that immediately clogged the sandpaper. Enough of that silliness. I soaked it down with lacquer thinner! Oh yeah, that melted it in a hurry. Then I was able to scrape off most of the goo with a putty knife. After an overnight dry to let the lacquer thinner evaporate out of the wood I went back after it with sandpaper. Still wasn’t a joy to sand but at least I was able to sand it. A few more hours on the DA and the sewing table was clean. Stripping the top was not necessary. The new frame for the wall-o-little-drawers will cover the top.
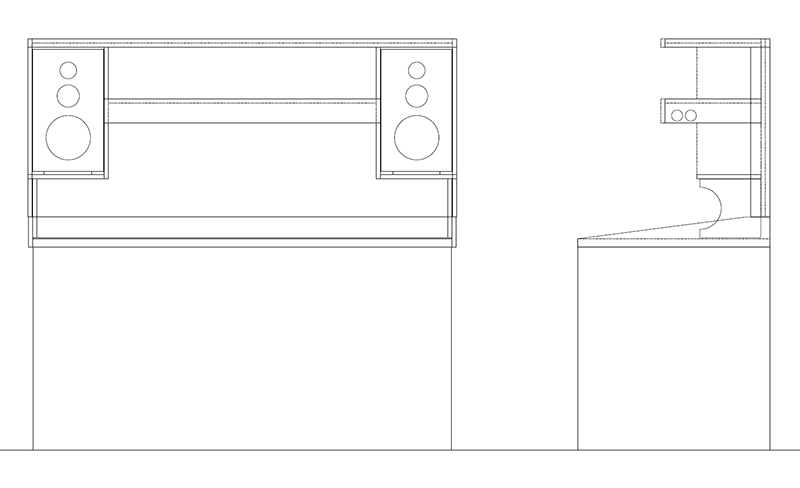
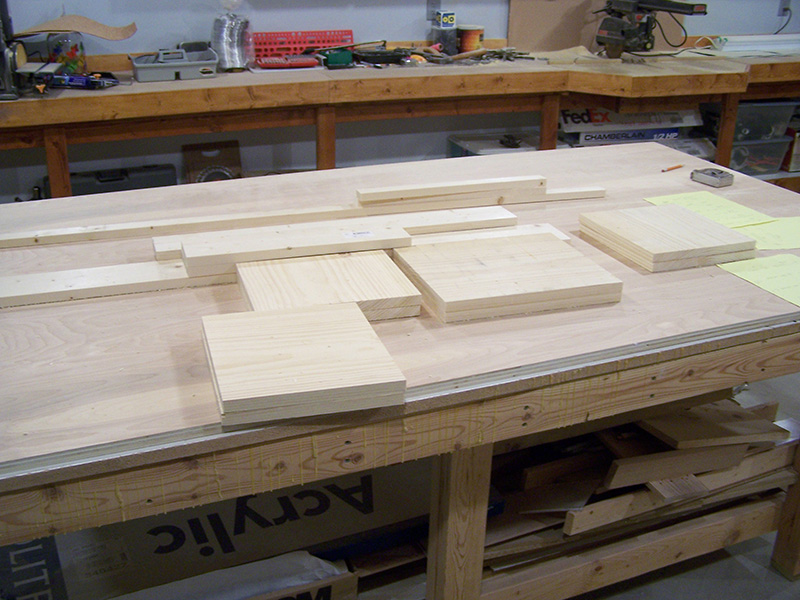
The hutch design for the workbench is finished. I had a picture in my mind of what I wanted but an illustration is nice so I drew up a little plan in Illustrator to take measurements for the pieces. A trip to Home Depot for a bit of lumber and with the saw fired up I am cutting pieces. After a test fit I’ll begin assembly.
Let the sawdust fly!

Leave a Reply