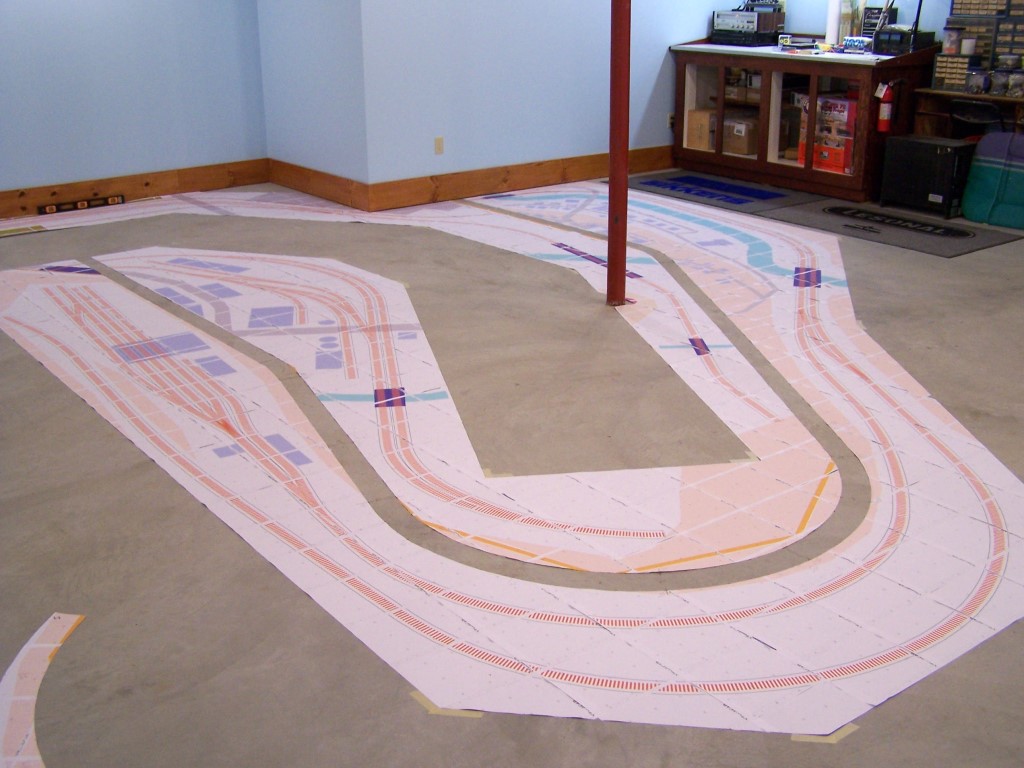
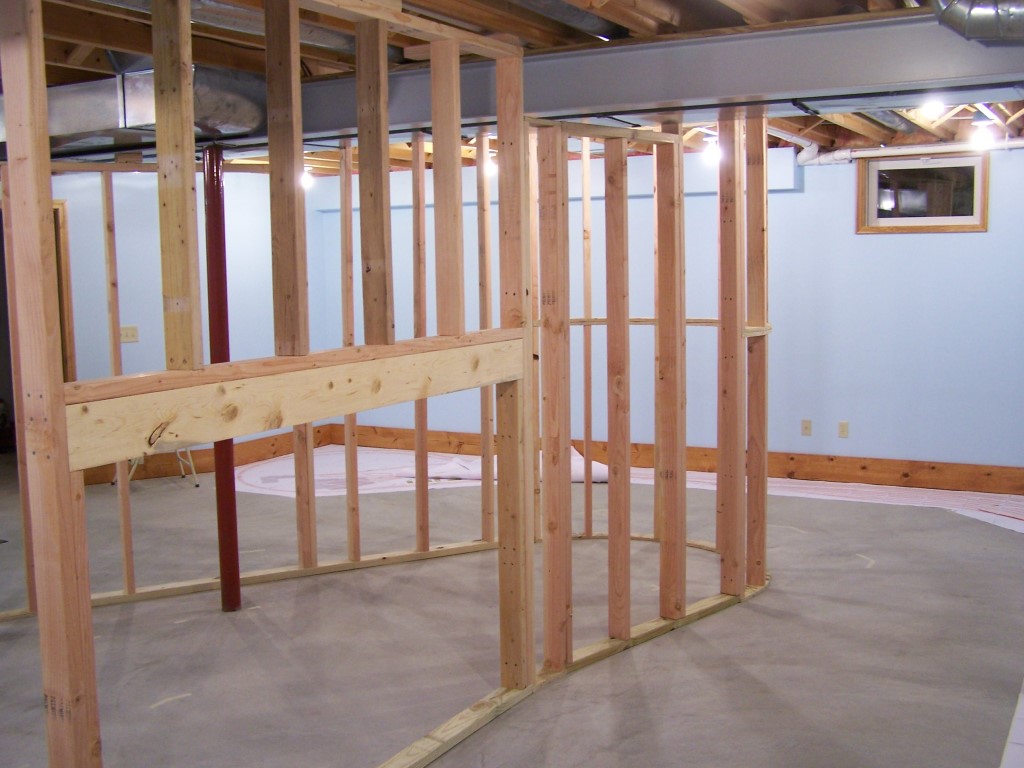
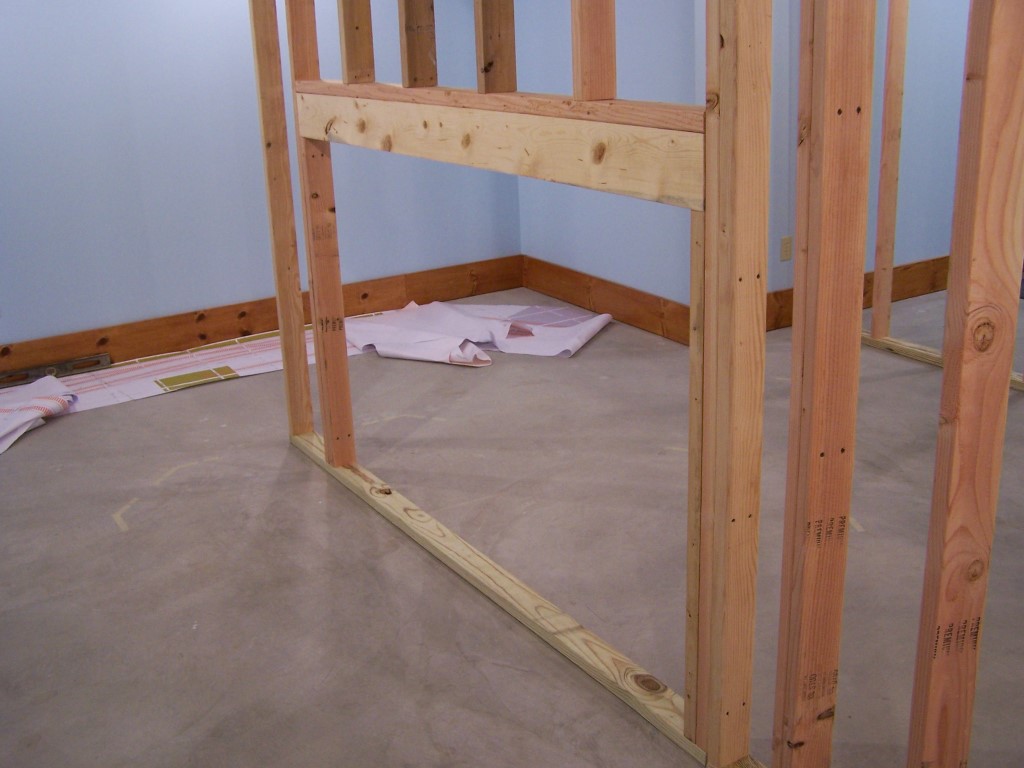
 The first construction of the LK&O Railroad is the wall. Specifically, the peninsula support/backdrop wall. The layout decks will attach to this wall with shelving brackets eliminating the need for legs. The helices will also support the bench work above them.
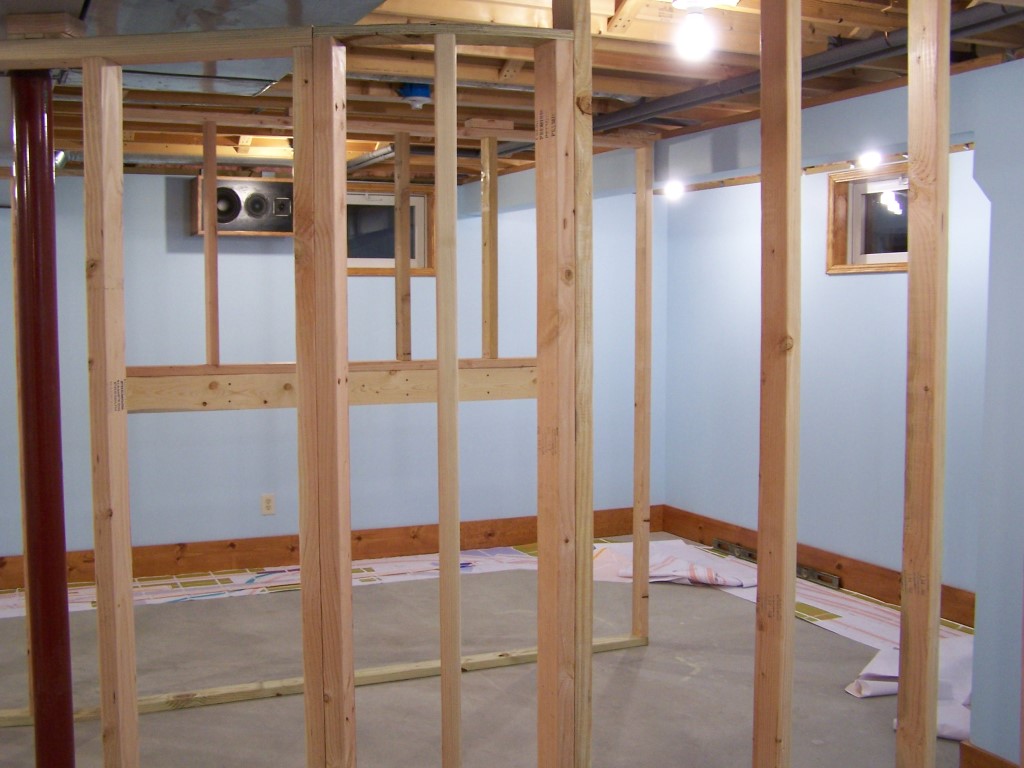
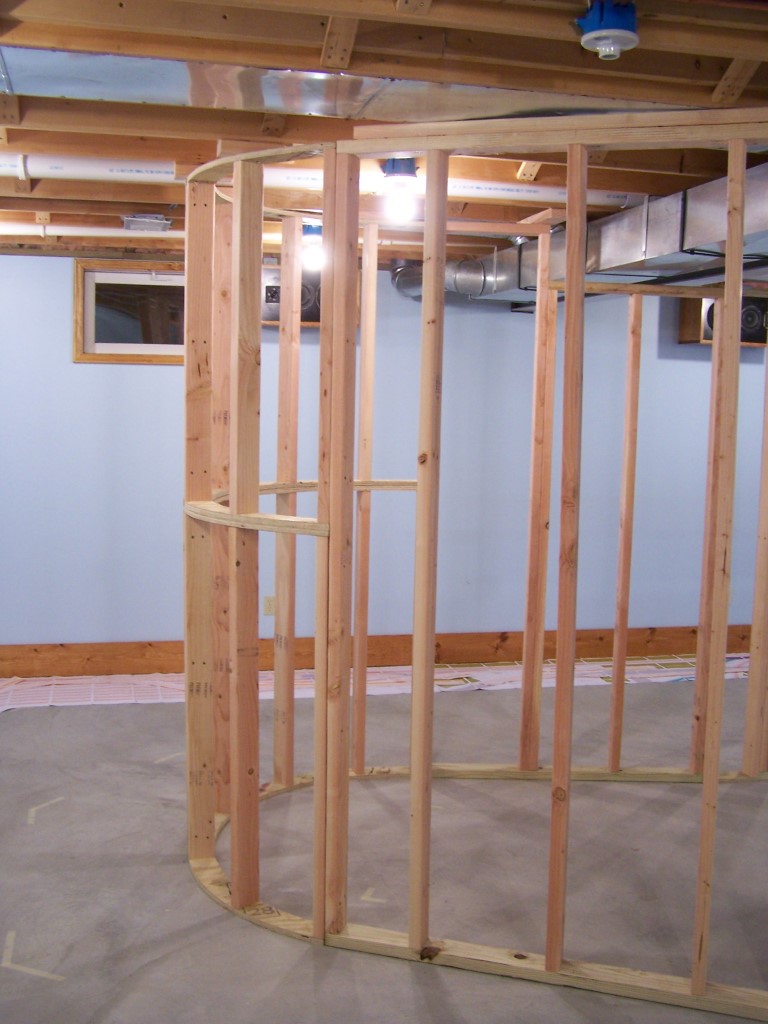
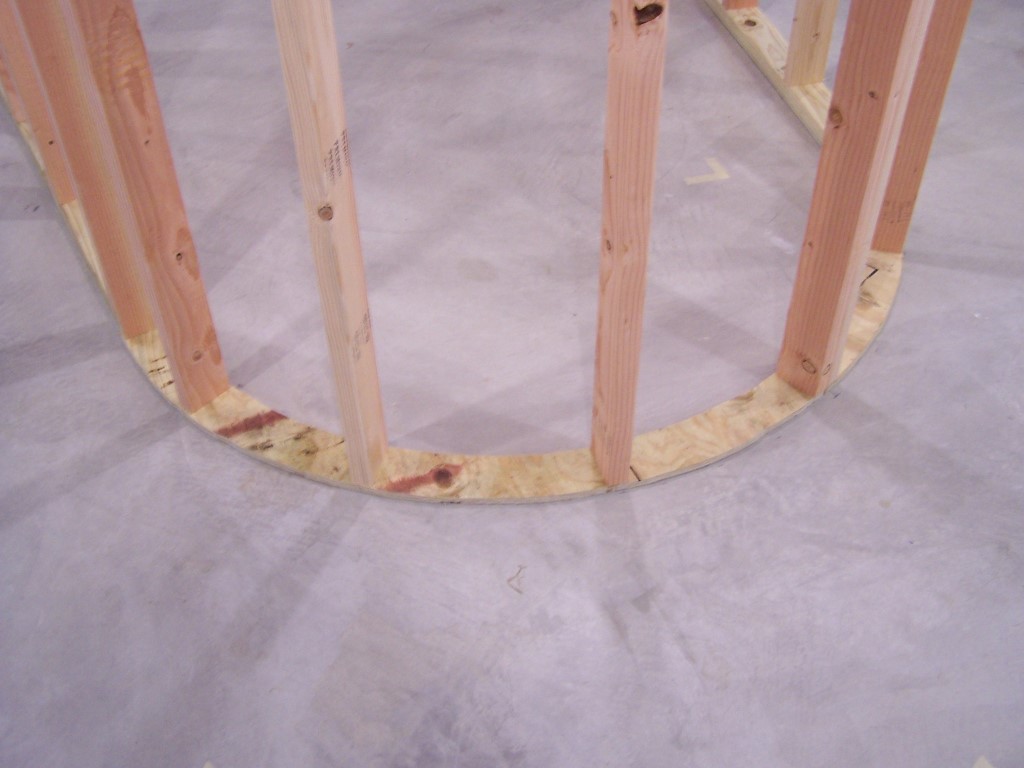
My 1:1 blueprint was measured, marked, and cut for the wall. Then key points were marked on the floor. Stud centers directly below the floor joists, ending points of the curved plates, stud lengths, and centerline references to name a few. The cutouts from the blueprint were used as patterns for the upper and lower plates (and center plates of the curved wall) which were cut from 3/4″ treated plywood. Assembly of the walls was done flat on the floor and then stood up into position. I broke only one fluorescent bulb doing that! Galvanized nails were used on the bottom plates to prevent bimetallic corrosion, tapping screws through the top plate into the joists. Before being screwed into place shims were driven between the top plate and the floor joists until I could drive them no more. This was necessary because the wall is not anchored to the floor. I don’t want to punch nails into the concrete floor or glue to it in the event I want to change the layout sometime in the future or if we should ever sell the house. No anchoring needed however, the wall is so tightly pinched in place it will never move.
The large opening in the wall beneath Lapeer & Mettiki Mine accommodates the north helix. The top of the LDL is the upper deck height – 53″. The center plates on the curved wall are also roughly at top deck height.
Nothing special construction-wise. Kind of boring really. But it is finished and in place. The camera makes some studs appear to be out of plumb. Not the case. The wall is plumb and square.
Next project – the upper valence.







Alan,
An absolutely fantastic start to your layout, I’m going to be watching your progress with much anticipation! Your framework shows that you have a very good eye for detail and have mastered the art of carpentry.
Can’t wait to see the next installment of the LK&O…
Jas…
Awesome Alan!
Your work, your photos and your writing should be in a Model Railroad magazine!
-Al
Looks fantastic. Very clean and organized look to it, and well thought out.
-Joe
Thanks everyone for your kind comments. I am having a blast!
I have just finished reading your entire blog and have very much enjoyed every minute of the time spent. I will be following your progress closely!!
Gary
Alan, what type of fasteners/nails did you use to attach the studs (from below) to the pressure treated base wood? I.E. the ones that would be in contact with the concrete floor. Galvanized nails? screws? And what size/type (and even brand, if possible) So I may get similar.
16D galvanized box nails. Make the last hit a good one so head of nail sits slightly below surface of bottom plate. Keeps the nail head from being in direct contact with the concrete.
http://www.homedepot.com/p/Grip-Rite-10-x-3-1-2-in-16D-Galvanized-Steel-Box-Nails-1-lb-Pack-16HGBX1/202308600