Been a long time, huh? Doesn’t mean I’m not making progress. Just that progress is still very slow. That will all change soon enough! More details later.
For now, allow me to share with you some additional enhancements to the workshop.
EDIT 28 Dec 2019 – added workbench aluminum edge detail.
Equipment Bench
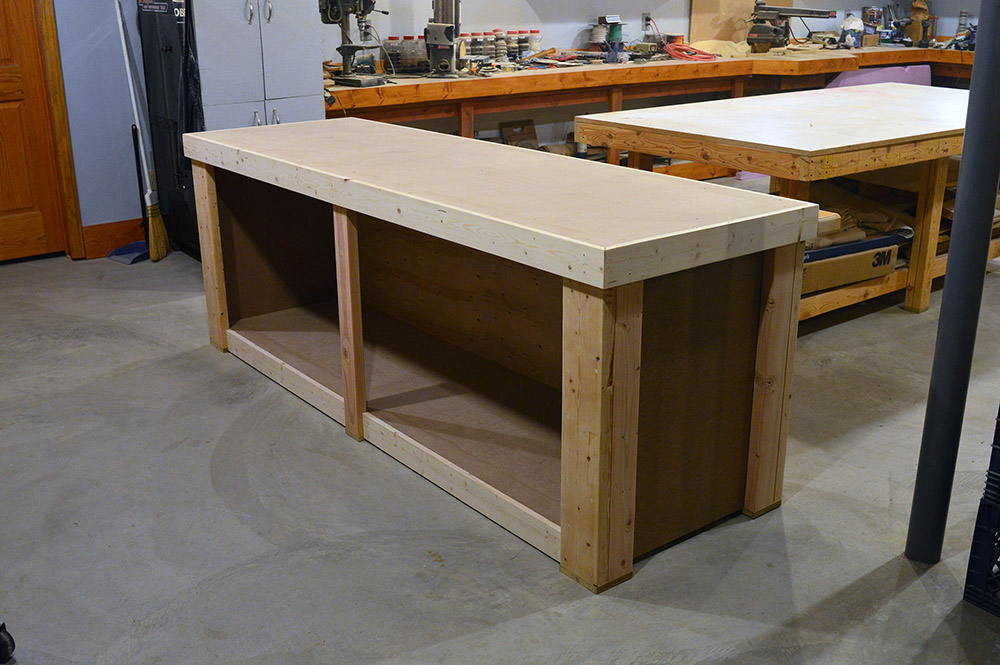
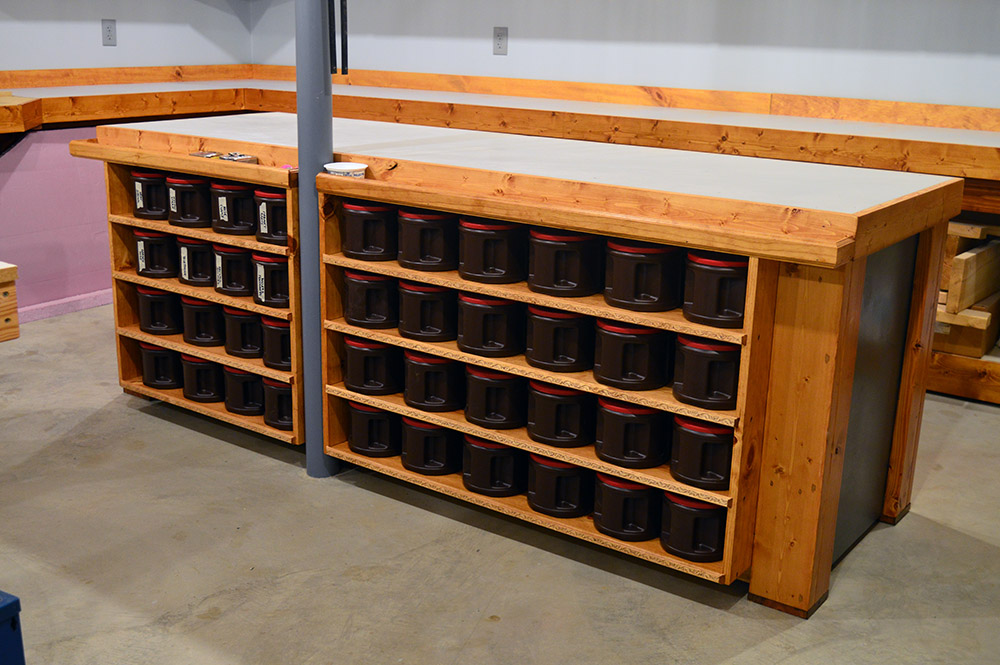
First up is a new equipment bench with large storage underneath and small items organization on the front. It is where my big and little drill press, grinder, miter saw, belt sander, and vise will reside. Built specifically to wrap around the lally column, the new bench is custom designed for its location. The bench is made mostly from lumber and sheet I had on-hand and most certainly will not win any fine furniture awards.
2×3 box grid on the bottom, 2×4 box grid on the top. Both on 16″ centers. 1/2″ MDF top surface, 5mm hardboard floor and end panels. Paired 2×6 – 2×4 combinations for corner legs. 1/2″ plywood front panel. Trimmed out with 1×4. Pads on the bottom are treated 1x affixed with galvanized nails. Solid as a rock!
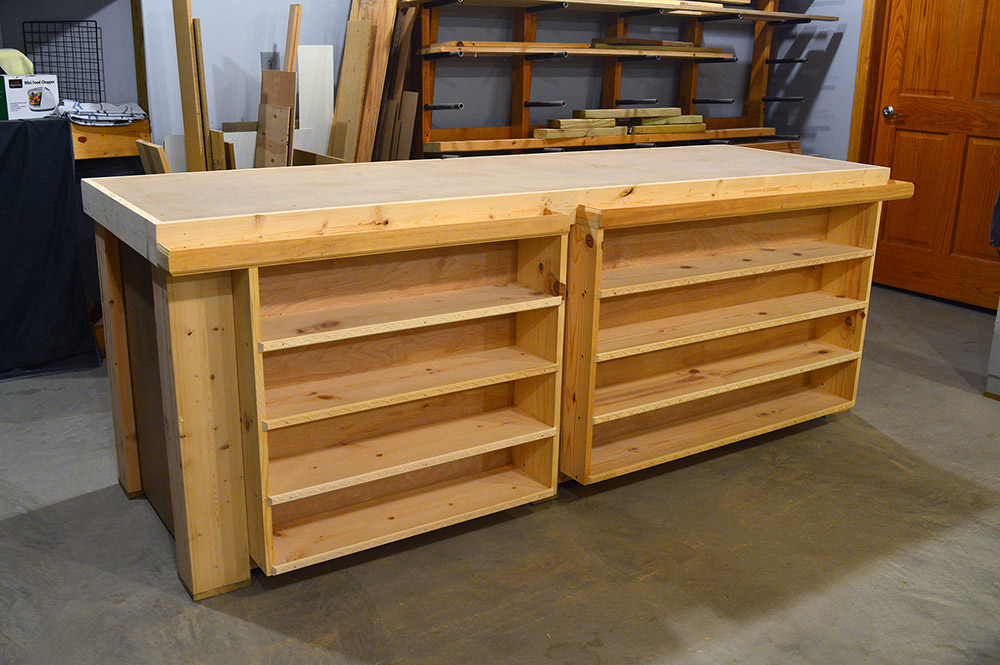
The front small items shelves are of 1×8 construction inset such that their front face is flush with the front of the lolly column. Each shelf assembly was built as a unit and then attached to the bench with screws from the backside through the plywood and screws to the corresponding leg. A small general purpose tray tops it off.
The same with stain and polyurethane.
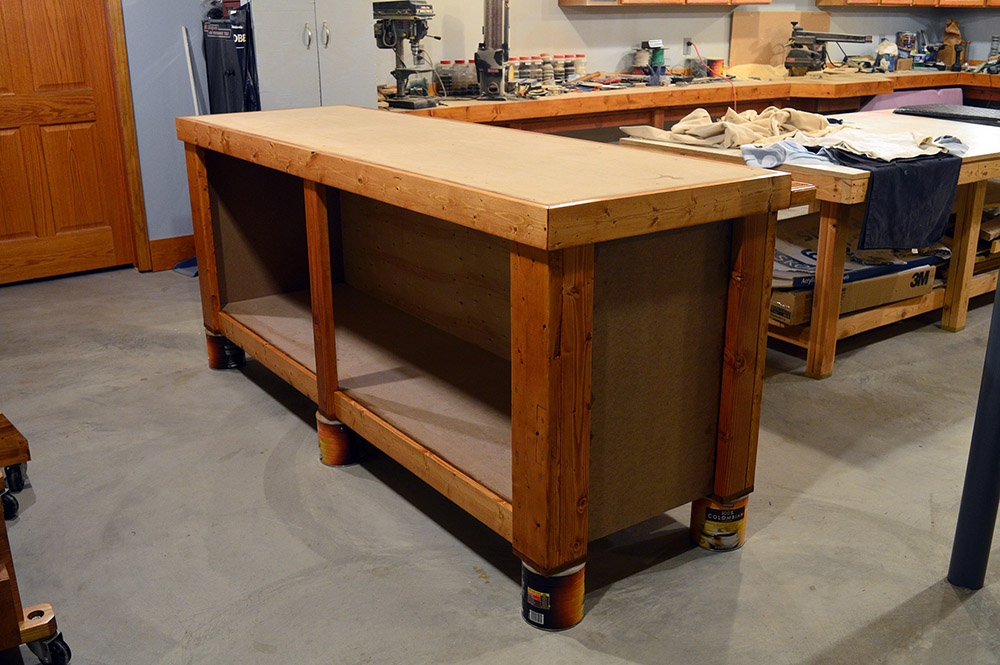
Can’t stain hardboard or MDF so light gray and dark gray paint does the job. Horizontal surfaces get alkyd oil paint color matched to the wall color. Vertical surfaces are a dark version (added black) of the same paint. Speaking of gray paint, I cleared the mess and painted the perimeter bench top too.
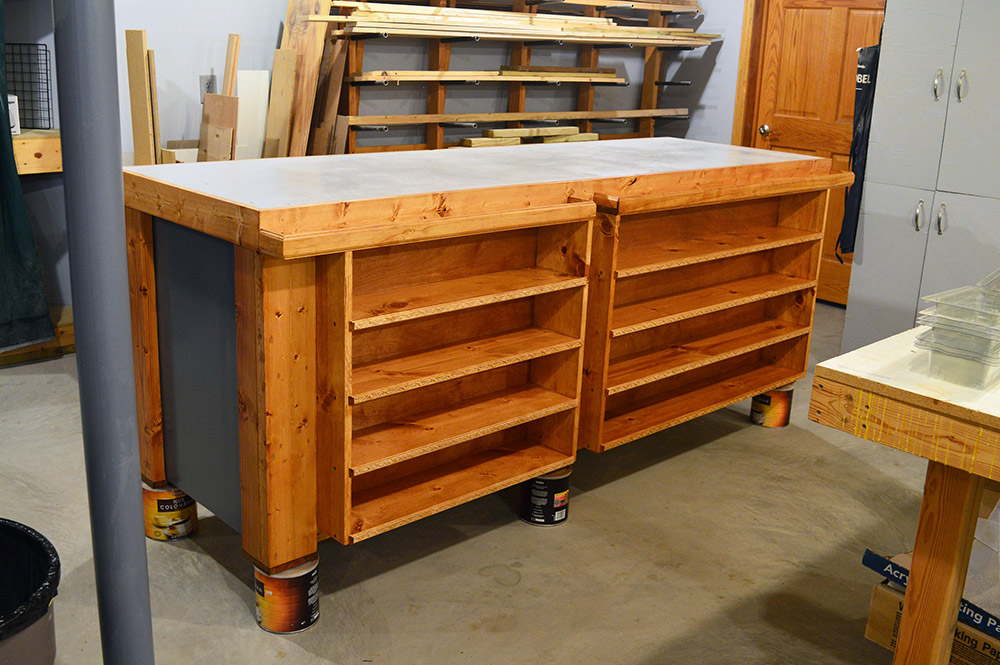
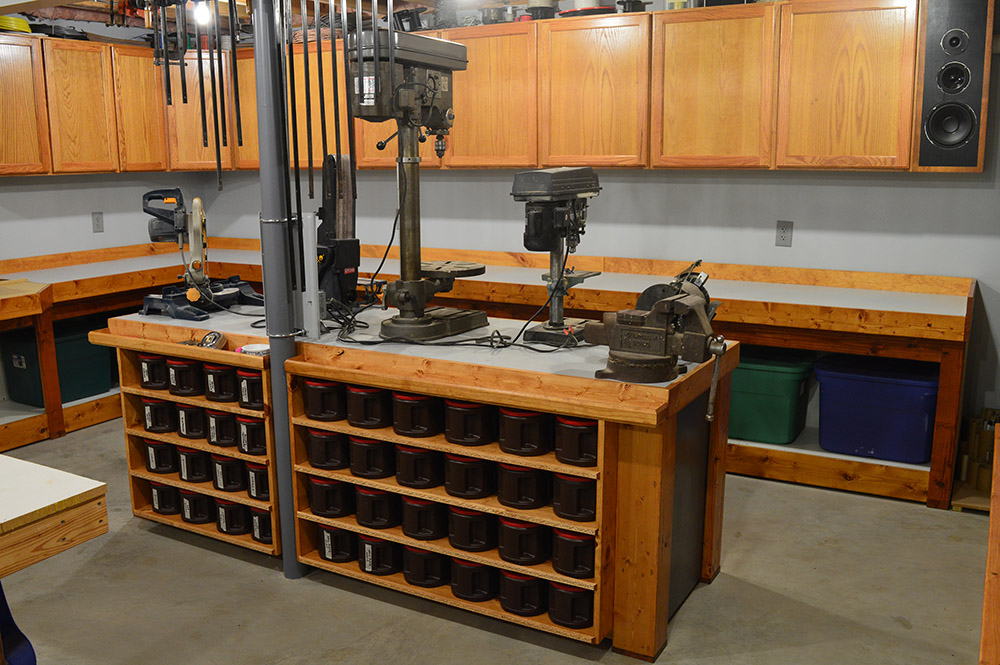
Here is the new equipment bench in its spot. Tight against the column with 32″ or better walking space all around. Loaded up with coffee cans we have been saving like hoarders. I really like the new plastic coffee cans much better for storing stuff than the old round metal cans. These are squat with a wide mouth and handy little handles inbuilt that are perfect for my application. Per usual, it is masking tape labels until a good content and arrangement gels into place.
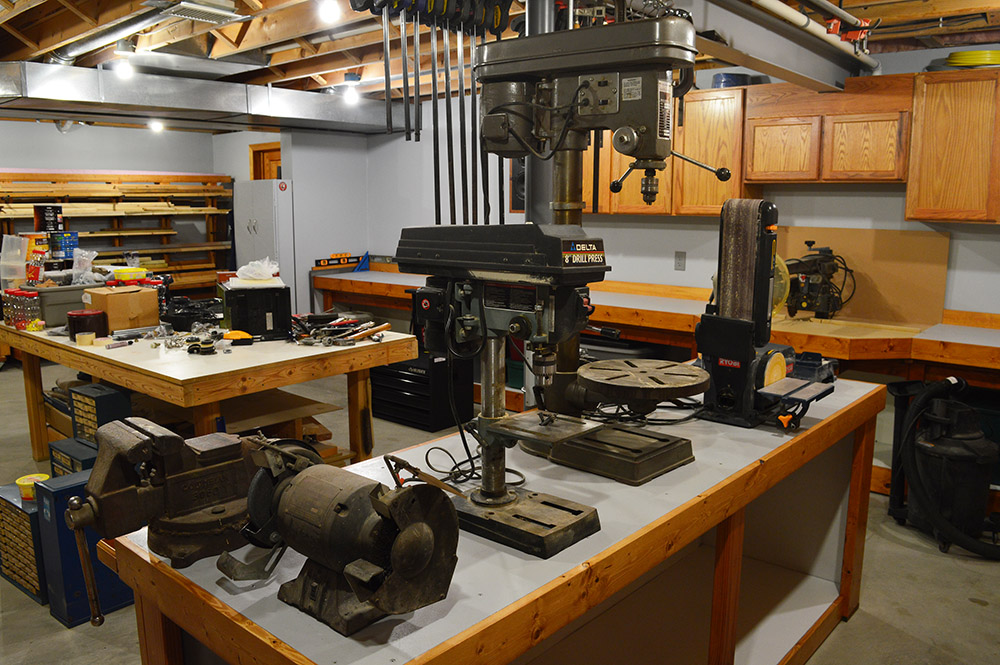
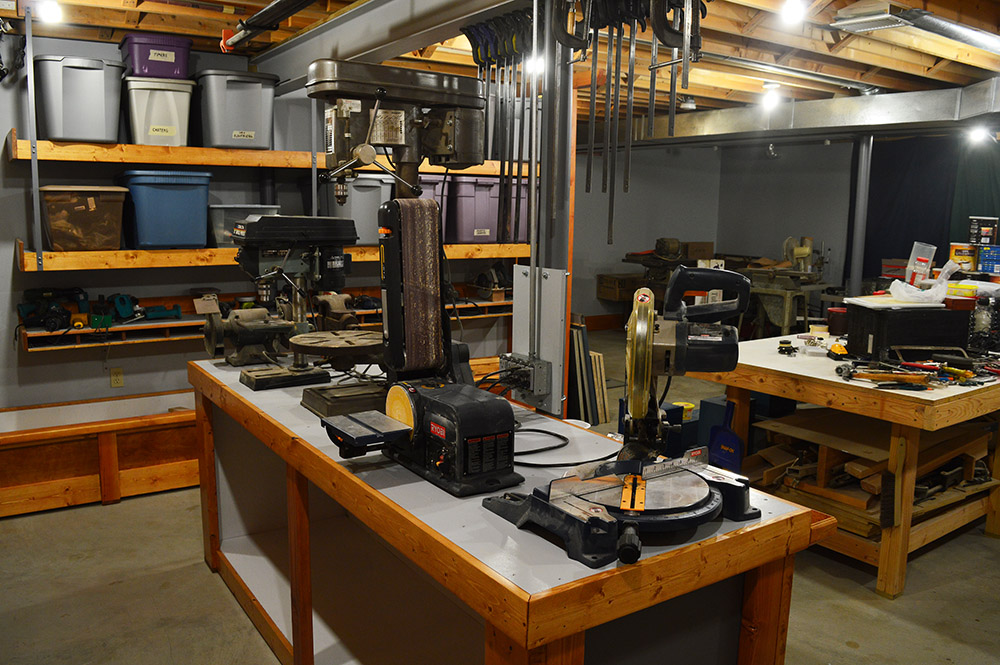
Here are a few shots of the initial equipment placement. Nothing is bolted down so any of it can be moved, swiveled, or elevated as needed for a job. I don’t have enough space to give every tool plenty of access area around it so they are quite close to each other. I simply adjust tool positions as needed to clear whatever work piece I am using. Most of the equipment has weight sufficient enough to keep from moving. When need be I can use quick grips to secure to the bench. Use so far hasn’t shown an issue with the close spacing.
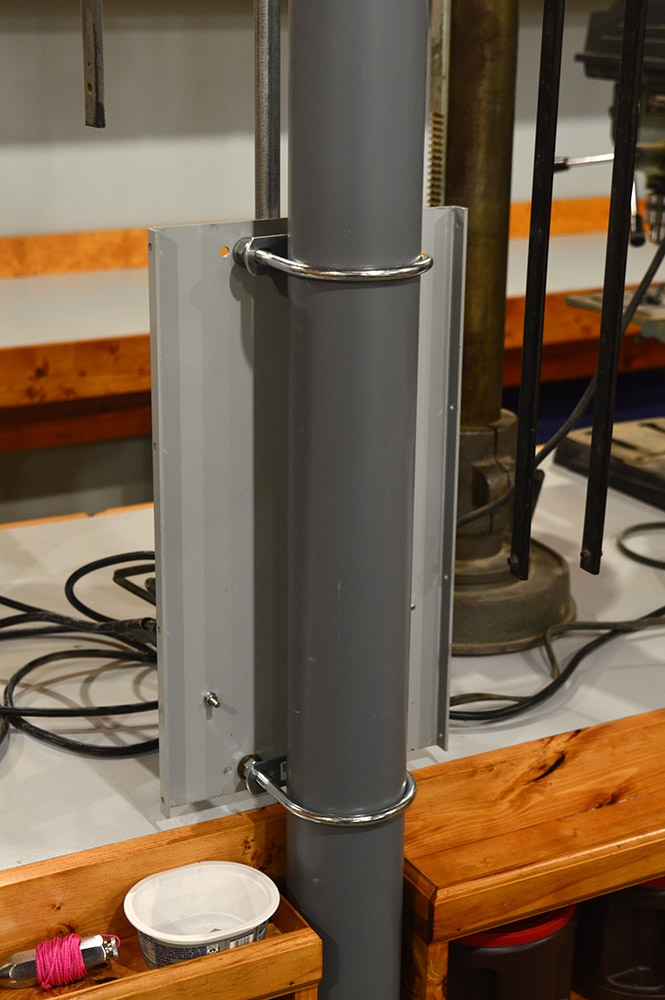
To feed power to everything I dropped a branch line down from the 20A workshop plug circuit to a whole bunch of plugs. In this picture the gray cover plate hadn’t yet arrived. Not something your local Home Depot stocks.
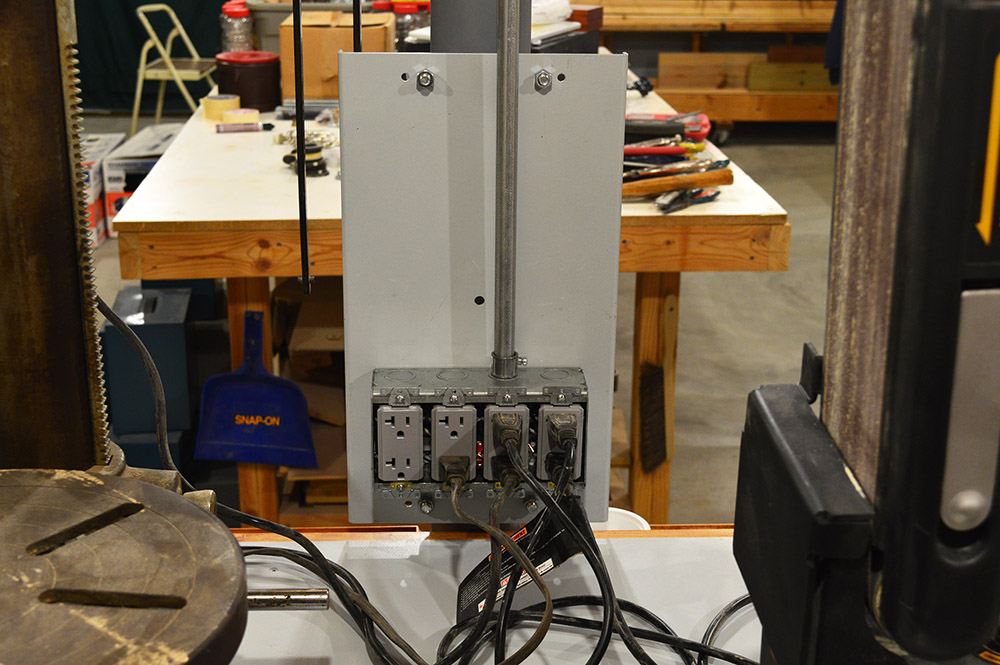
I mounted the plug box to a steel plate that is u-bolted to the column. Space on the plate was left for a future vacuum port mounting.
Workbench
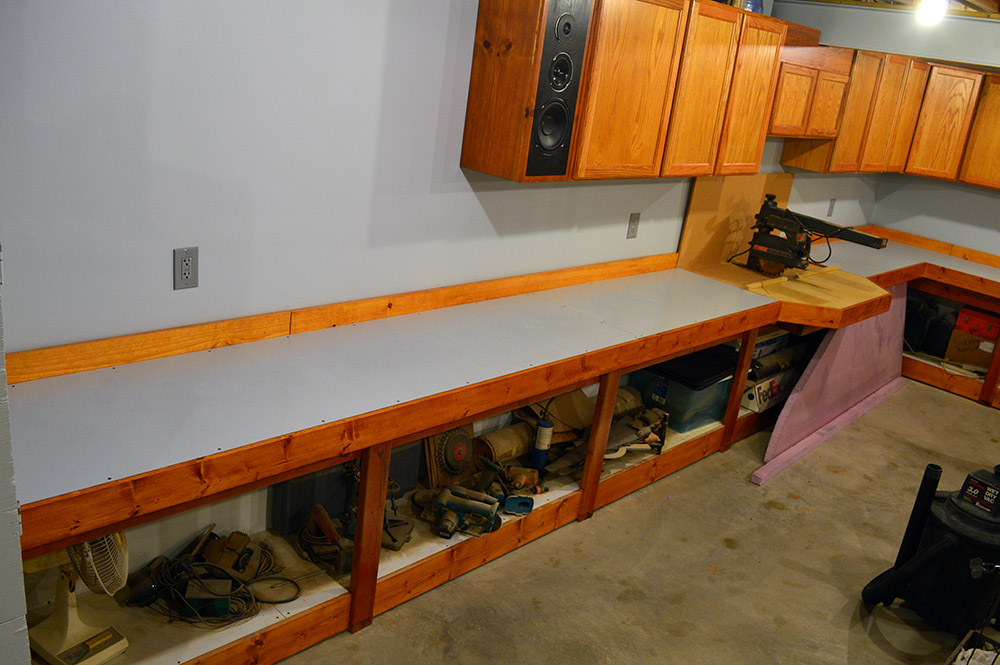
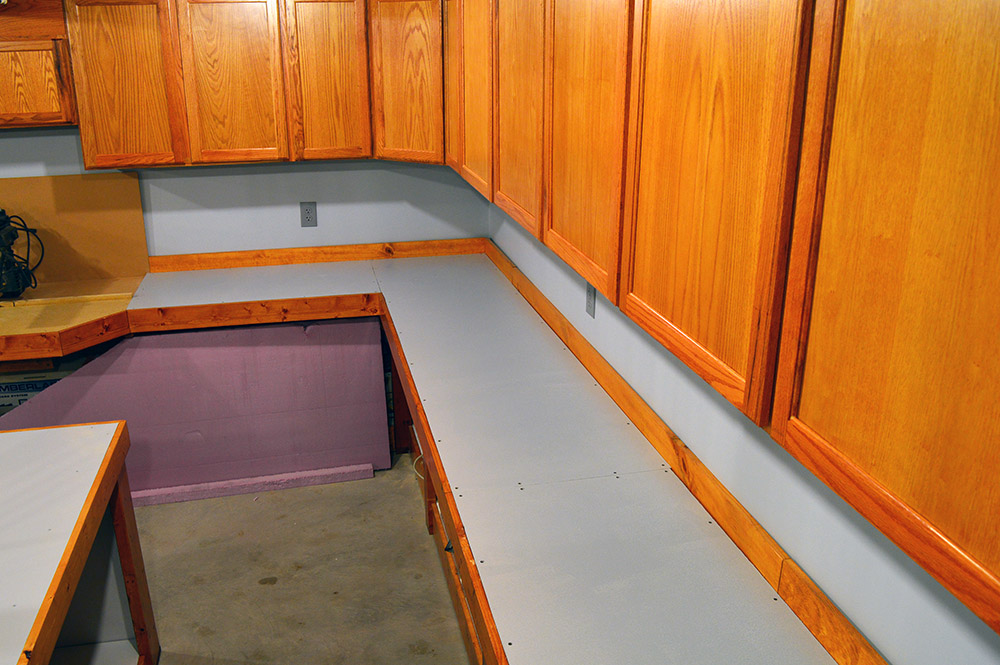
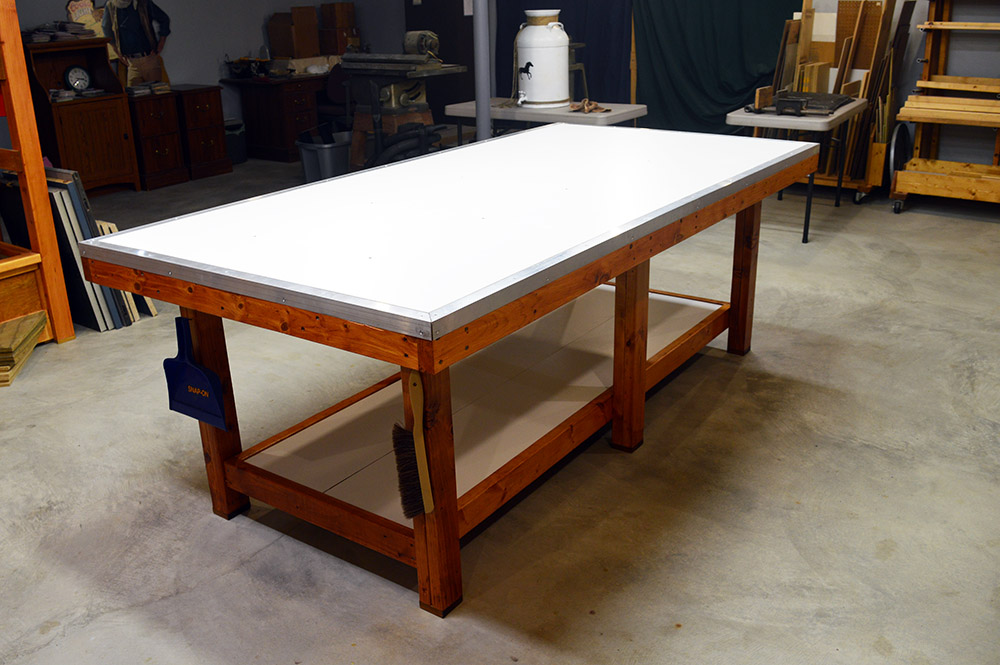
A second big achievement was finally finishing the workbench. With 15 years of service under its belt, there was all kinds of paint, wood glue, epoxy, and other sorted hardened materials on the bench sides. All of it had to be stripped. The heavy lifting was done with a 16 grit disc on a grinder to blow through the bulk. 80 grit on the grinder finished the material removal. Once down to bare wood it got a thorough 80 and 180 grit sanding before stain and urethane. The top working surface is the original 3/4″ MDF melamine sheet. Just flipped it over. Fortunately, years ago I had the good sense to locate the screw holes symmetrically. Unscrew it, flip it over, reinsert the screws. It really was that easy to have a brand new top.
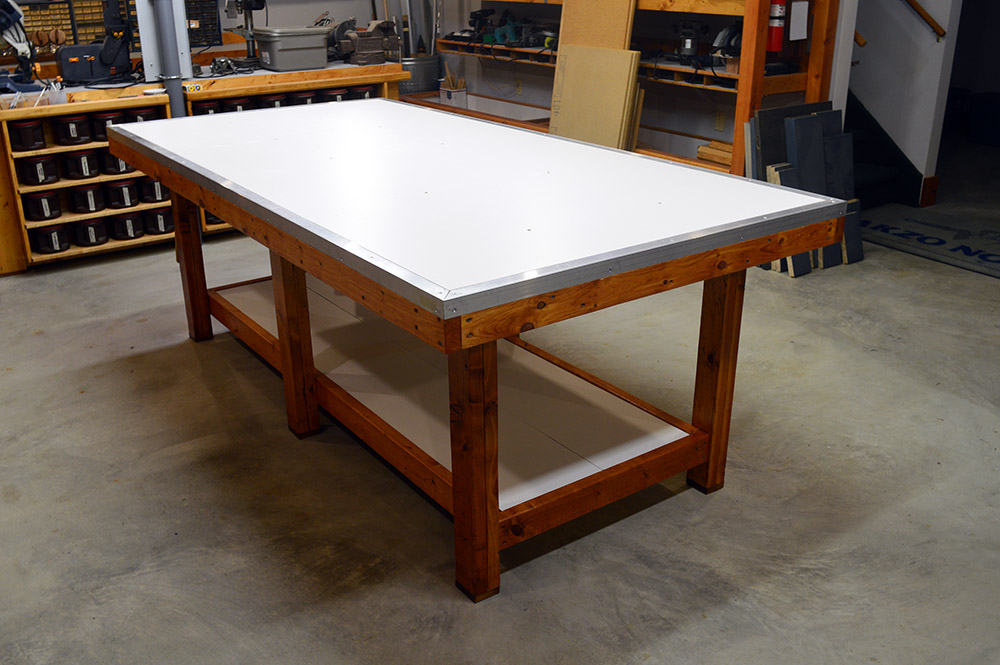
Just as I did on the train room workbench, the shop workbench had aluminum angle edges installed. Whereas 1 x 1/16 angle was used on the train room bench, this bench got 1-1/2 x 1/8 due to the much more severe service it will see. The top and sides are routered so the aluminum sits flush on top and sides with all the screws countersunk. Much better utility and appearance than ragged MDF edges. Plus makes a beautiful square edge to work with when needed.
Router work in progress pics. Using the aluminum angle as a fence, a vertical router cut was made first followed by a horizontal cut on the MDF.
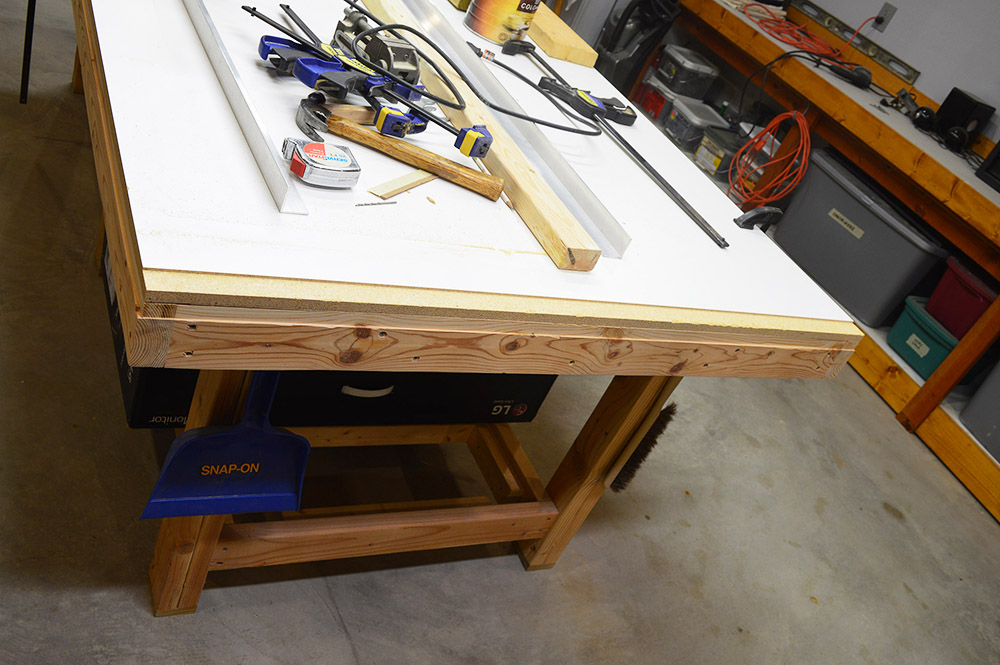
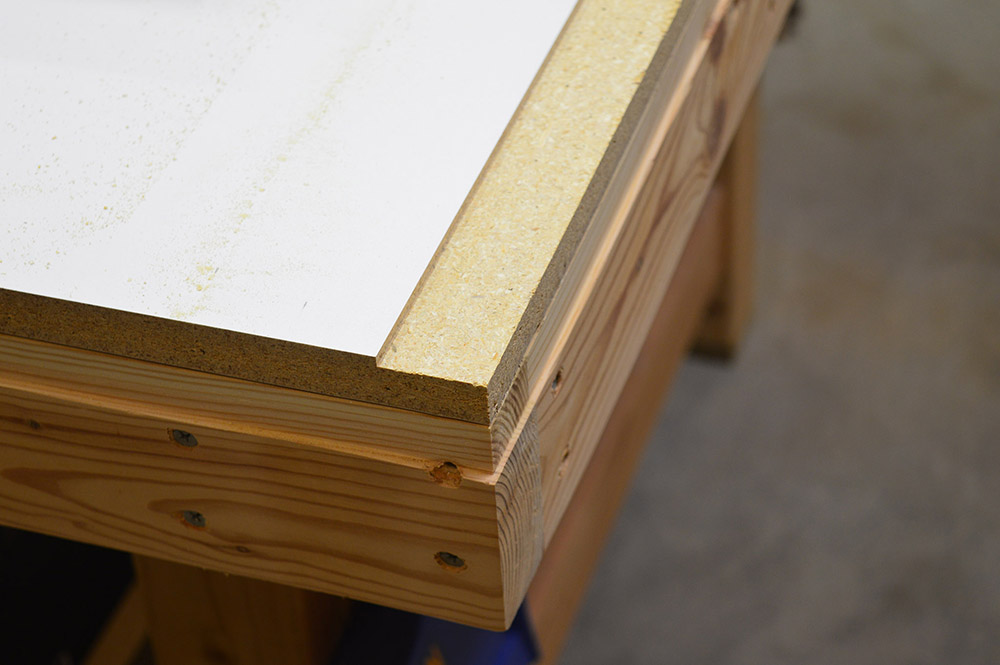
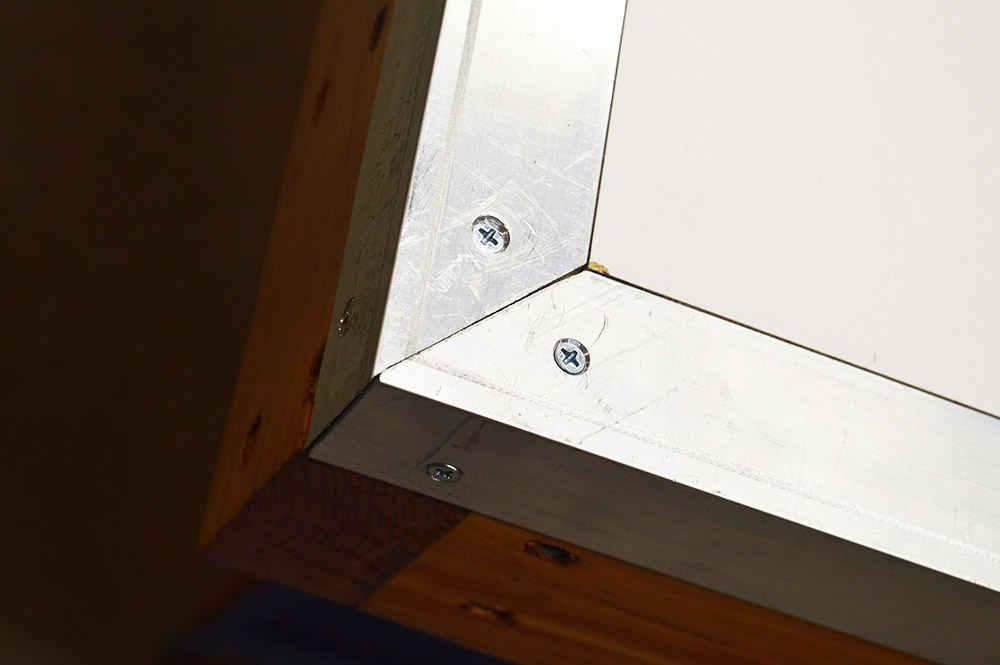
Since my bench is 48″ x 96″ and my aluminum angle came in 96″ sticks I was going to come up shy on the 48″ ends by the width of two saw kerfs or about 1/8″. Ultimately I decided to put all of the kerf shortage on one corner which later was filled with a little dab of epoxy.
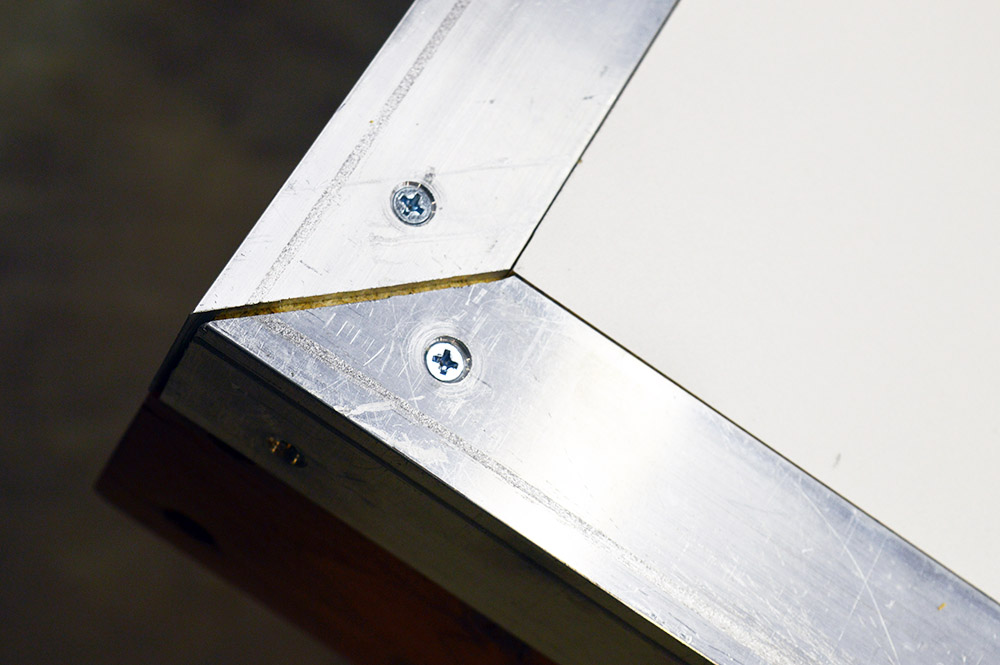
It won’t be long before sawdust packs the little gaps here and there between aluminum and MDF. The surfaces are flush and the edges protected. That is what matters.
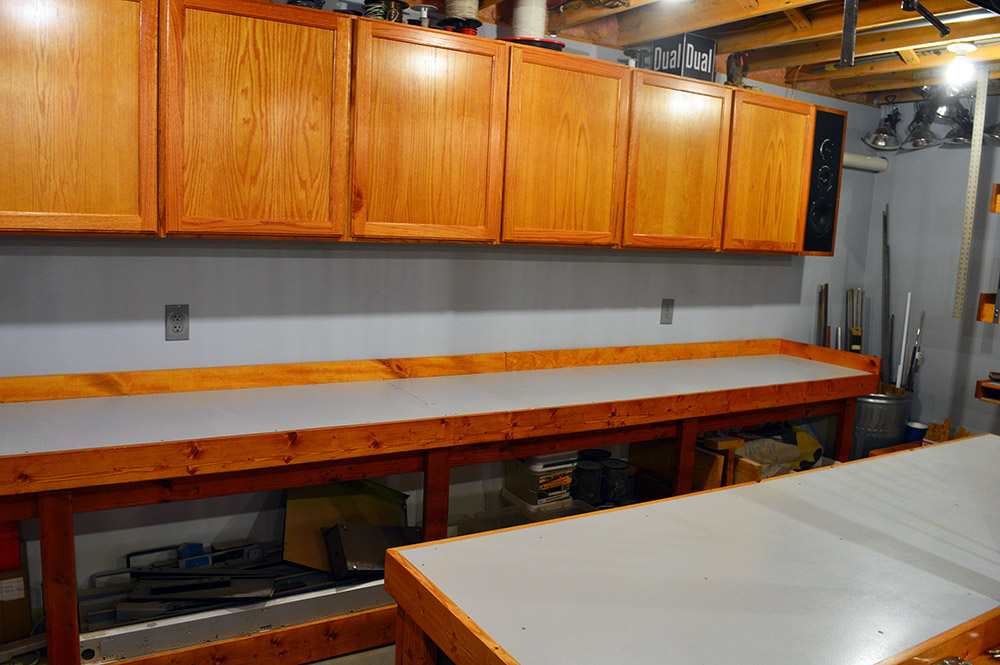
Lighting
Finally, I rearranged my lighting. These old eyes really need a lot of light to make working in the shop enjoyable. My 12 socket CFL arrangement lit the area up nicely but because they are point source there were constantly multiple dim shadows being cast on work pieces. Only mildly annoying but since I am here why not. Let there be more light! Changed two of the socket boxes to plug boxes and threw up five economy 4′ florescent fixtures with cool white bulbs. Ah, that’s much better. It’s lit like an operating table now.
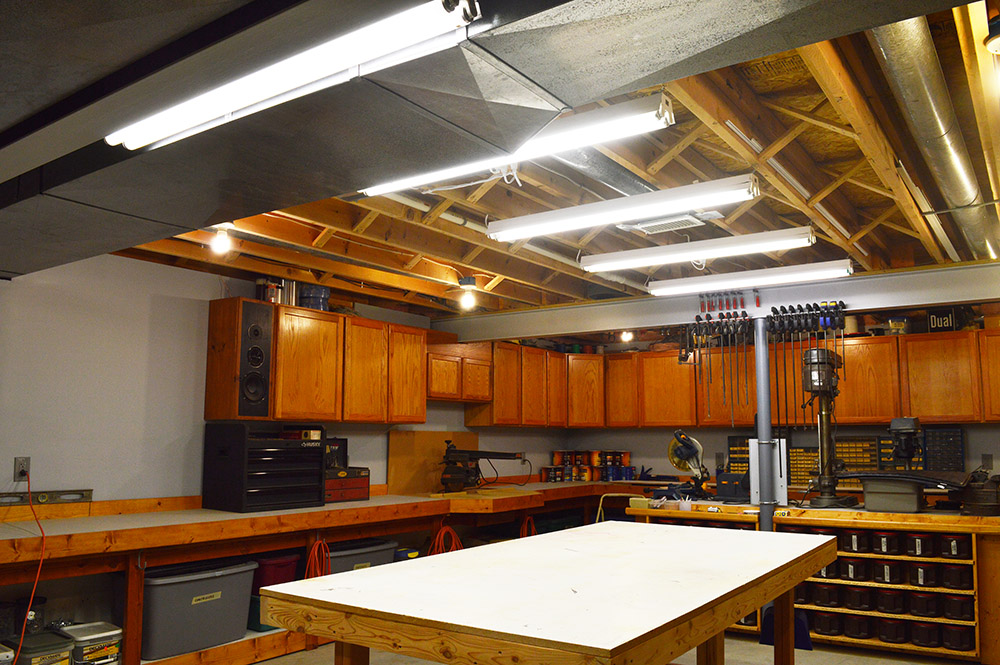
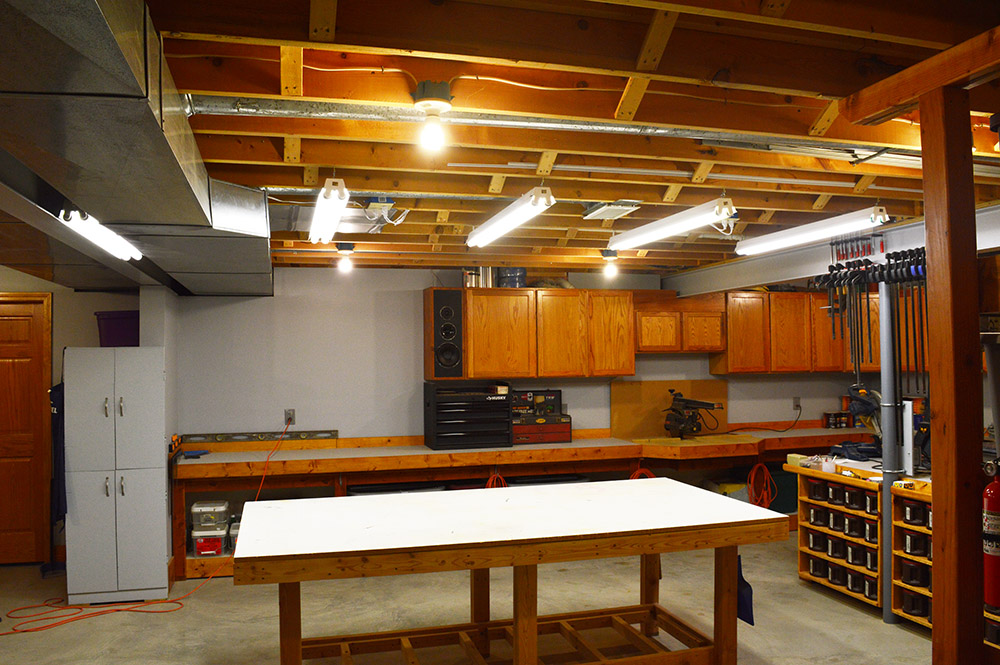
Even managed to fit a fixture between the HVAC duct and the house center beam. That area was notoriously dark because of the ducting. Not any more.
Well, that’s it for now. I have some big news coming soon that will mean going all notch eight on the train layout again. Can’t wait.
Merry Christmas and Happy New Year to everyone!

Nice workshop1 I am envious of all of the space. Also glad to see you back and posting to the blog. I can wait to see the next posting on how the layout is coming along.
Welcome back!
Rod Souza
What amazes me most is your attention to quality detail…very elegant and efficient work spaces and, due to the quality and arrangement, you will, I am sure, look forward to projects instead of having to clear a space and re-arrange… Envious here, for sure. Happy New Year…let’s get some trains running this year! Clark
Great to see your return. Excellent addition to the work room.
Kind regards.
Wonderful to see you are doing well I will keep checking back weekly to see if you have post everything because I’ve not received a email about any posts
[moved here from deleted post]
Wonderful! All my best wishes Alan. Glad to read from you again.
[moved here from deleted post]
I lost you back at Control Panels – Part XI…I wondered what happened to you and your emerging layout…Some how I got linked back to your page and all caught up now…are you running trains yet? Happy New year!
[moved here from deleted post]