Well, here we go!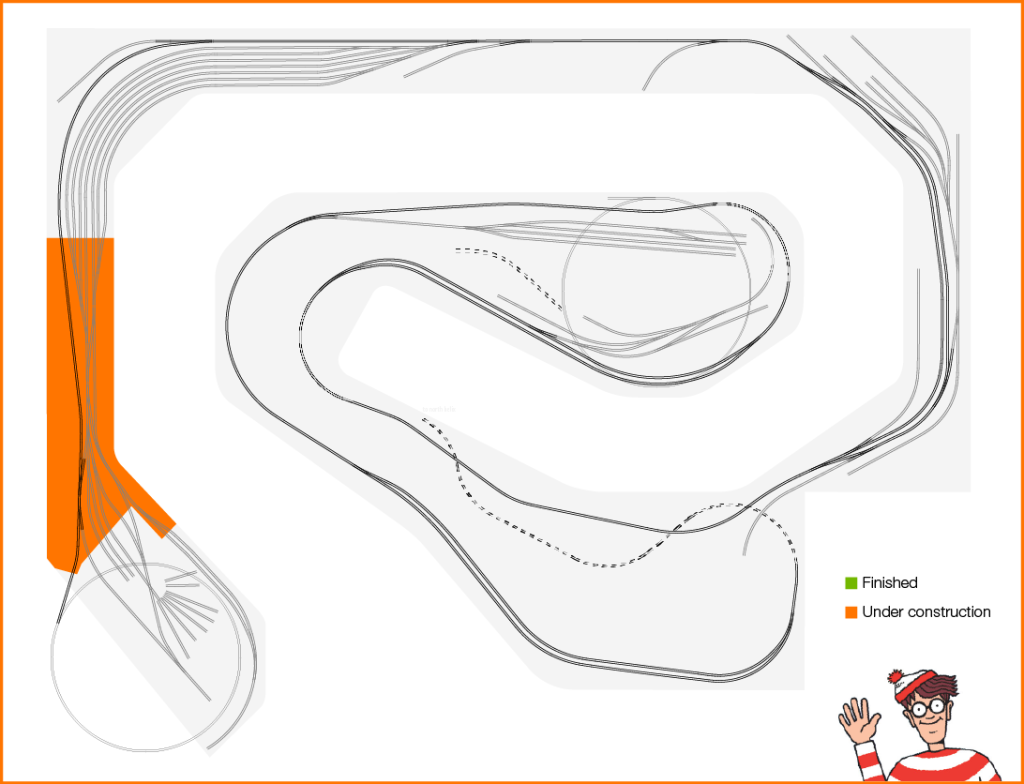 With all of the preparatory work finished it has come time to actually lay track. It has been a long time coming.
I am leading off with Brittain Yard. This area has the most switches of any place on the layout and will end up having the most dense wiring beneath it. In other words, let’s get the tough one out of the way first.
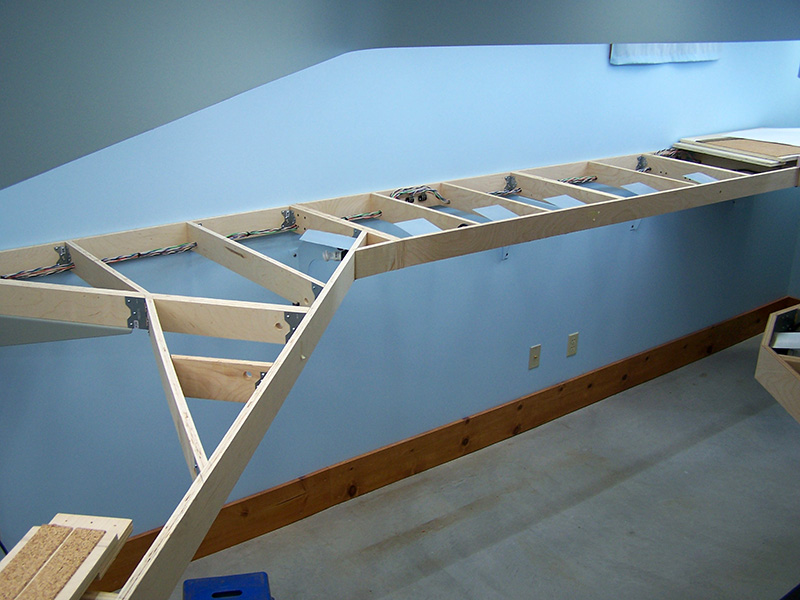
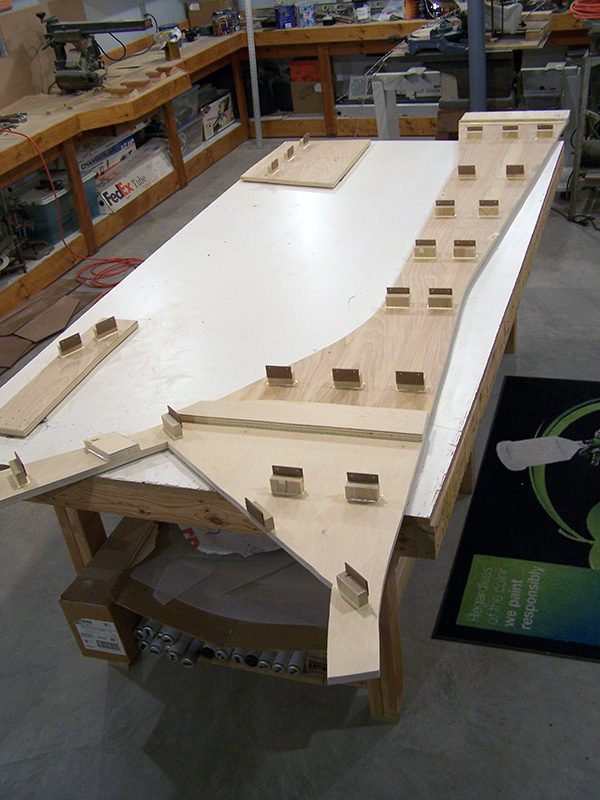
My railroad is built in a semi-modular manner. The benchwork is one big unit but the sub-roadbed sections are not. They are designed to be removable. And for this very reason – laying and wiring track. I had no desire to spend hours working upside down under the layout stringing wires and mounting Tortoise machines. The modular construction eliminates all that. I simply dismount the module from the benchwork and carry it to the workbench where I can work on it in a comfortable position. This also allows me to flip it over for working on the underside. Sweet, huh?
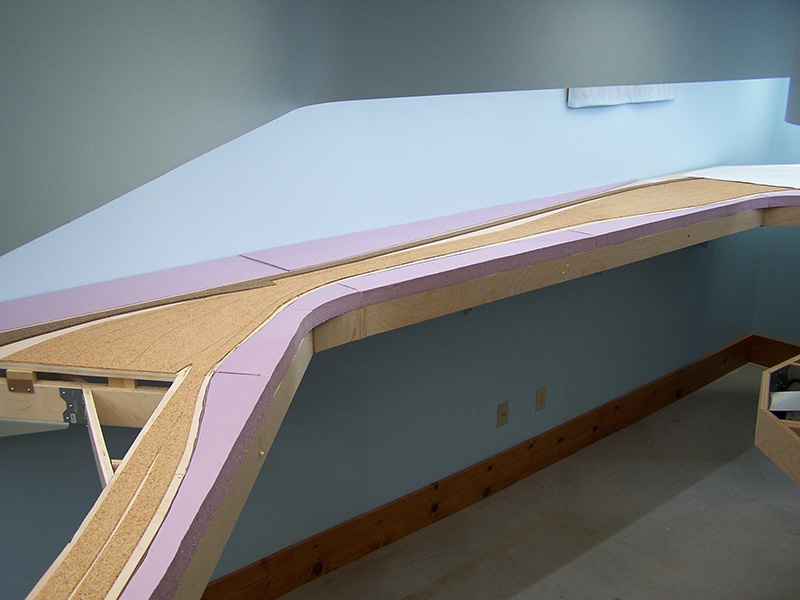
Brittain Yard on the benchwork:
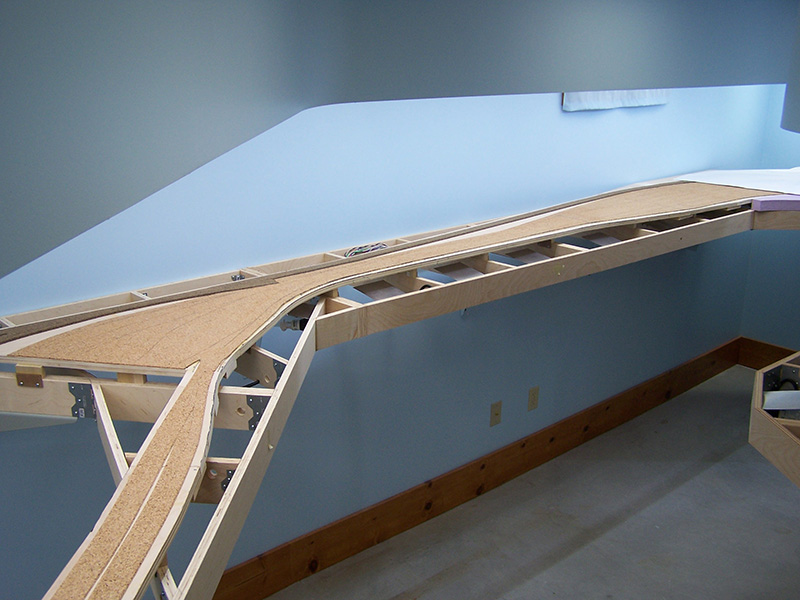
Foam landscaping removed:
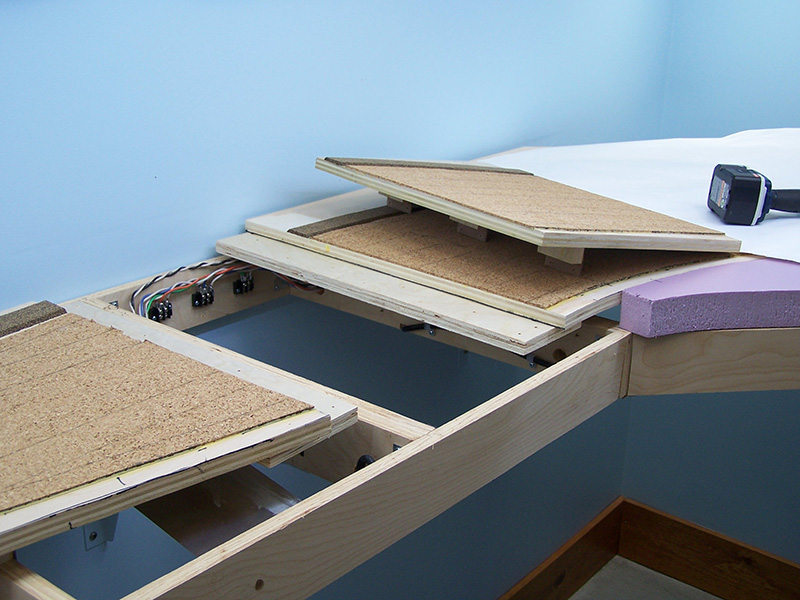
“B” plate removed from the east end:
“B” plate removed from the west end:
Brittain Yard module removed:
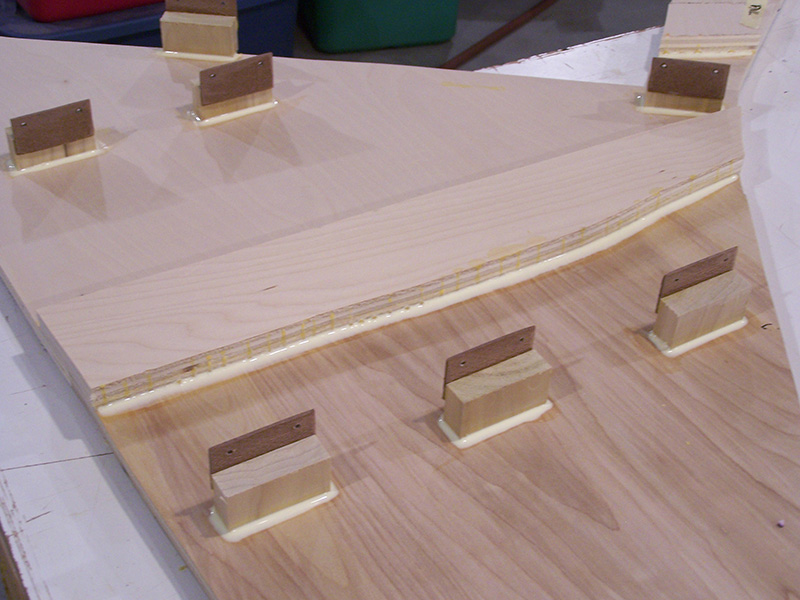
First task on the module is to apply glue fillets around the risers. The risers were glued to the sub-roadbed while on the benchwork. As such, it wasn’t practical to place glue fillets upside down. The glue serves only to keep the risers positioned correctly. It doesn’t really play a structural role in the assembly. The reason I want glue fillets is for a little added protection from me accidentally bumping them while I work on the module. And I will end up bumping them. You can rest assured of that. C’mon glue fillets. I’m depending on you!
Glue fillets on, letting dry overnight. See ya on the next post.


test