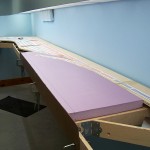
Now that the upper deck sub-roadbed is complete and before I lay cork roadbed, I am installing the 2″ insulation foam. Since there is no cork roadbed the sub-roadbed is still flat across the top. This makes it much easier to place the foam sheet on the layout and then trace onto the sheet the sub-roadbed shape from below.
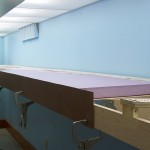
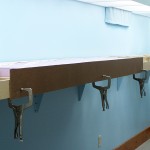
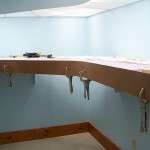
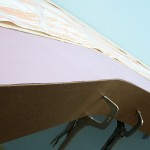
I cut a 96″ x 6″ piece of hardboard from the lighting valance leftovers to act as a stand-in layout valance for the purpose of fitting foam. The actual layout valance, while flat across the bottom, will follow the terrain shape on top. I don’t yet know what the actual terrain shape will be but it doesn’t matter at this stage. All I am attempting to do at the moment is get the zero elevation foam in place.
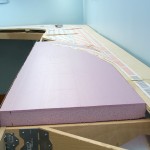
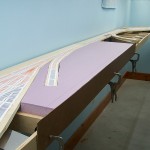
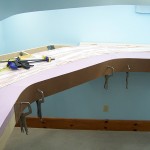
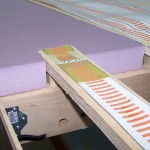
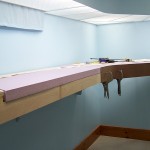
The temporary valance is clamped into place with the top edge 2″ above the benchwork, same height as the finished sub-roadbed on risers. The sheet of foam insulation is laid on top such that the ends will fall on cross members that are double width. A Sharpie marker is used to trace the sub-roadbed edges and the valance edge from below. Next, the foam is taken to the workshop where I use my jigsaw with an extra length, coarse wood blade to cut on the lines. The jigsaw works well in maintaining a 90° cut which is essential since I am cutting on the bottom side expecting the top side to be a tight fit against the sub-roadbed. Can’t tolerate any error in the angle because the 2″ thickness of the foam will cause the cut to be way off on the other side. My shop vac hose is temporarily clamped to the side of the jigsaw to suck up the Styrofoam cuttings that otherwise would cling to everything. A quick vacuuming of the cut piece of foam and it is back to the layout.
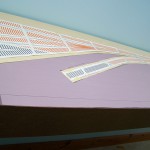
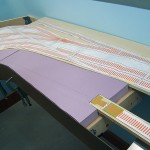
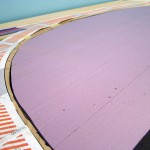
I didn’t start out using a jigsaw. My first thought was all the little Styrofoam balls sticking to everything. So, I first tried less messy cutting methods – serrated kitchen knife, hacksaw blade, razor blade, utility knife, carpet knife, and finally hot wire. While each of these worked to some degree, none were without their problems. It was hard to make straight cuts with the knives and the hot wire made a heck of a stench. One problem that all of these methods shared was the inability to consistently make a perfect 90° cut. That is what led me to the jigsaw. And once I strapped the shop vac to it the mess isn’t bad at all. In one of the pictures you can see a jagged foam edge along the sub-roadbed. That is the result of cutting with a knife. Every other cut of the foam in the pictures is with the jigsaw. Much nicer.
When the foam is resting on the sub-roadbed and fascia it is 2″ above the benchwork cross members. This makes it difficult to precisely mark the end cut so as to fall squarely in the middle of a doubled cross member. Instead of trying to estimate where that cut is, I lay the cut foam piece in place and then once it is resting on the cross members I mark the end cut. Take the foam back to the workshop, finish cut the ends, and then it goes onto the layout for final fit.
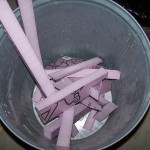
The process is very easy and moves along quickly. I just keep moving the valance panel and cutting foam! I snapped these photos right after I began. I’ll have the whole ‘flatlands’ area foam filled in no time. Because it is another cookie cutter method of consuming sheets there is some scrap. These scraps will be utilized at a later date to build up areas of low hills and similar.
No foam will be used on the Maryland side of the layout. The terrain is so mountainous on the Maryland side it will be easier to use cardboard webbing and plaster cloth to do that scenery. Besides, this way I have the opportunity to employ two different techniques for landforming. A little variety is a good thing.

Leave a Reply