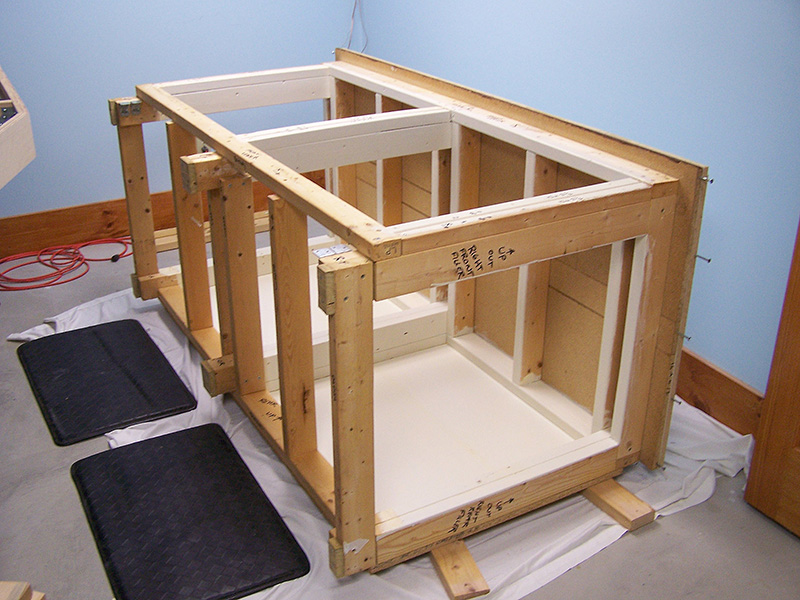
The work area has been cleared and the workbench disassembled. Ready for a quick sanding and a fresh coat of white paint to make the interior like new again.
This workbench was built 16 years ago. At one time it was my primary do-all workbench. As a result it has seen its fair share of abuse over the years. Fortunately, it is built like a battleship and has come through years of service with nary a scratch. The one glaring change I noticed when it was flipped on its back is how much the paint has yellowed. It is a known fact that alkyd paints yellow as they age but dang, it is really yellow. The interior was bright white at one time. And so it shall be again.
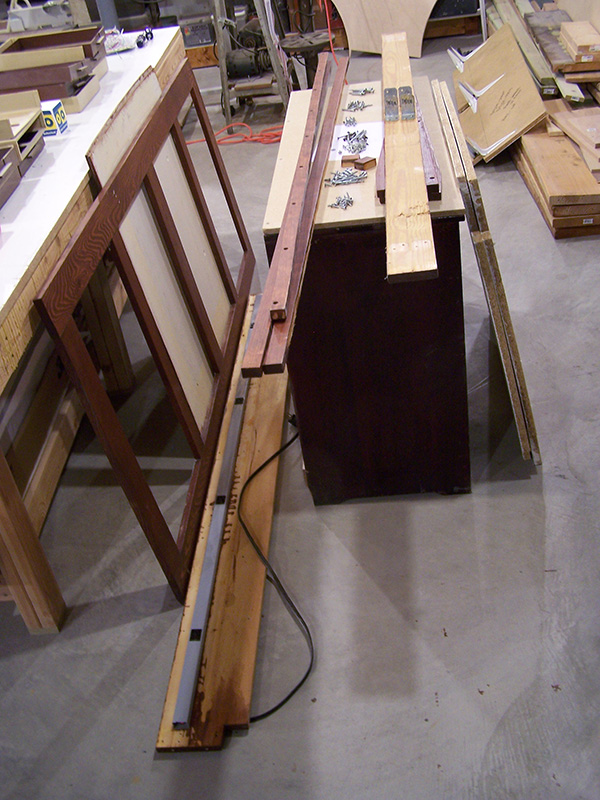
One of the cool things about this workbench is the fact it is put together entirely with wood screws. I can take it apart and put it back together like working with a big erector set. Built it that way so it could be disassembled for moving. It weighs like a gazillion pounds because it is made with 2x4s and 3/4″ particle board. Even if mere mortals could lift it, it is way too big to fit through a doorway. Taking it apart I see I wrote descriptions on each part where they go, which way is up, what size screws in each hole. Those labels are coming in handy now. Thanks self 16 years ago for making reassembly easy!
Below, the bench stained wood components and the sewing table ready for strip sanding. I think I am going to do away with the vertical dividers that separate the front frame into four openings. Originally, there was to be doors. They never made it on. Don’t want doors now. No need for the verticals. The bigger openings will make access to the lower storage easier.
Time to fire up the orbital sander.