The first pancake is always a throw away, right? Why should control panels be any different? They aren’t. That’s why I ordered extra face panels. 🙂
Actually, it went very well with only a few surprises. I learned 3mm LEDs don’t fit in a 3mm hole yet 5mm LEDs do fit in 5mm holes. BTW, 1/8″ is the right size hole for a 3mm LED. I learned it is nearly impossible to feed 28 leads (14 LEDs) simultaneously through 1mm holes in the back panel with only an inch clearance between it and the front panel. Fixed that problem with 2mm holes and pre-soldered wires on the LEDs. I learned that, while specified in the tech data sheet, a 7mm (0.2755″) panel hole is a very tight fit for the threaded barrel of the push button switches. 9/32″ (0.28125″) works better. Other than these few on-the-fly changes, the first panel construction went pretty much to plan.
I’ll do a soup-to-nuts construction post when I make the first production panel, but for now here are some highlights from the first pancake.
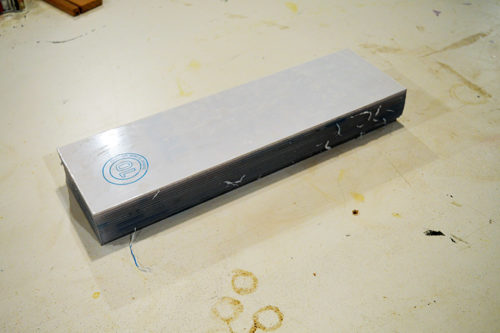
Twenty polycarbonate panels cut to size received from TAP Plastics:
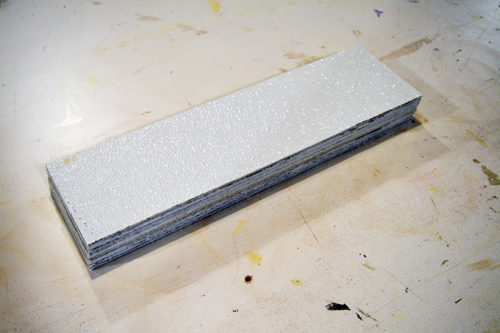
An inventory of FRP back panels cut from the wash tub surround leftover:
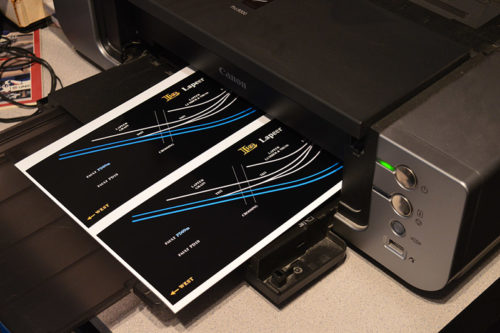
Printing the art:
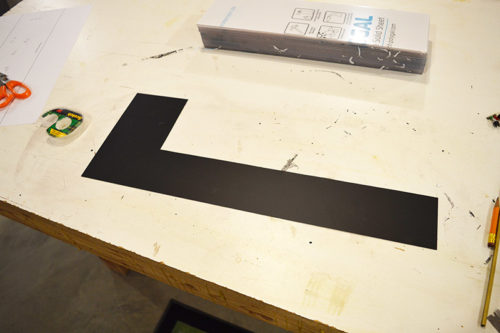
Black plastic panel cut from Evergreen #9114 stock: For some reason I took a picture of the trim instead of the black panel itself.
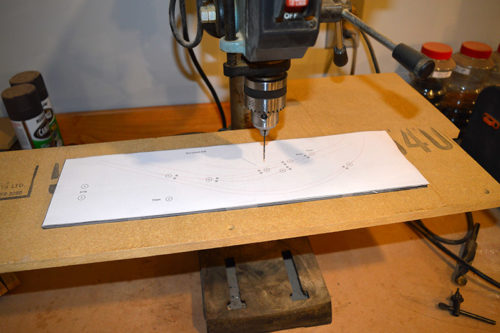
Scotch tape holding together the panel “sandwich” (minus art) with locator print on top ready for pilot hole drilling:
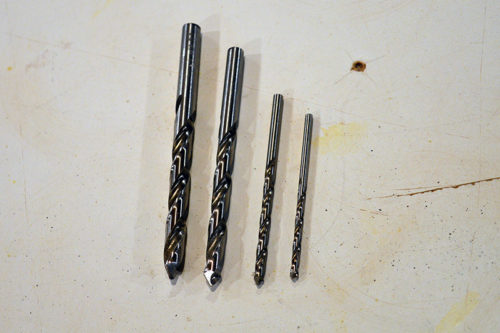
Plastic drills with their special tip angle and flute grind make absolutely gorgeous holes in polycarbonate:
I was having fun drilling all the holes in each panel and forgot to take pictures. More to come.
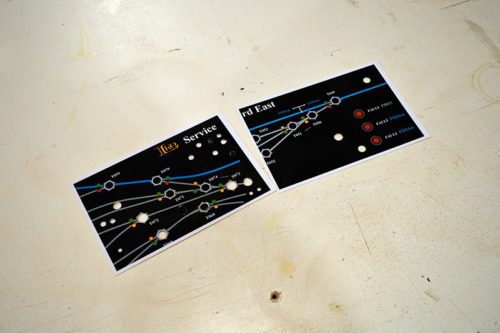
Trying various methods to determine which delivers the cleanest hole in the photo print art – drill bit, plastic drill bit, hand punch, leather punch:
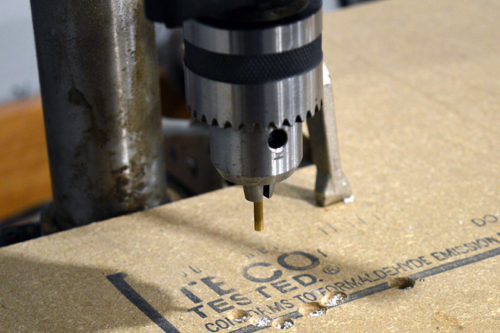
Plain ole K&S Brass tubing in the drill press makes the cleanest near perfect hole in photo paper:
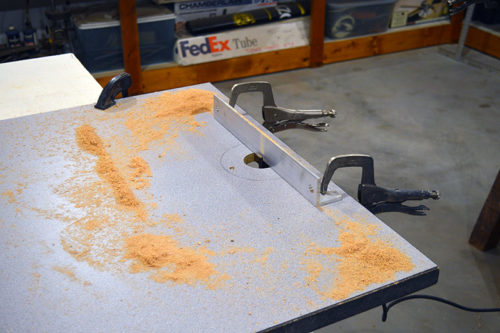
Chunk of Formica counter top with a router screwed to the underside i.e. poor man’s router table for cutting grooves in the oak frame stock:
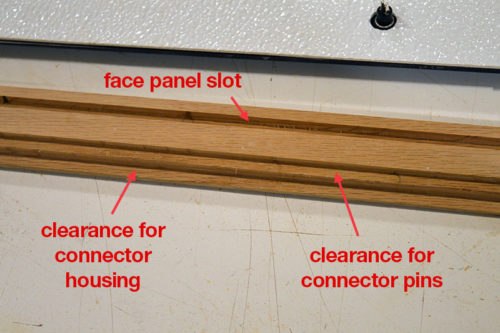
¼” face panel groove 3/16″ deep in all the stock and then a little extra notching on the bottom frame section:
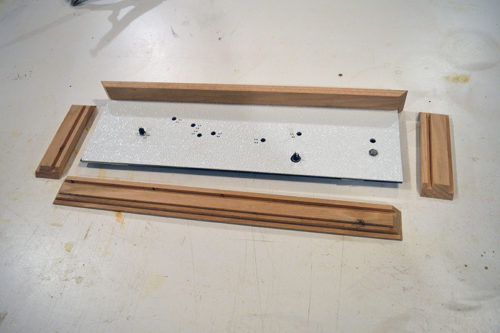
With a few test components installed:
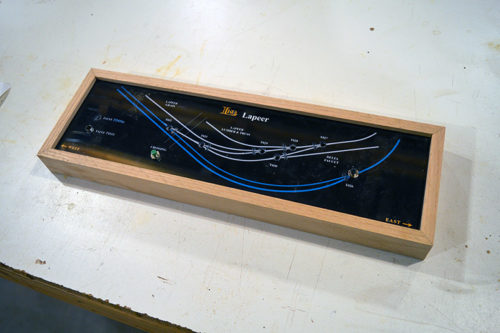
You get this: (excuse the dust and light glare. nice pics to come.)
Now that I have a defined proven process it is time to mass produce. The next post will be a meaty one. Stay tuned.
