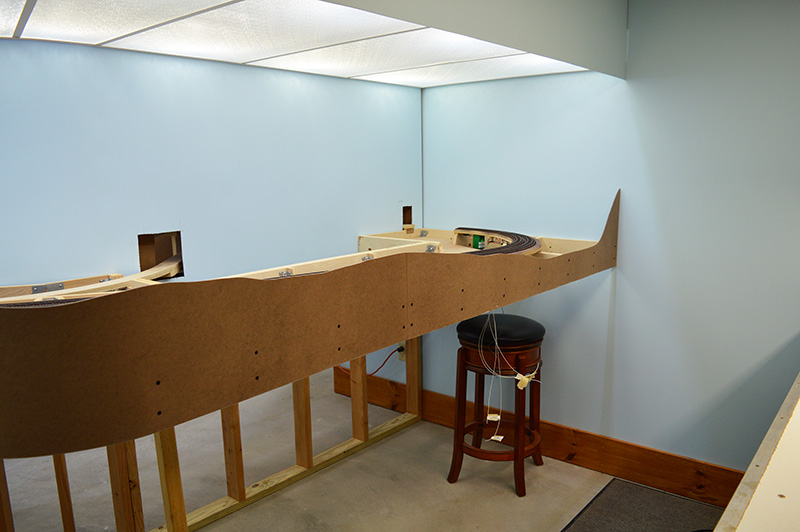
All of the fascia panels are in place. I so want to finish and paint it to see the final product but I can’t. There is much to do before paint time. However, there is always Photoshop! This image gives you an idea of the color I have in mind. A dusty chalkboard slate color made from the same tinters that are in the Serene Sky blue. Subtract out most of the white and add a bunch of black.
Next project is the control panels. The design is on this post. They will take a while to build but should be fun. Once built and located, the fascia will be notched along the bottom for the panel connectors. Removal for notching is one of the reasons the fascia has to remain unfinished for now. If all goes well the connectors and wiring will be completely hidden while still permitting easy removal of a control panel if needed. After the control panels are finished then I will glue splice plates across the backside exposed fascia seams to permanently align and affix adjoining fascia panels. Same method that was used on the lighting valence. Several years on and none of the valance seams are showing so I am confident the splice plate method works well. Then comes fascia final finishing.
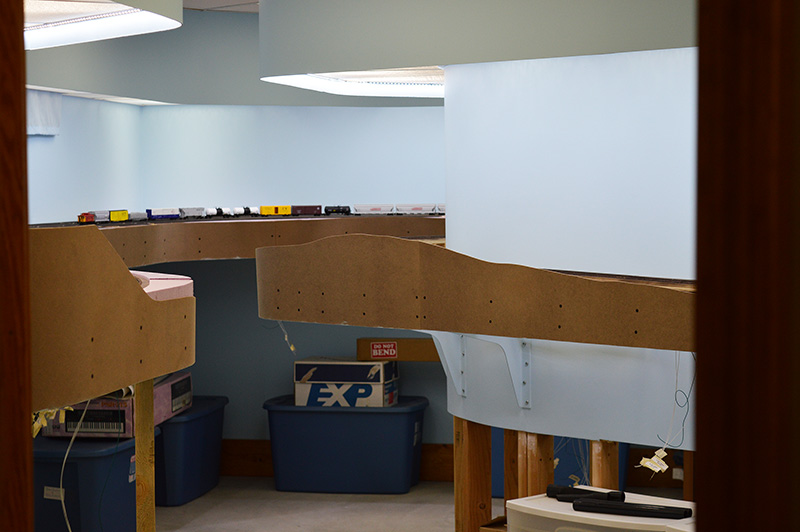
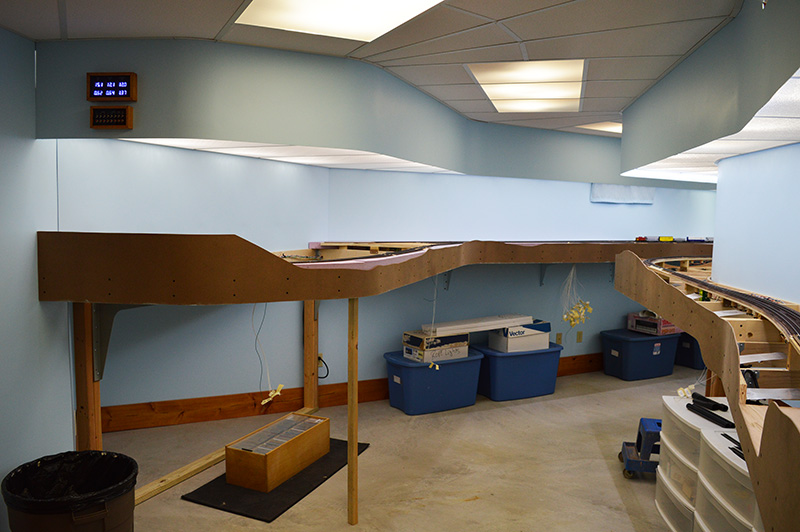
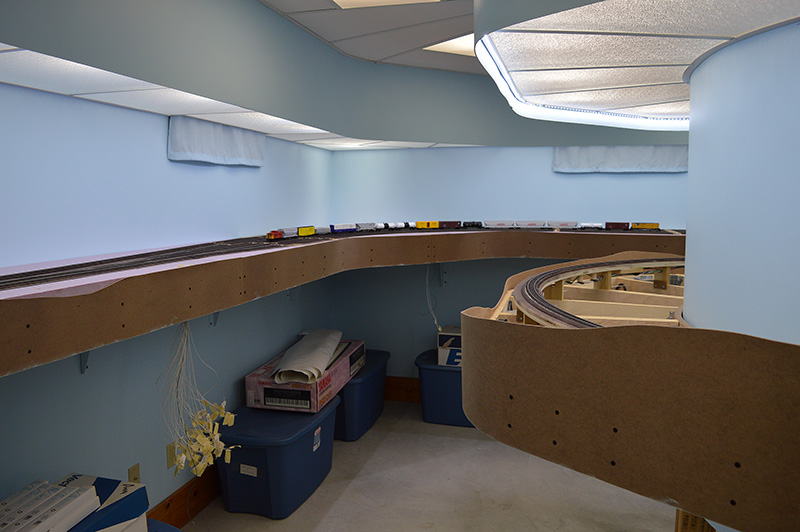
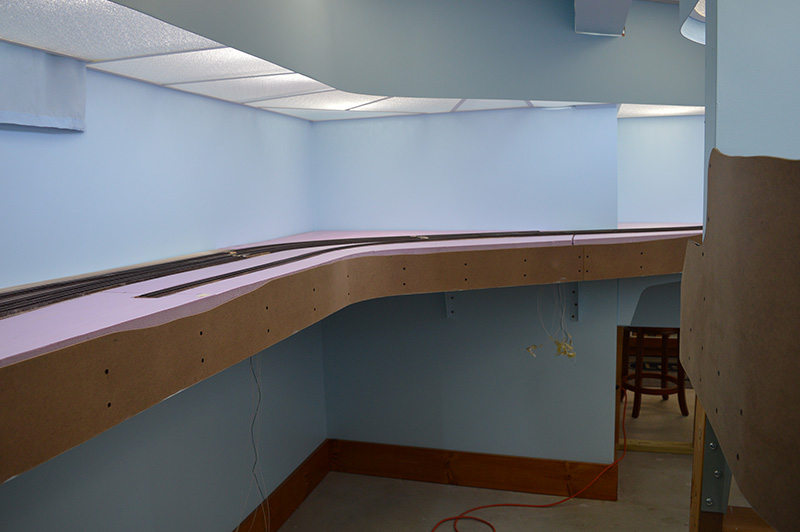
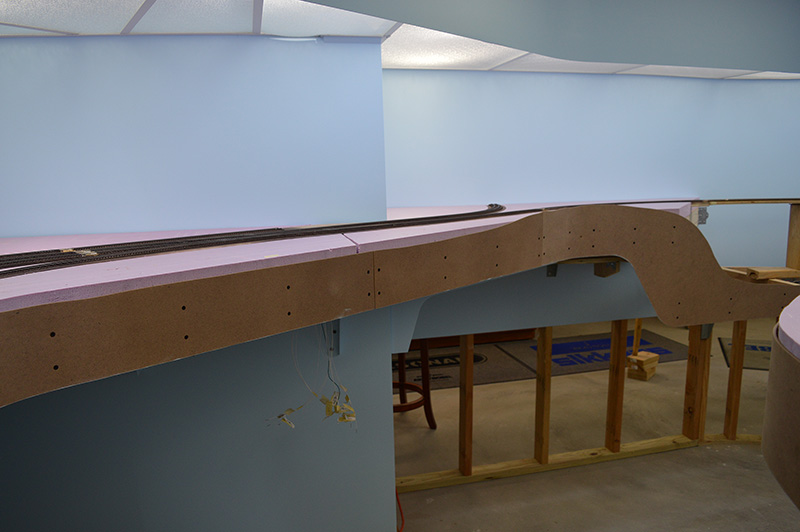
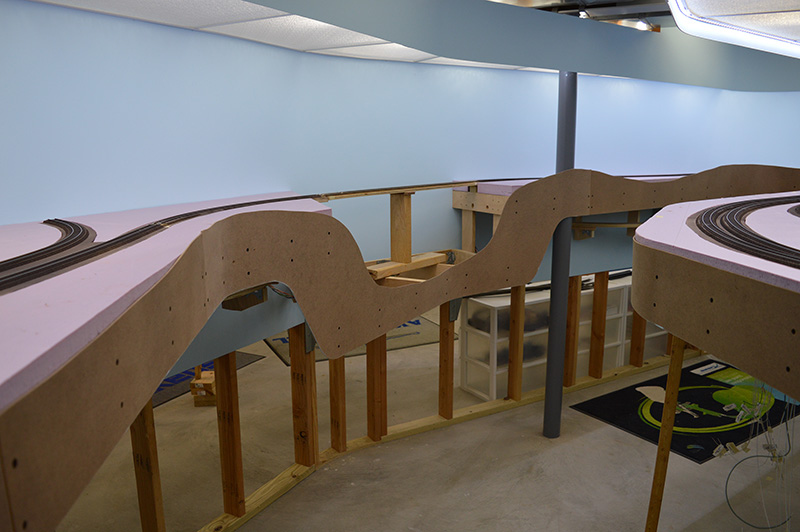
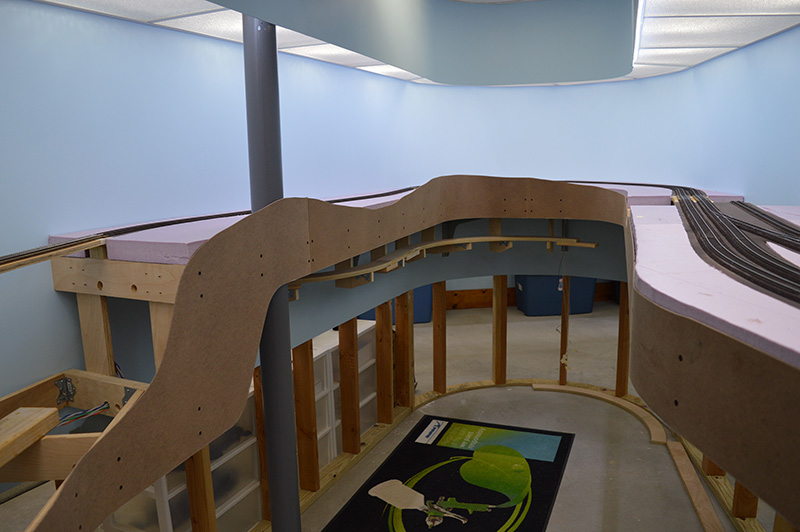
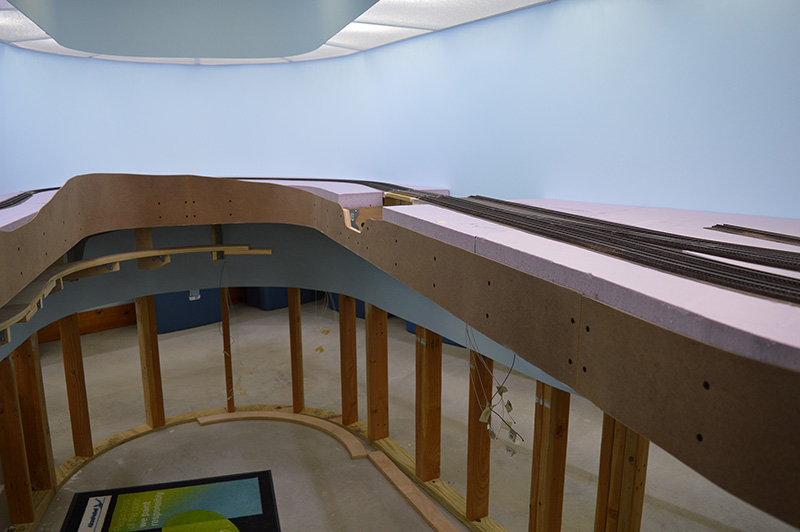
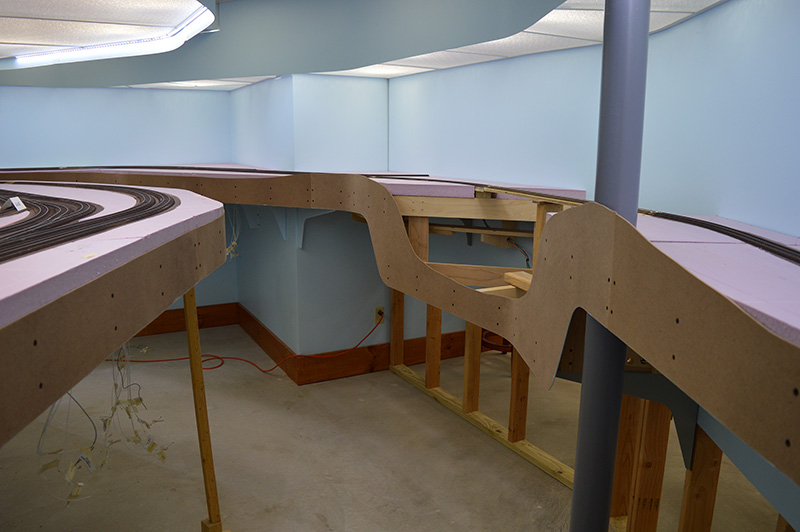
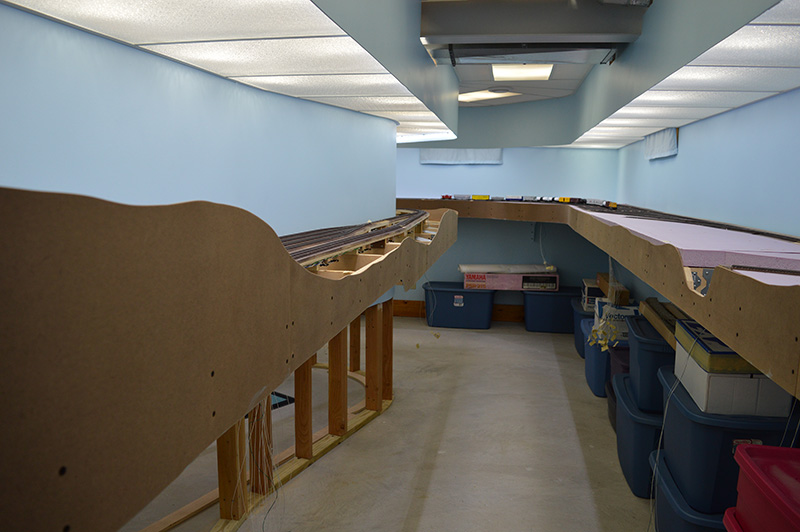
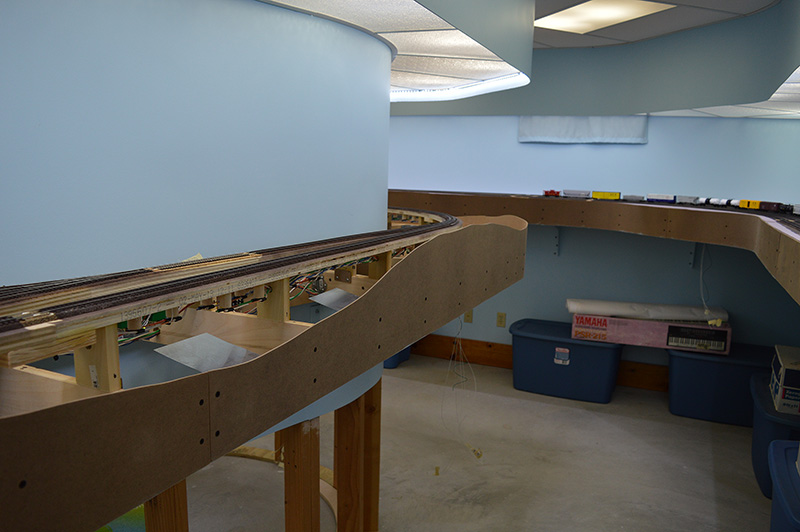
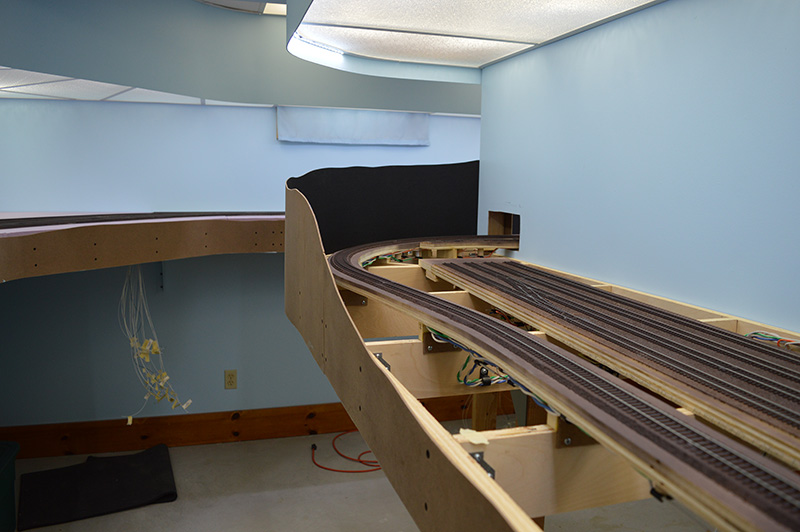
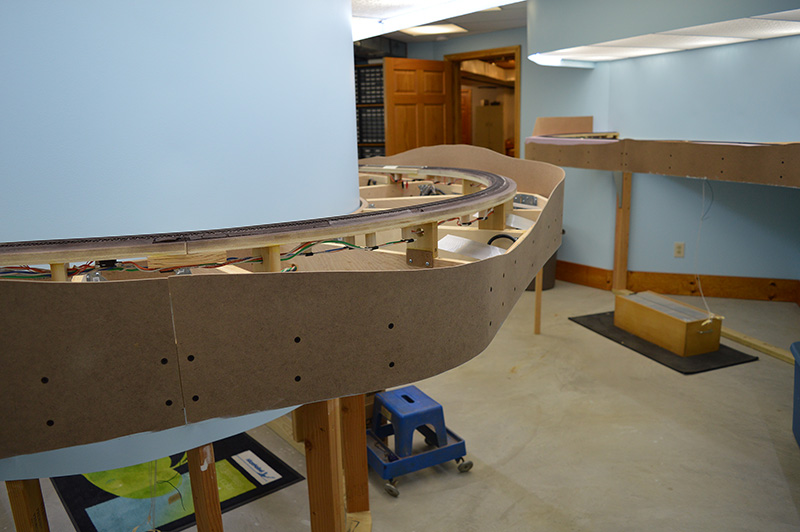
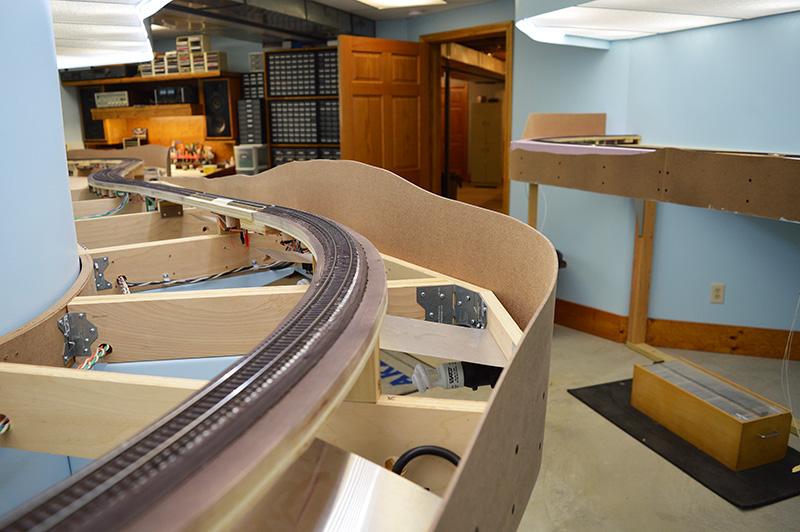
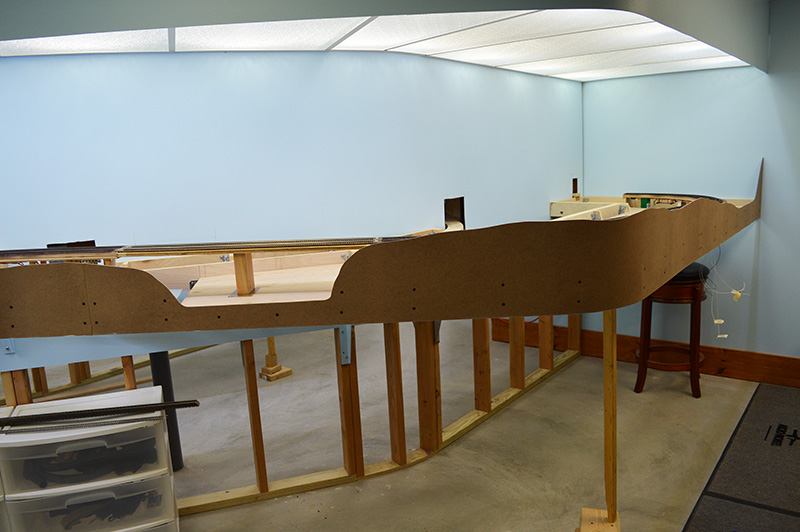
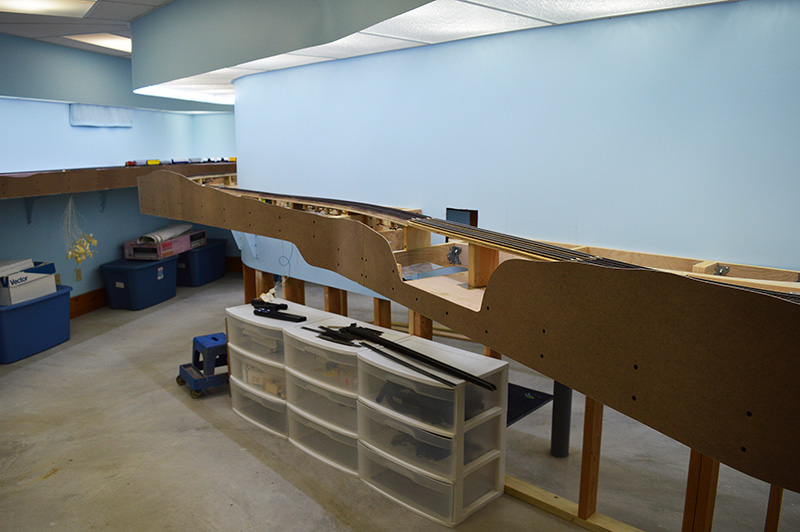
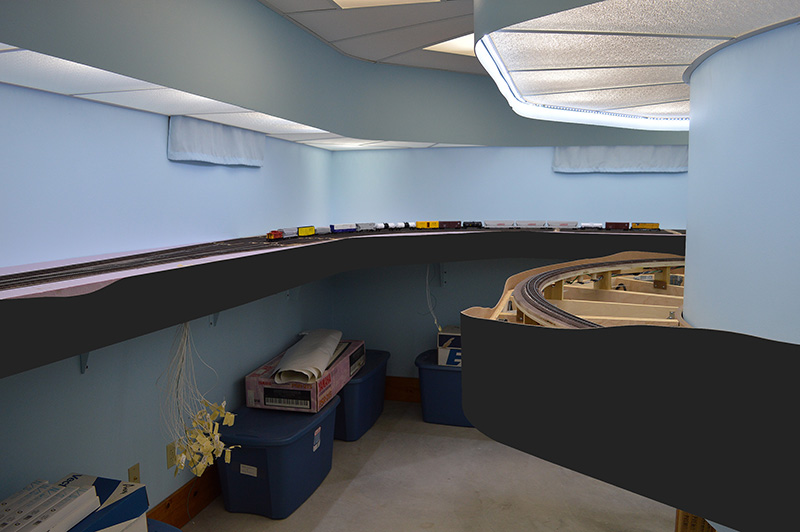
For now, a whole bunch of raw fascia installation pictures…