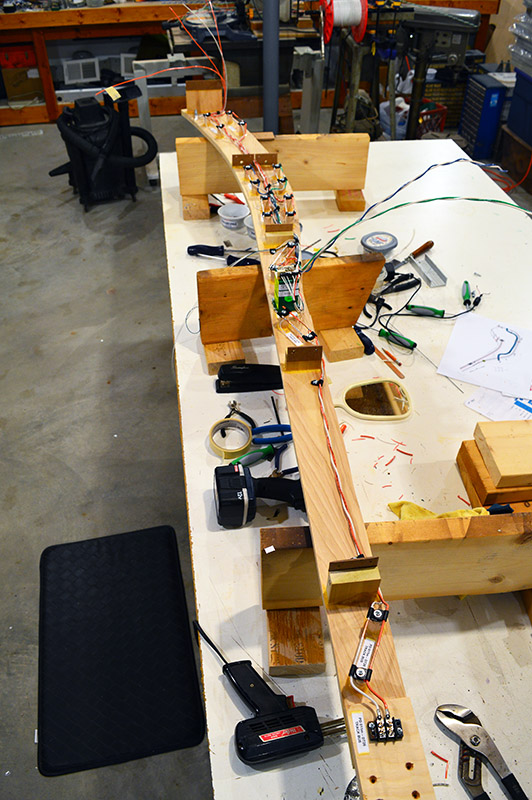
Well, the railroad has 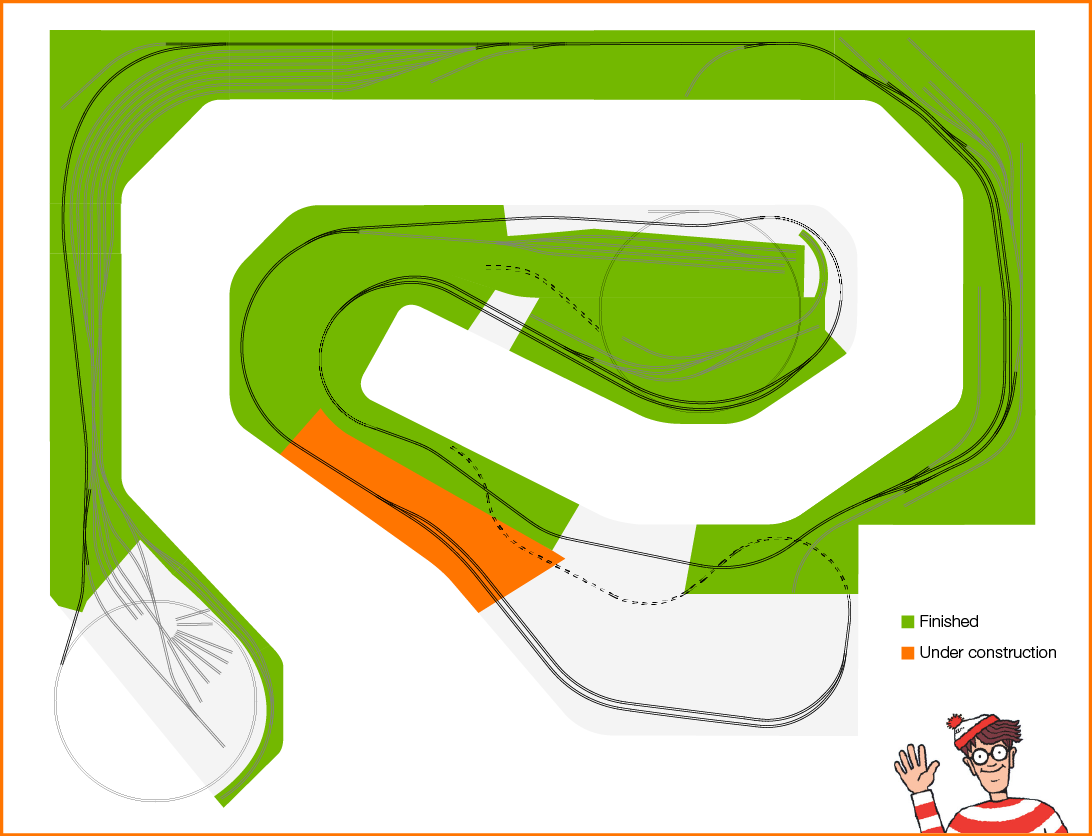 made it all the way round the layout to the Potomac River at Kitzmiller MD. On the other side of the river is the last module to be built thus completing the track laying on the upper deck.
If you recall from the last post, I forced myself into reverse installation of modules by breaking from the module/connector/module sequence of construction. Lesson learned – think long and hard about where module joints are positioned. While it is only a minor inconvenience now, it will complicate removing module 11 or 12 in the future. A cross I will have to bear. Not all designs can be gems, right?
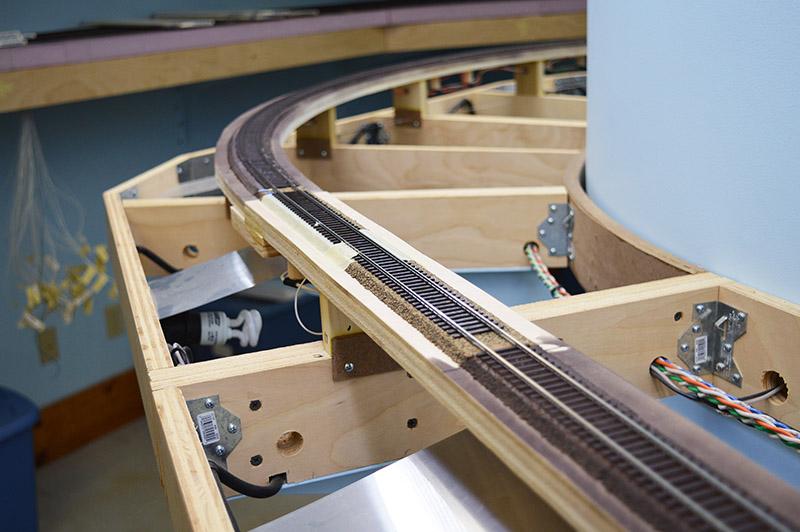
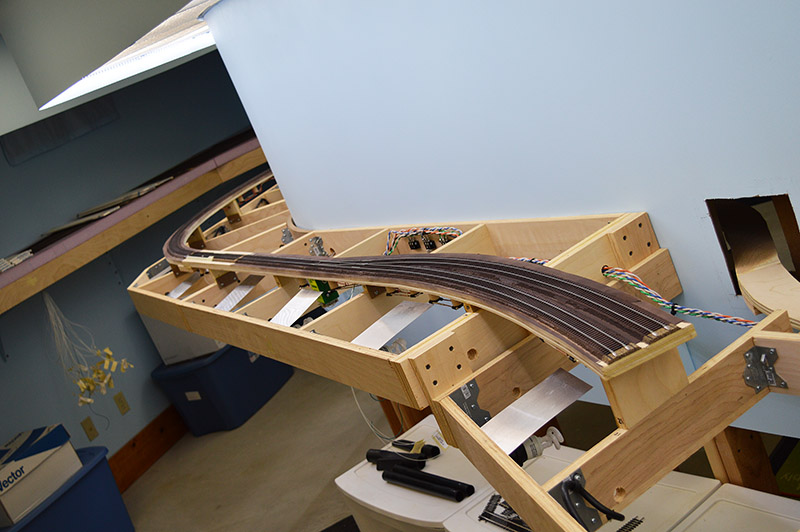
With module 12 in place I installed module 11 and the mine spur. Now I can construct and install the connector (#8) between module 11 and module 9 in a normal manner. All completed modules are wired in and functioning correctly.
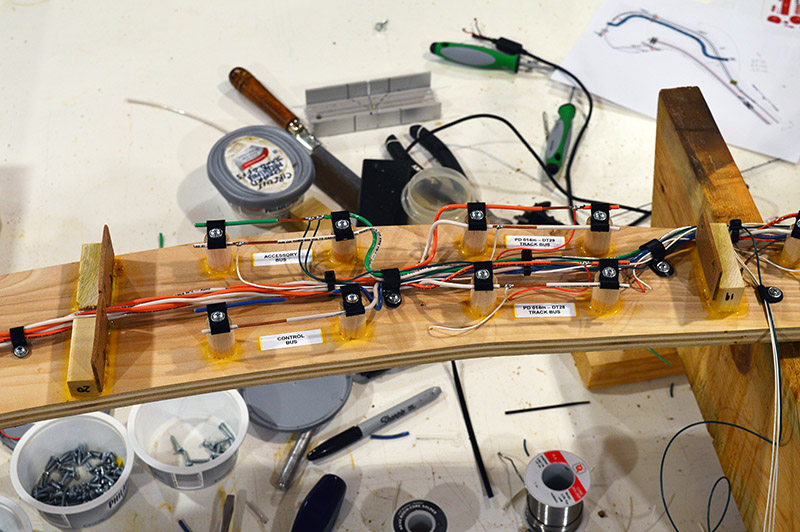
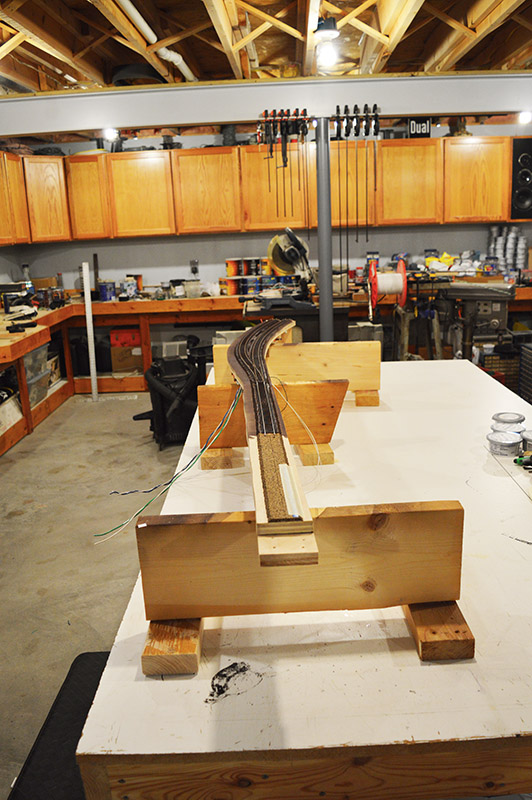
Module 12 was an easy build. There are no circuit breakers or occupancy detector circuits mounted on this module. The circuity that powers and senses trains on module 12 is located on the adjacent modules. Track buses and a lone switch machine is all there is to it.
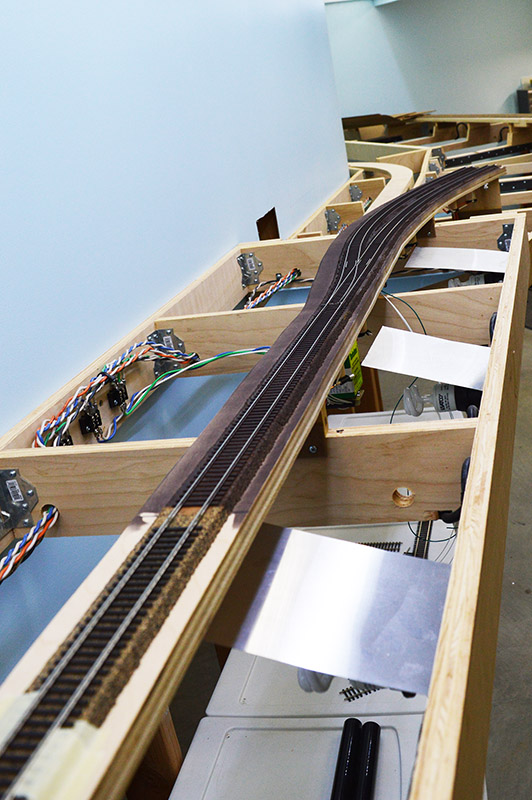
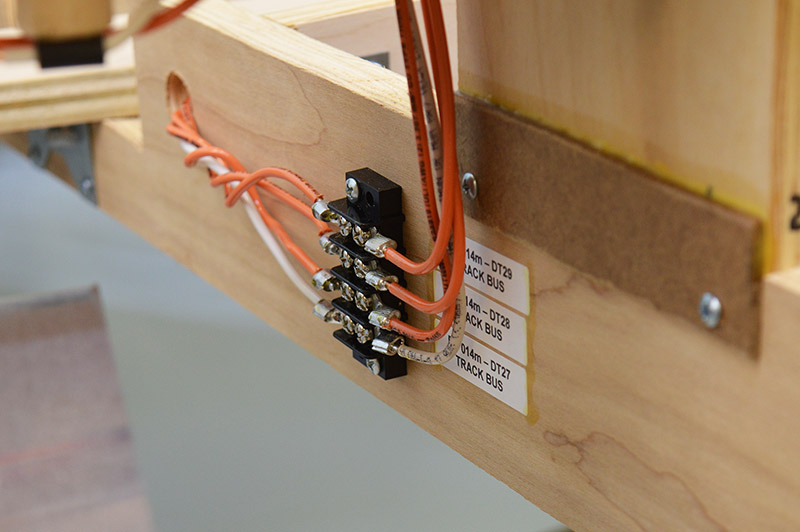
Speaking of circuitry on other modules, there are three different occupancy zones on module 12 (switch, main, siding) that have to get across the river to module 13 to connect with their respective controls. I did not want 12 gauge wire running across the bridge itself so the wiring takes a path around.
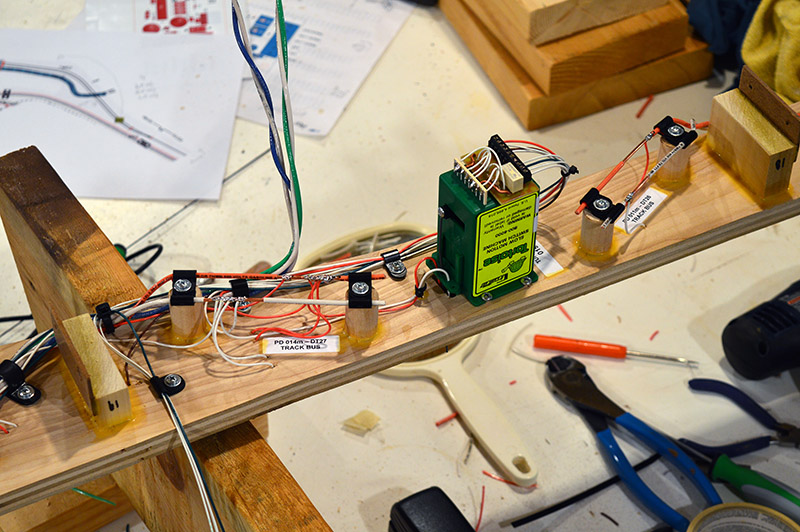
Here it drops off of module 12 at the river:
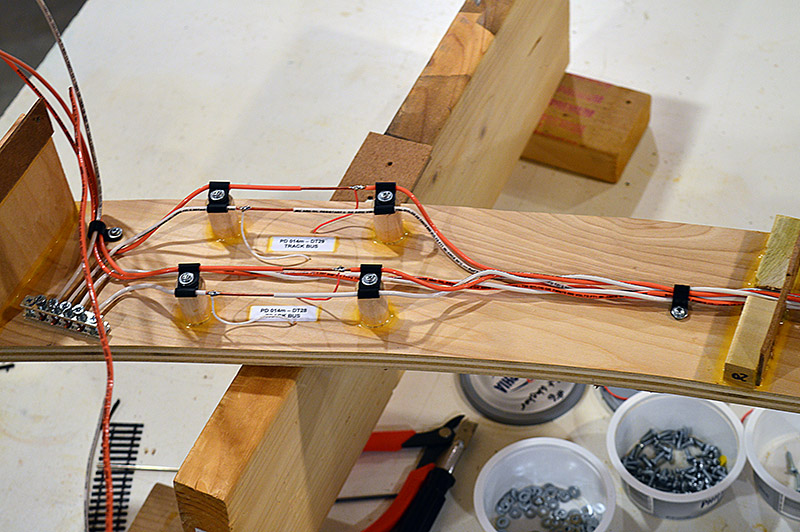
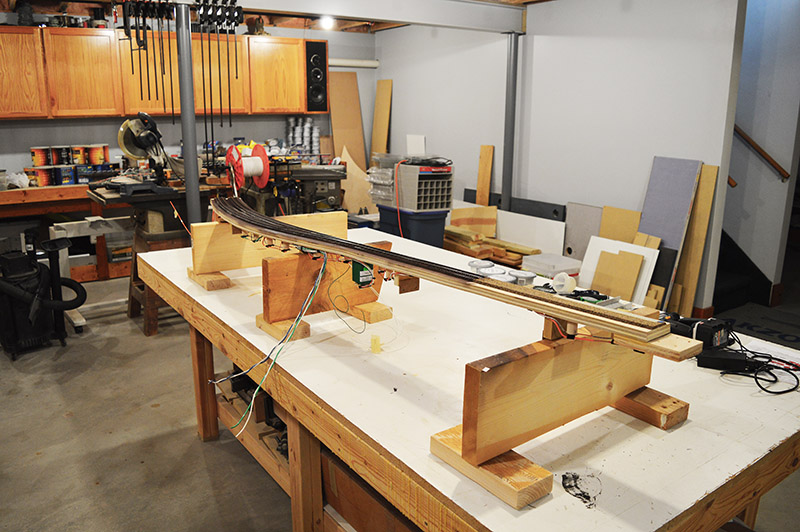
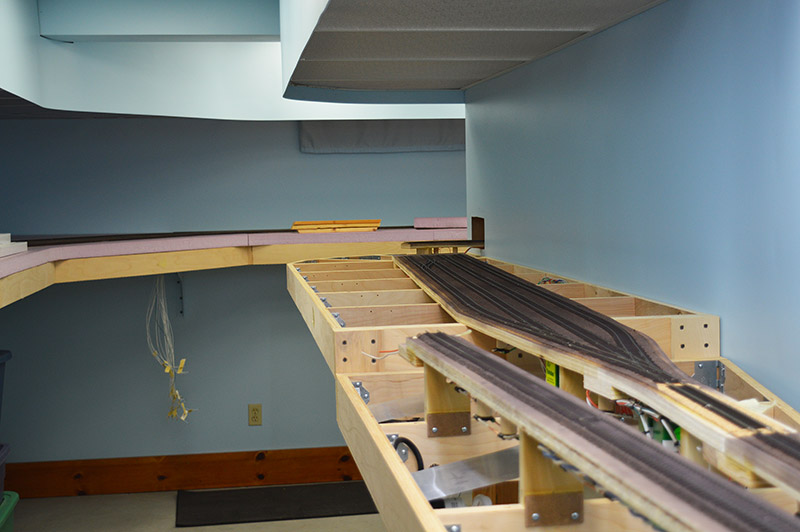
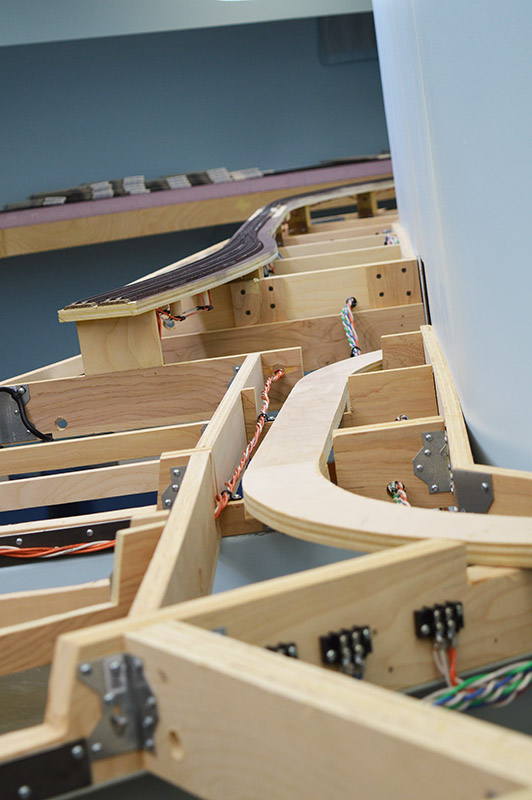
Takes a path behind the river alongside hidden track:
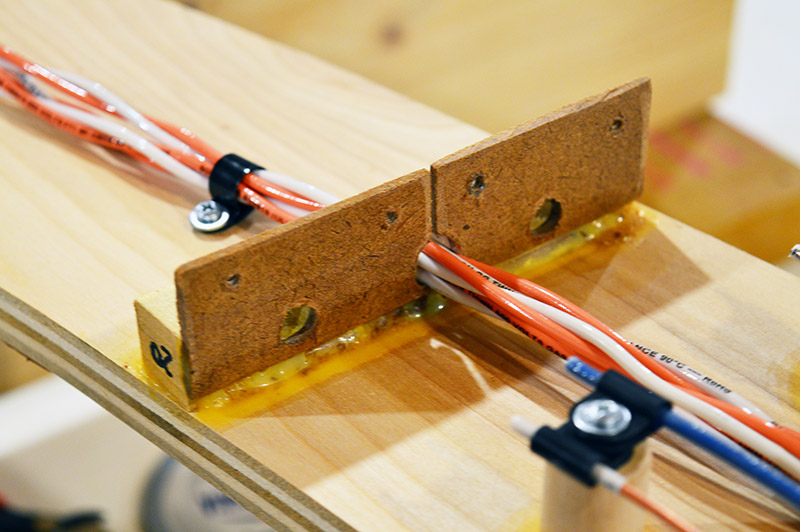
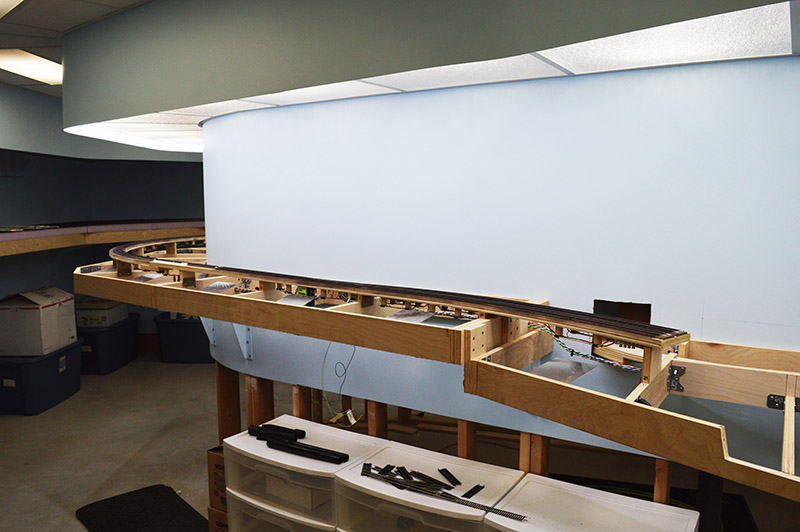
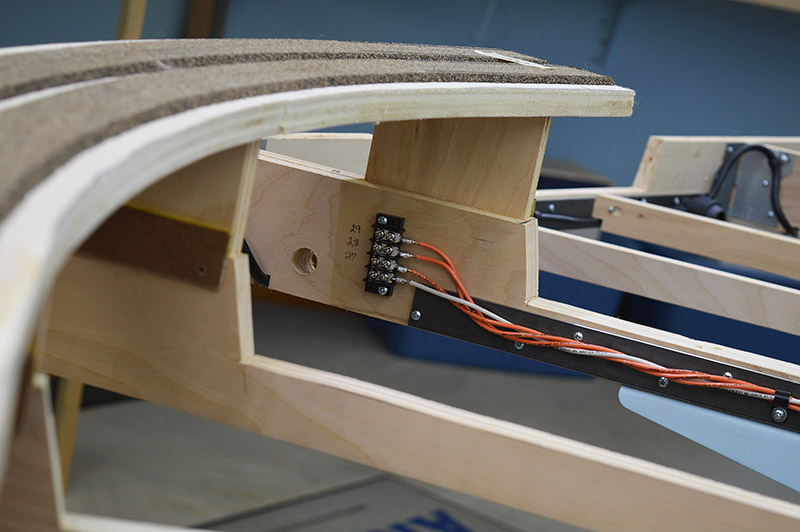
And then emerges on the other side of the bridge ready to attach to module 13:
That’s about it for this installment. Not real exciting I know. But it is for me. I’m almost to the end of the upper deck!
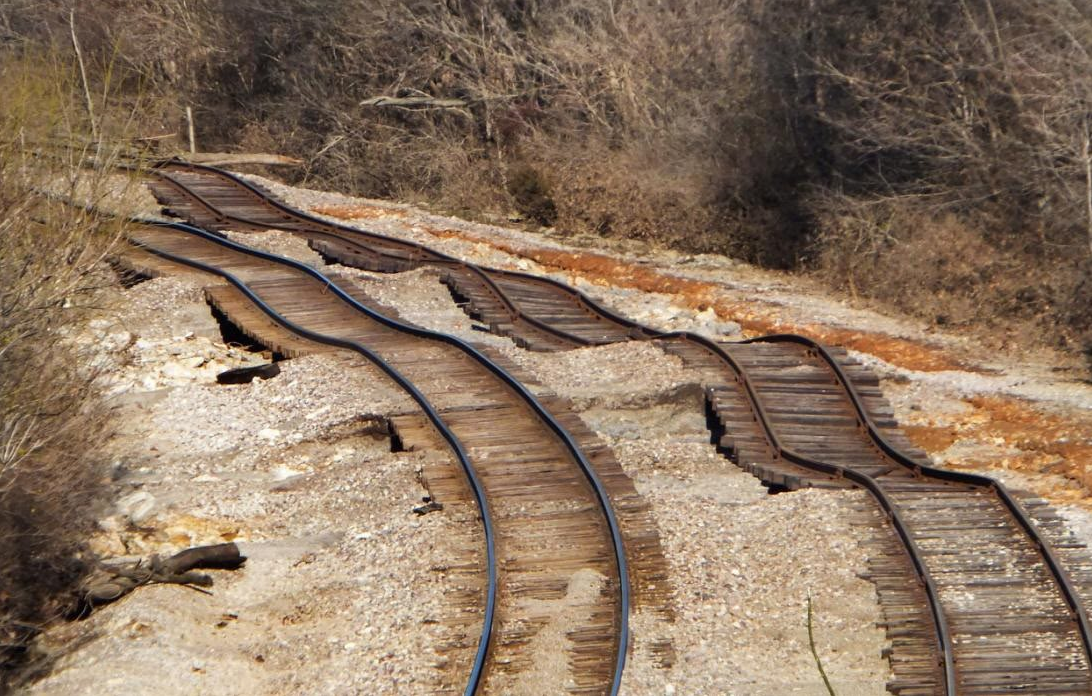
I am really happy so far. At least my track laying doesn’t look like this. 😉
Until next time…