It has been a long time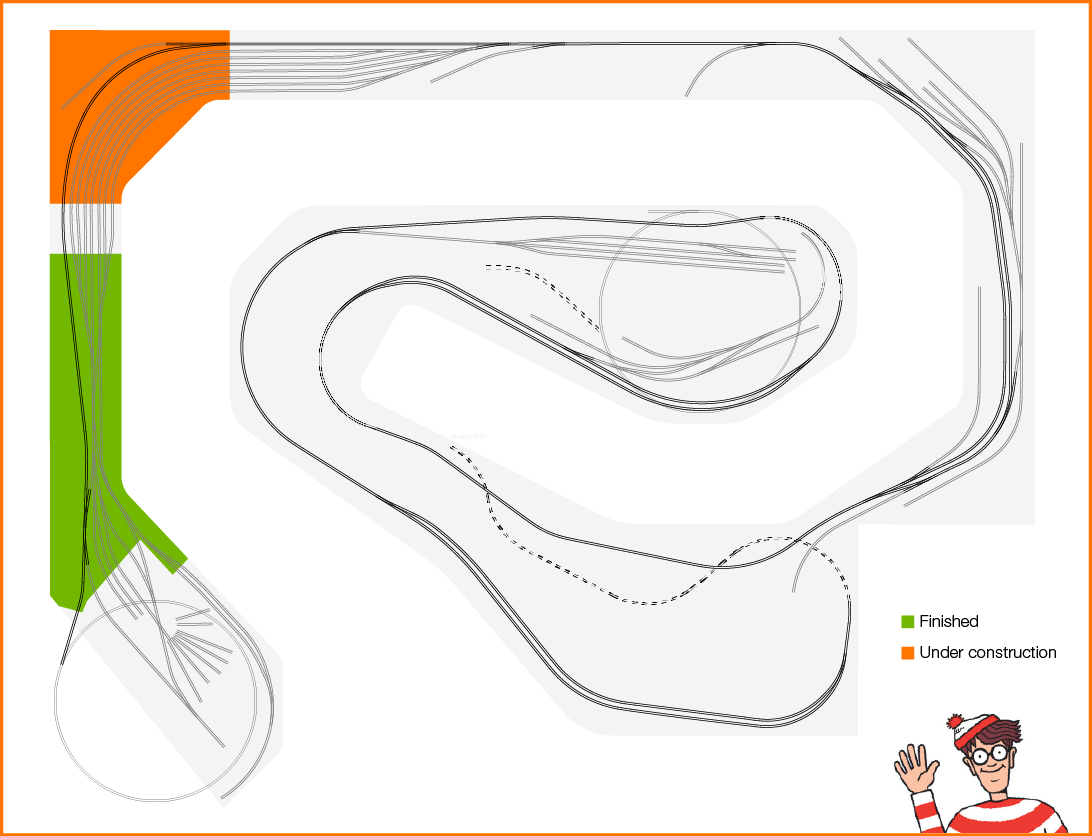 since my last post. A family member has been in and out of the hospital lately. Trains don’t even make the list of priorities when family is not doing well. Recently, I had a few moments to complete what was almost done when the bad news hit.
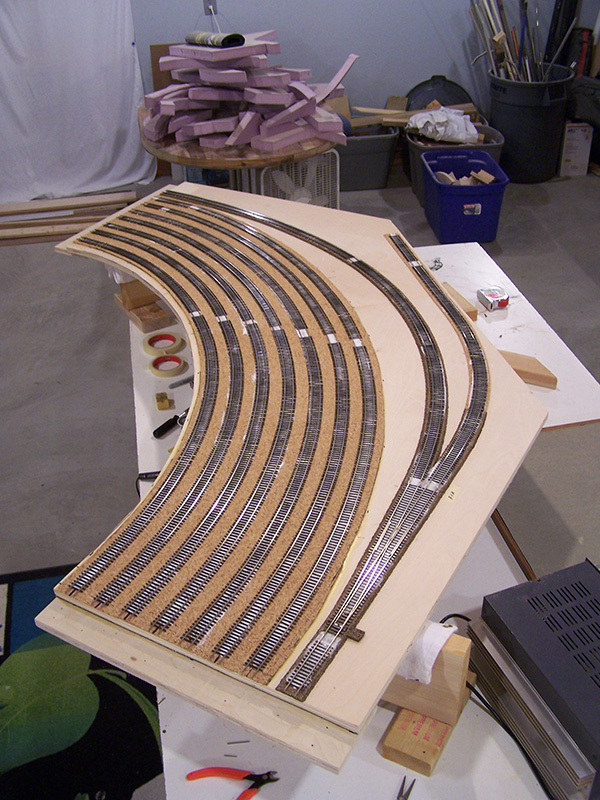
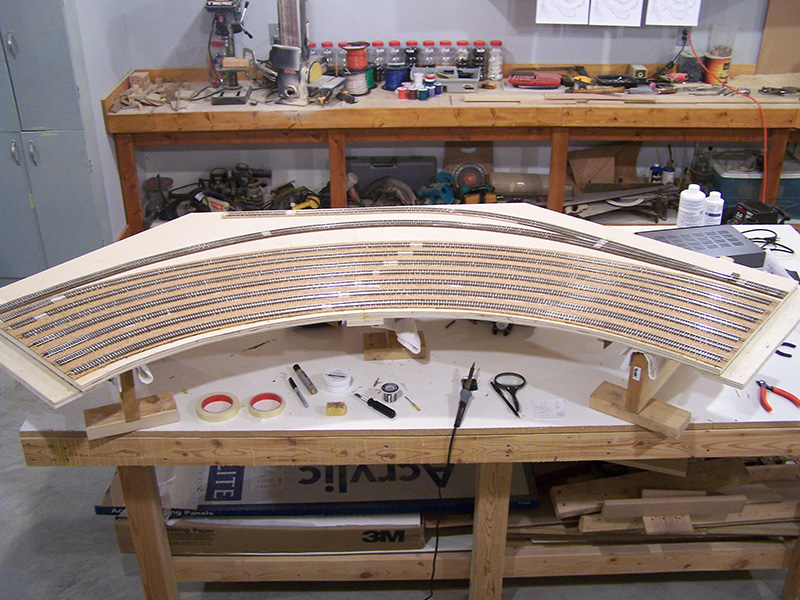
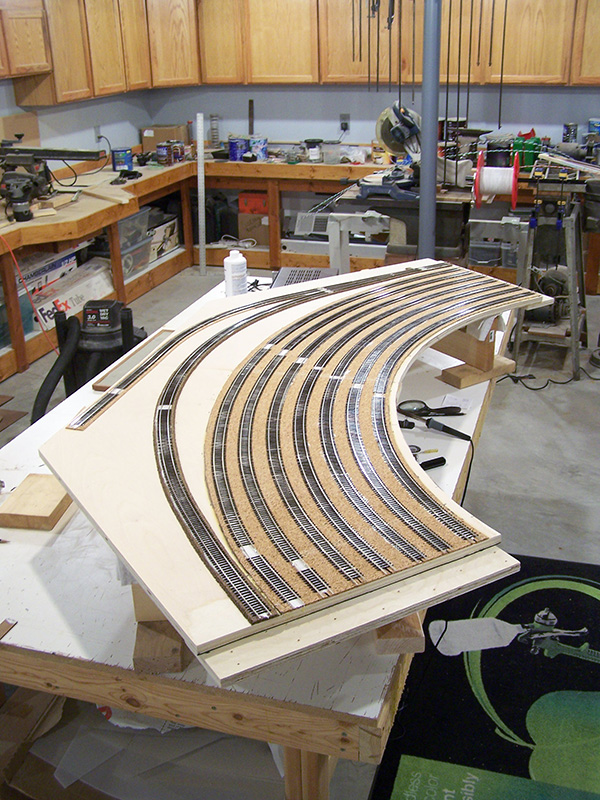
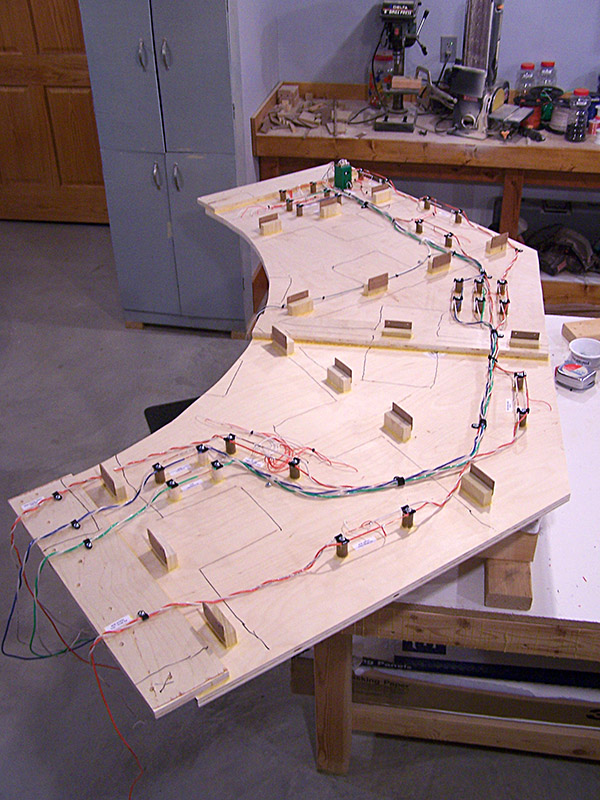
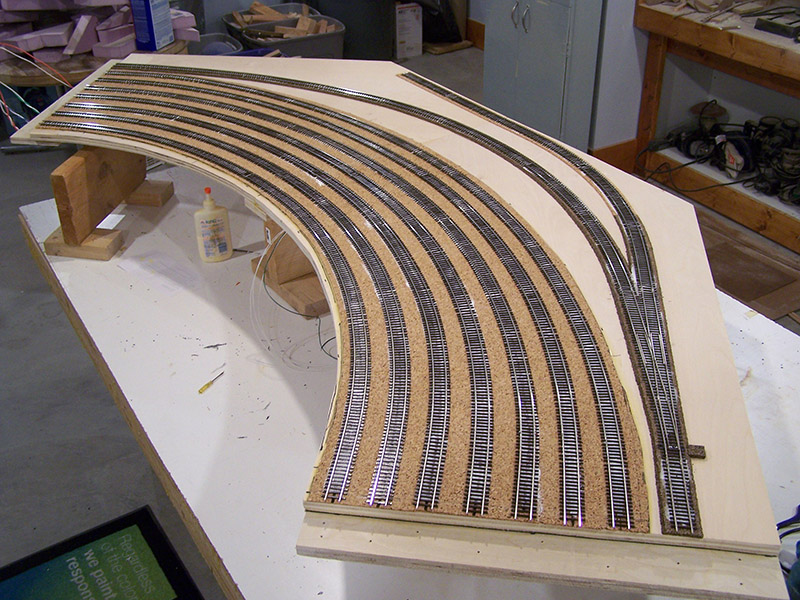
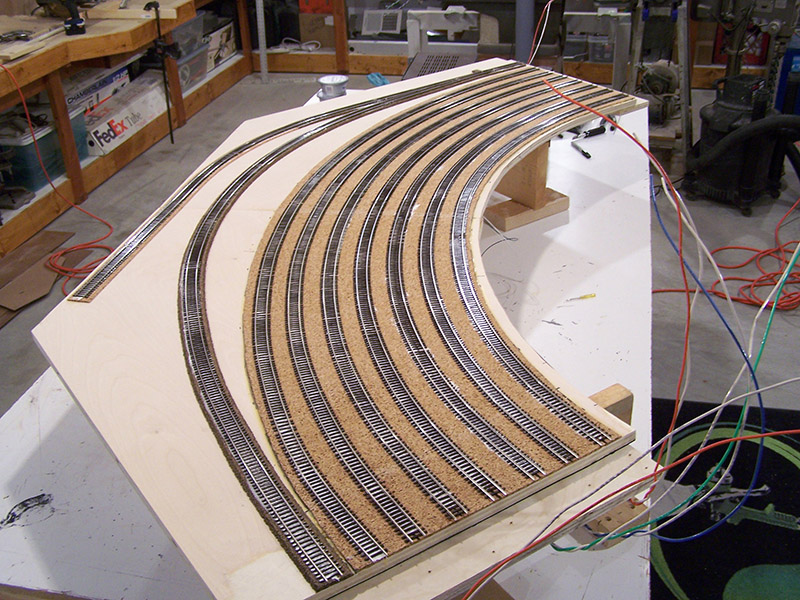
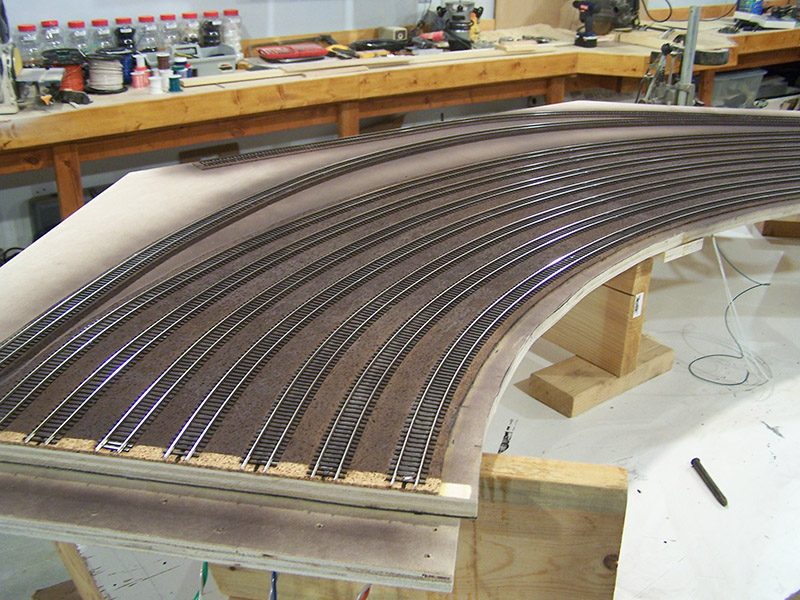
The Brittain Yard module is complete and back on the benchwork. I changed course a bit and decided to give the track and ties a foundation coat of brown paint before placing back on the layout. This keeps the overspray mess out of the train room and eliminates all the masking of backdrop that would be required if done later. Rustoleum Camouflage Earth Brown #1918830 seemed like a good base color. Module #1 will be pulled back off and sprayed in the workshop as well. A lacquer thinner wetted rag on a fingertip cleaned the rail heads of paint.
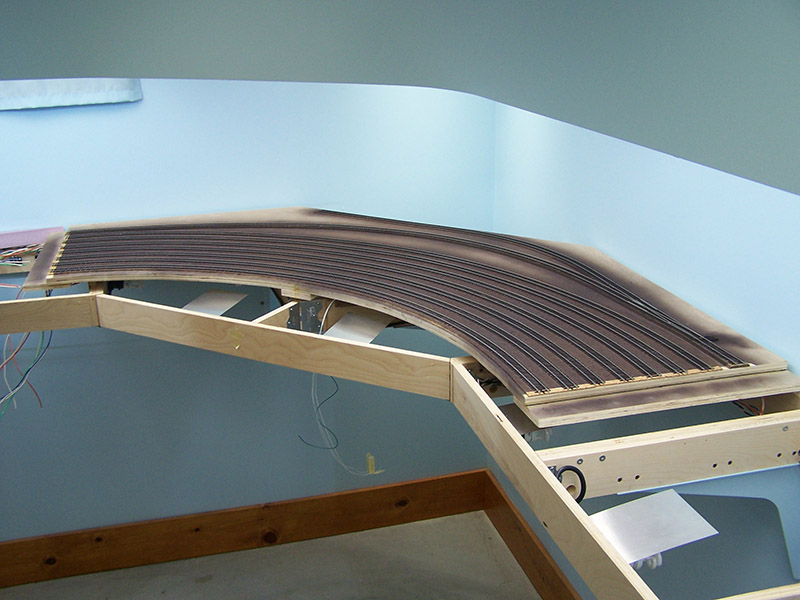
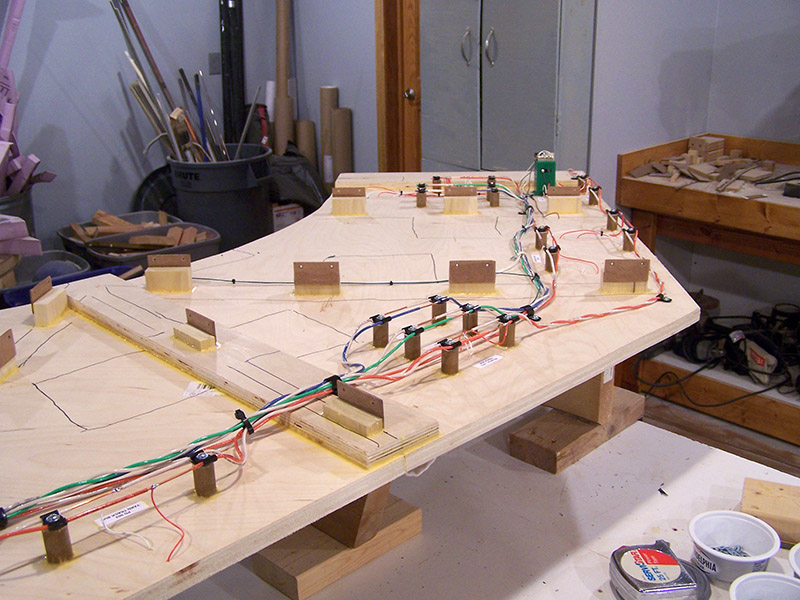
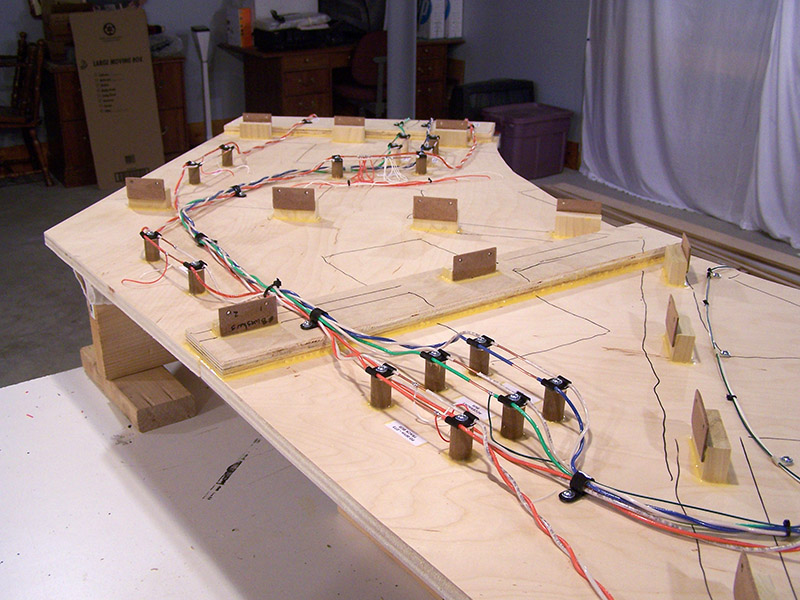
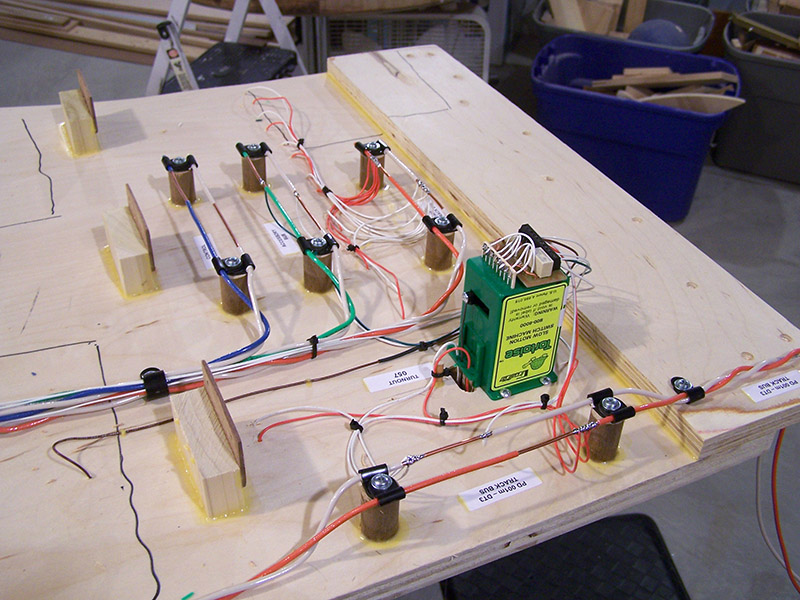
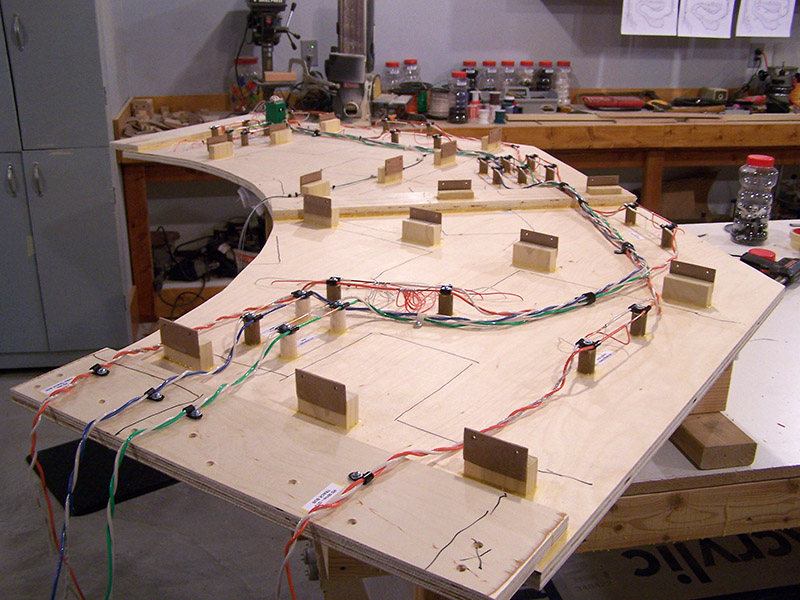
The wiring is pretty simplistic on this module. There is only a single Tortoise and a few track feeders. There are two sets of track buses (org/wht). One set is for the main with an occupancy detector and the other set for the classification tracks without occupancy detection. The detector circuit is mounted on module #1 so the main bus carries over from that module and then onto module #3 to the end of the detection block.
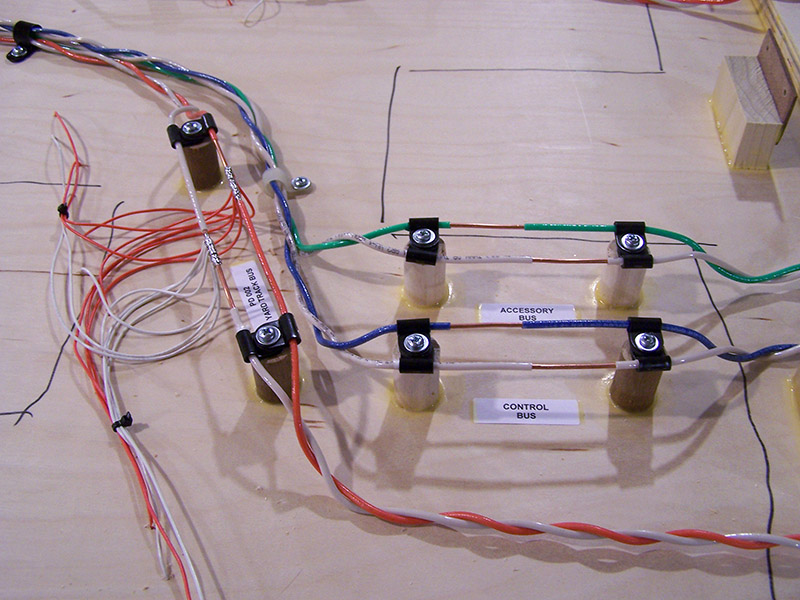
As usual, everything is labeled. I sometimes can’t remember what I had for lunch today let alone what wire goes to what years from now. 🙂
On to module #3.