Perhaps you recall this mind’s eye image from a previous post:
You also may have noticed there was no backdrop built for this lower deck area during the recent backdrops construction sequence. The reason for the omission is I was contemplating making the scene physically deep for the lake, all the way back to the peninsula wall in fact. A large sheet of plywood with an epoxy pour lake instead of a photo print of a lake. Conceptually, something like this:

Railroad in front, mountains framing the view on each side (and hiding the brackets), and maybe a short photo print on the backdrop for the far side of the lake. The plywood sheet lake would be detachable and drop down for access to the upper deck underside if needed.
This was all well and good until I began planning how to make it happen. Eventually I realized it was going to be a whole lot of construction for minimal visual interest return. Maybe just a photo of a lake isn’t that bad.
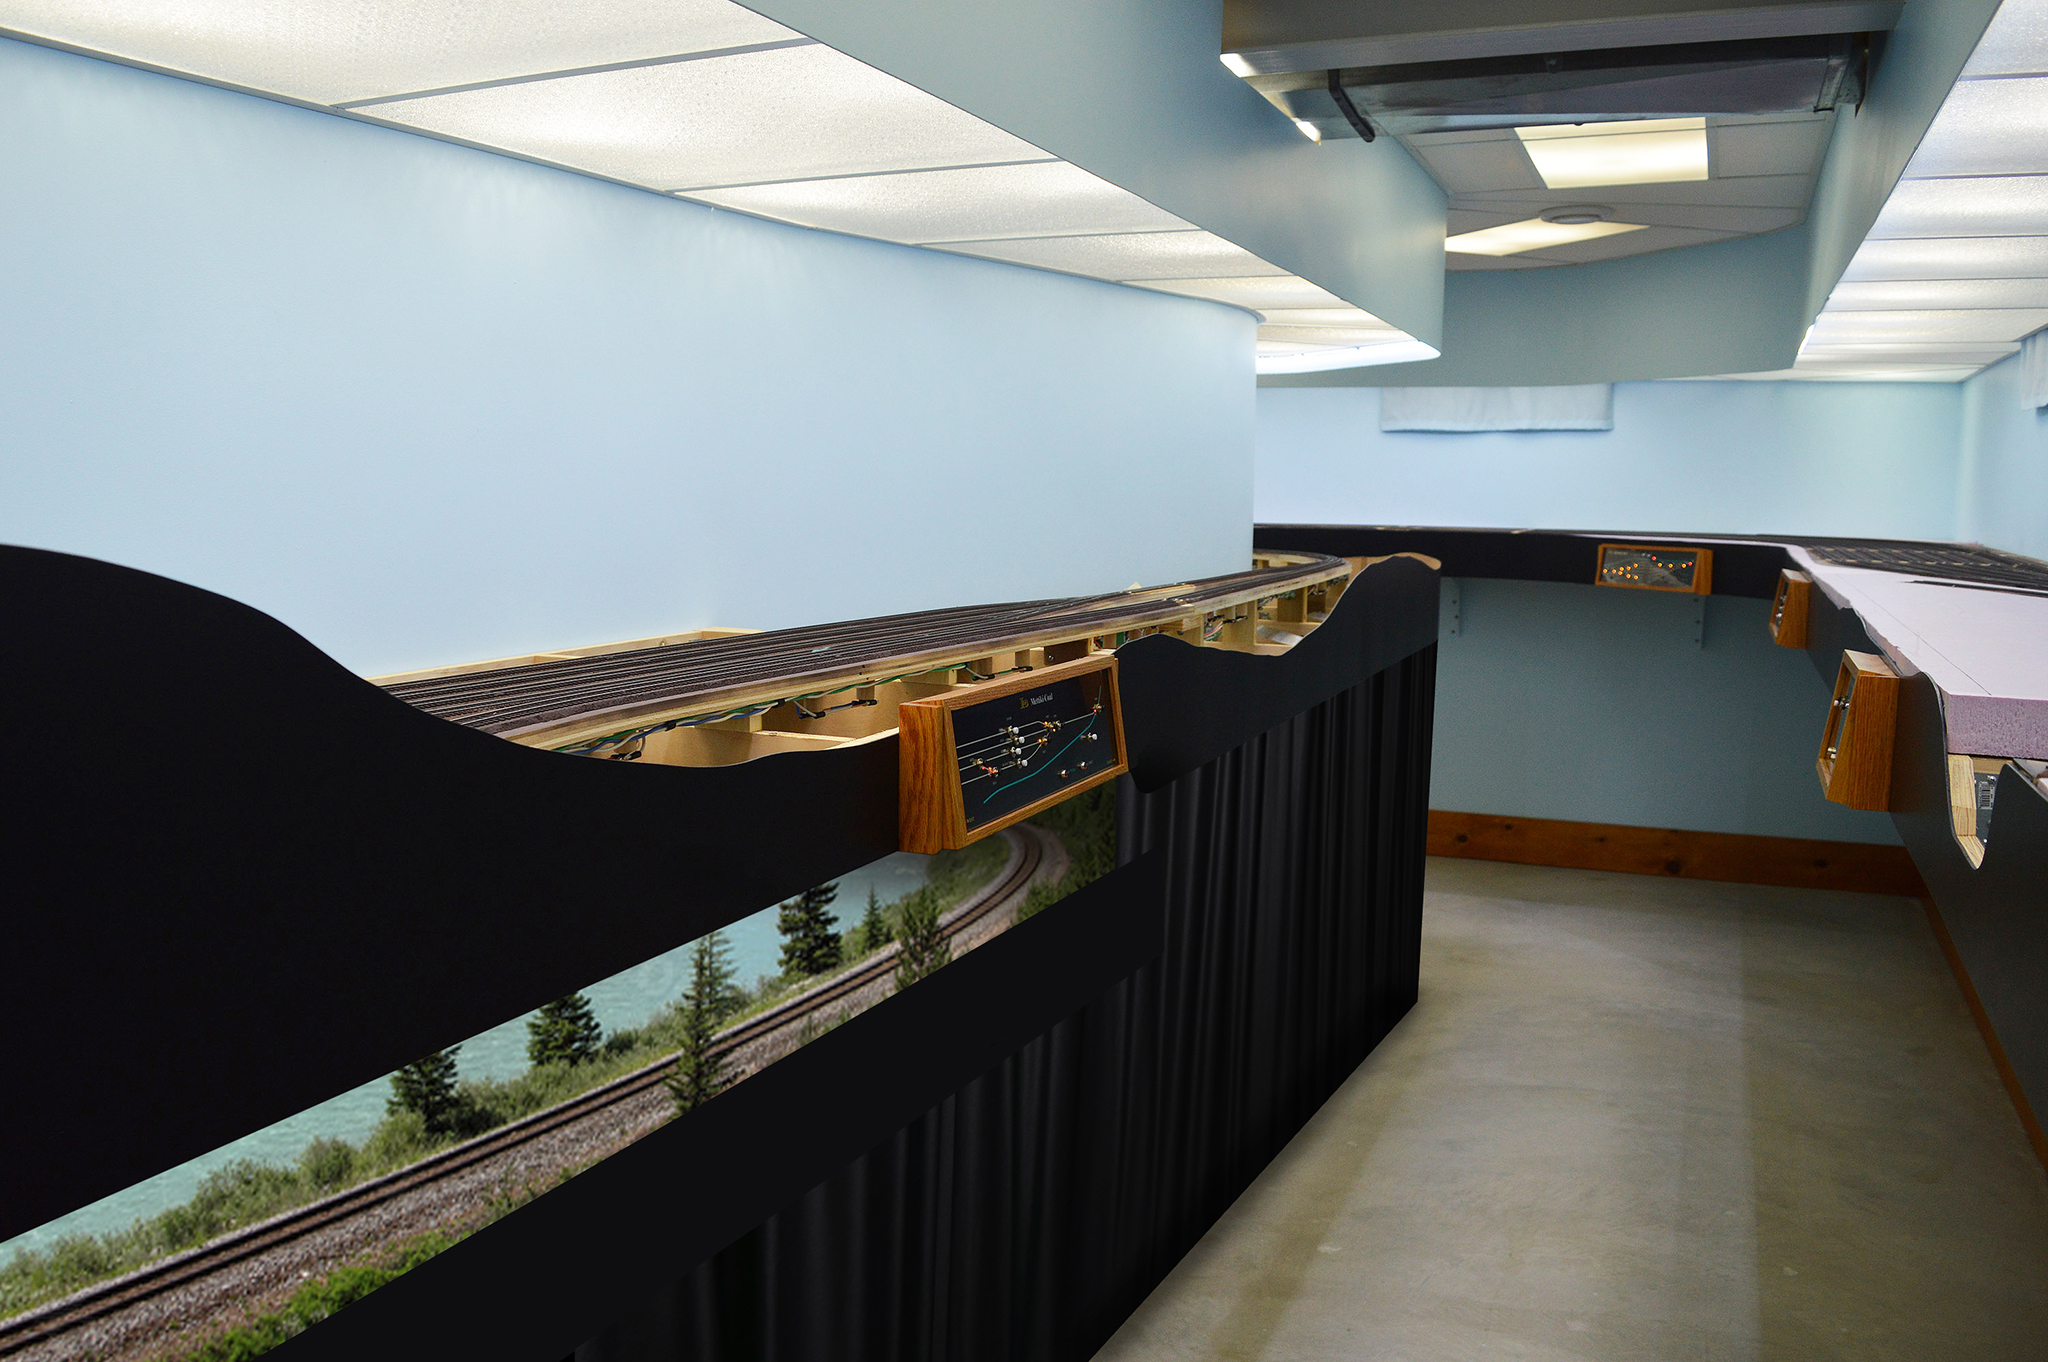
So I threw in the towel on the idea and built a conventional backdrop like all the rest on the lower deck.


This officially draws to conclusion the lower backdrop construction. Next up, getting electrical power to the lower deck.
